Watch it draw itself · tap to replay
How to Draw a Water Jug Dispenser
Draw a water jug dispenser in 12 easy steps, about 9 minutes. Free, with a printable worksheet.
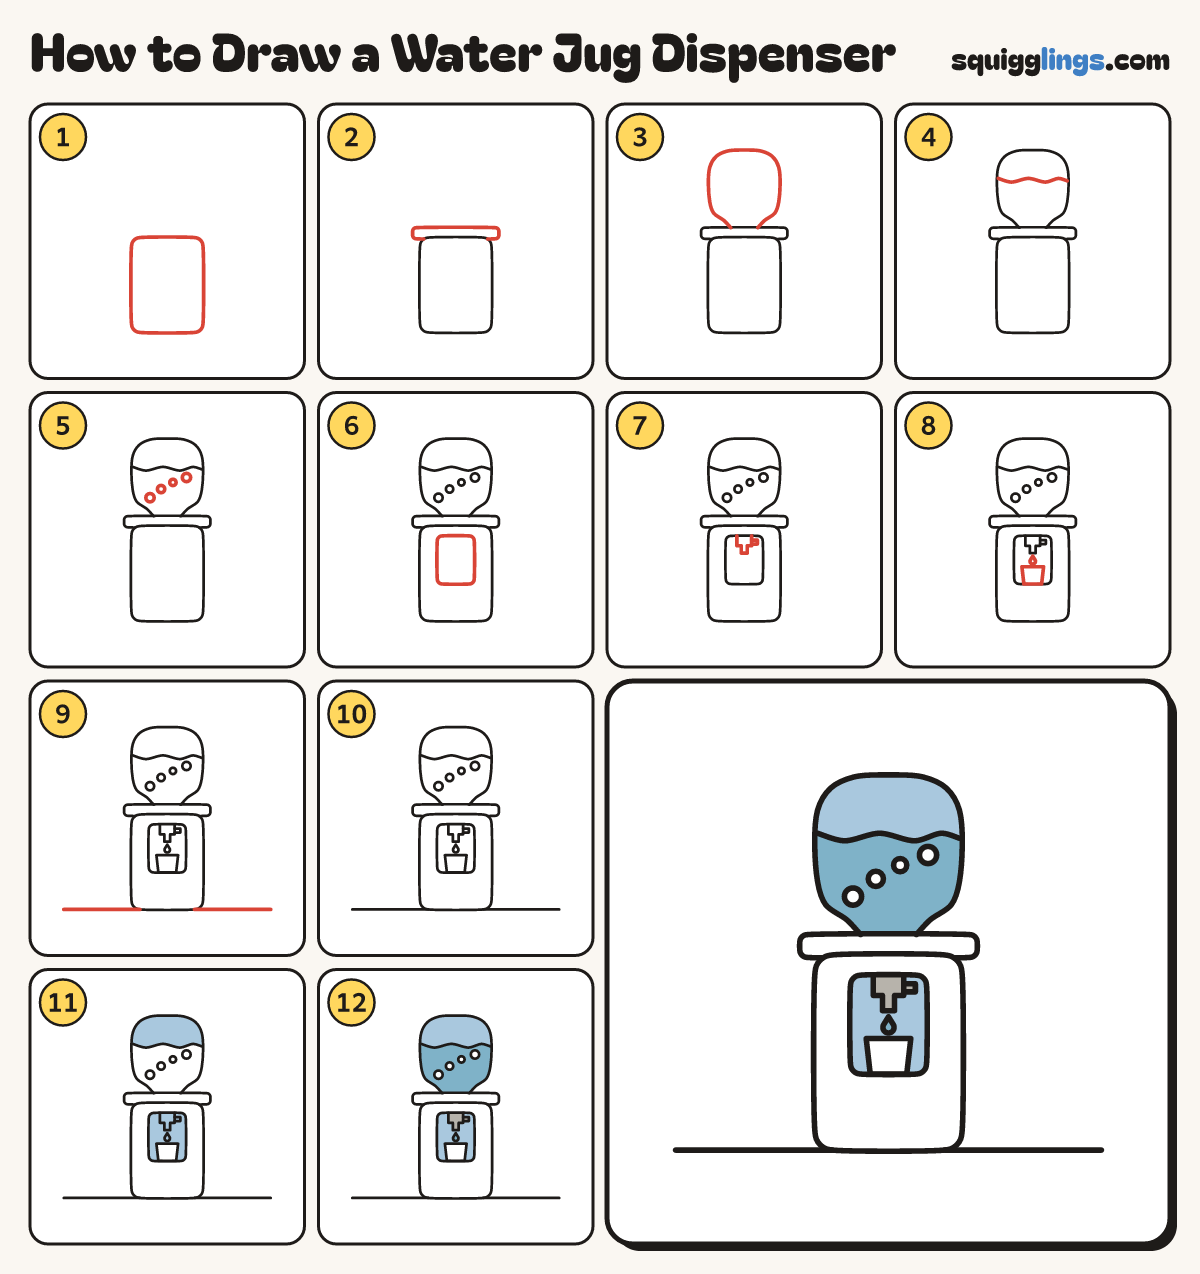
Each picture adds one red line. Draw that line, then scroll to the next picture. Rub out any dashed helper lines at the end. First up: the cooler.
Step 1: The cooler
Below the middle draw a tall box standing on the ground, taller than it is wide, with soft rounded corners.
Tip The big jug sits upside down and glugs as people fill their cups.
Step 2: The collar
On top of the box draw a flat wider band, like a lid sticking out a little on each side.
Step 3: The jug
Draw a big upside-down jug: from the collar go up, over a big round top, and down to the collar.
Step 4: The water line
A little way down inside the jug draw a gently wavy line from side to side, for the water's top.
Step 5: Bubbles
Inside the water dot 4 little bubbles of different sizes, climbing from low left to high right.
Step 6: A cup hollow
High on the cooler's front, in the middle, draw a tall rounded box for the hollow where cups go.
Step 7: The tap
From the hollow's top draw a T-shaped tap with a spout pointing down, back to the top. Add a lever.
Step 8: A cup
Under the spout draw a small paper cup, wider at the top, and a little teardrop drip above it.
Step 9: The ground
Draw a ground line from left to right through the bottom of the box.
Step 10: White cooler
Go over your lines. Colour the box and the collar white, going around the hollow, and the cup white.
Step 11: Sky blue
Colour the empty top of the jug and the hollow sky blue, going around the tap, lever, drip and cup.
Step 12: Water and tap
Colour the water and the drip blue, leaving the bubbles white, and the tap and lever grey.
Your finished drawing
Follow the steps above and this is where you end up: a water jug dispenser, drawn by you.
Every step in one picture