Watch it draw itself · tap to replay
How to Draw a Tripod
Draw a tripod in 12 easy steps, about 9 minutes. Free, with a printable worksheet.
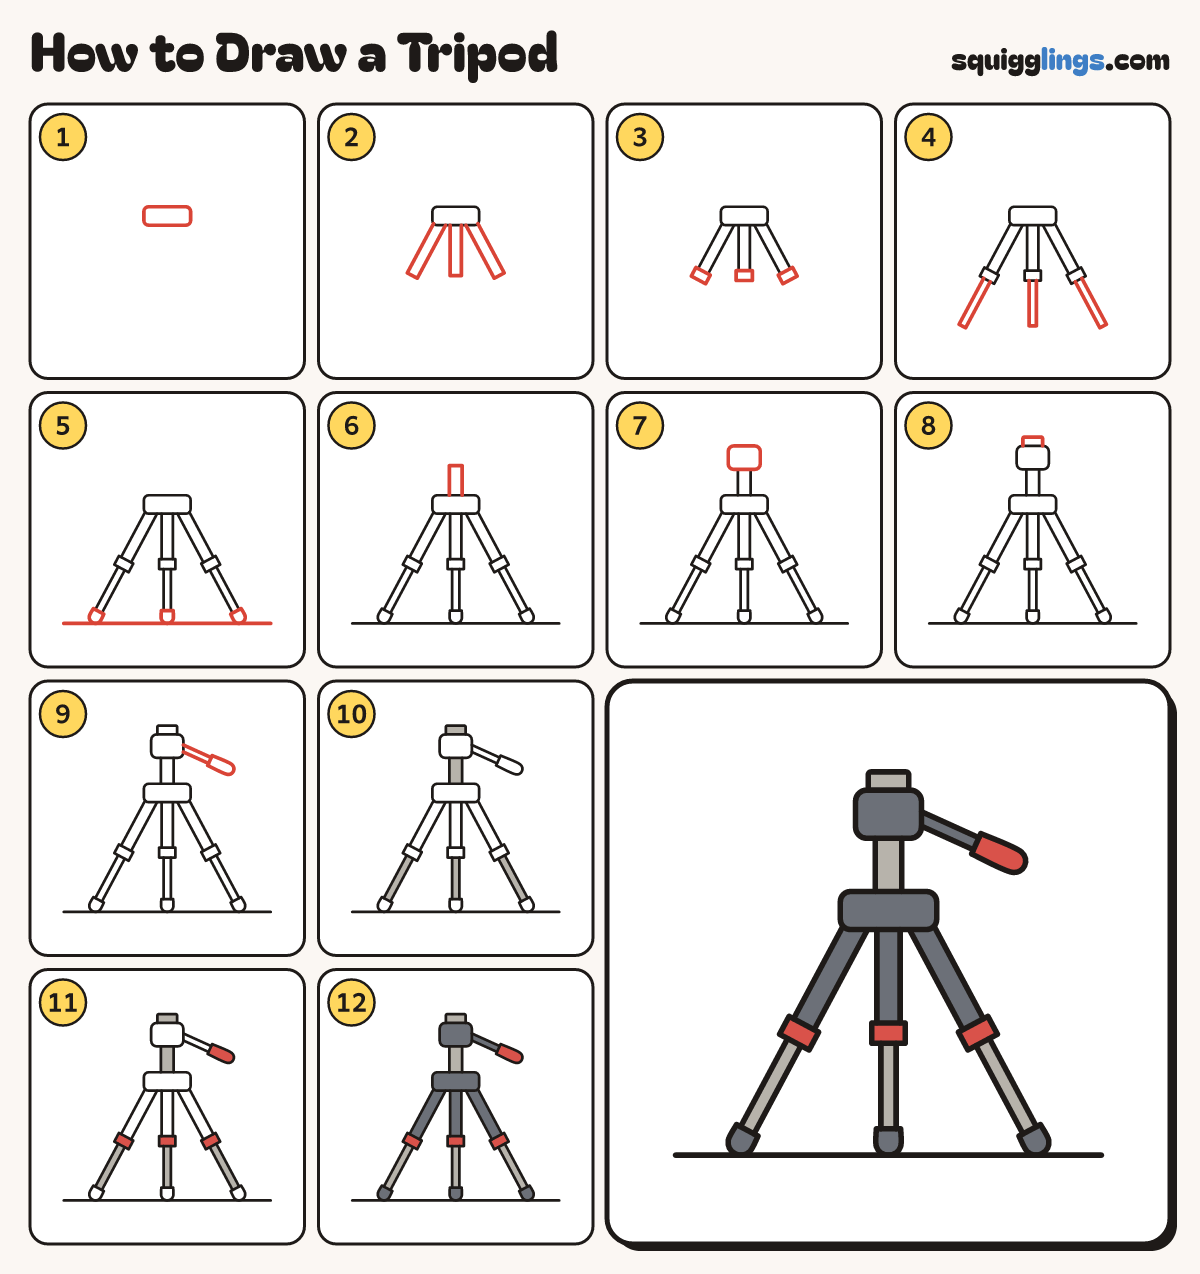
Each picture adds one red line. Draw that line, then scroll to the next picture. Rub out any dashed helper lines at the end. First up: centre block.
Step 1: Centre block
A third of the way down, in the middle, draw a small wide box with soft corners.
Tip All 3 legs will hang from this block.
Step 2: Three top legs
From under the block draw 3 fat sticks: one straight down, one slanting out each side. Stop halfway down.
Tip Make the 2 slanting legs match.
Step 3: Leg clamps
At the end of each fat stick draw a short wide band across it.
Step 4: Thin lower legs
From each band draw a thinner stick going the same way. Stop near the bottom.
Step 5: Rubber feet
Cap each leg with a small round foot. Then draw a ground line under all 3 feet.
Step 6: Centre post
From the top of the block draw a short thick post straight up.
Step 7: The head
On top of the post draw a box with soft corners, wider than the post.
Step 8: Camera plate
On top of the head draw a thin flat plate. A camera sits here.
Step 9: Turning handle
From the right side of the head draw a thin rod slanting down. End it with a fat grip.
Step 10: Silver parts
Colour the 3 thin lower legs, the centre post and the top plate light grey.
Step 11: Red clamps
Colour the 3 leg bands and the handle grip red.
Step 12: Dark grey tripod
Colour the head, rod, block, 3 top legs and 3 feet dark grey. Your tripod is ready!
Tip Go over your lines first.
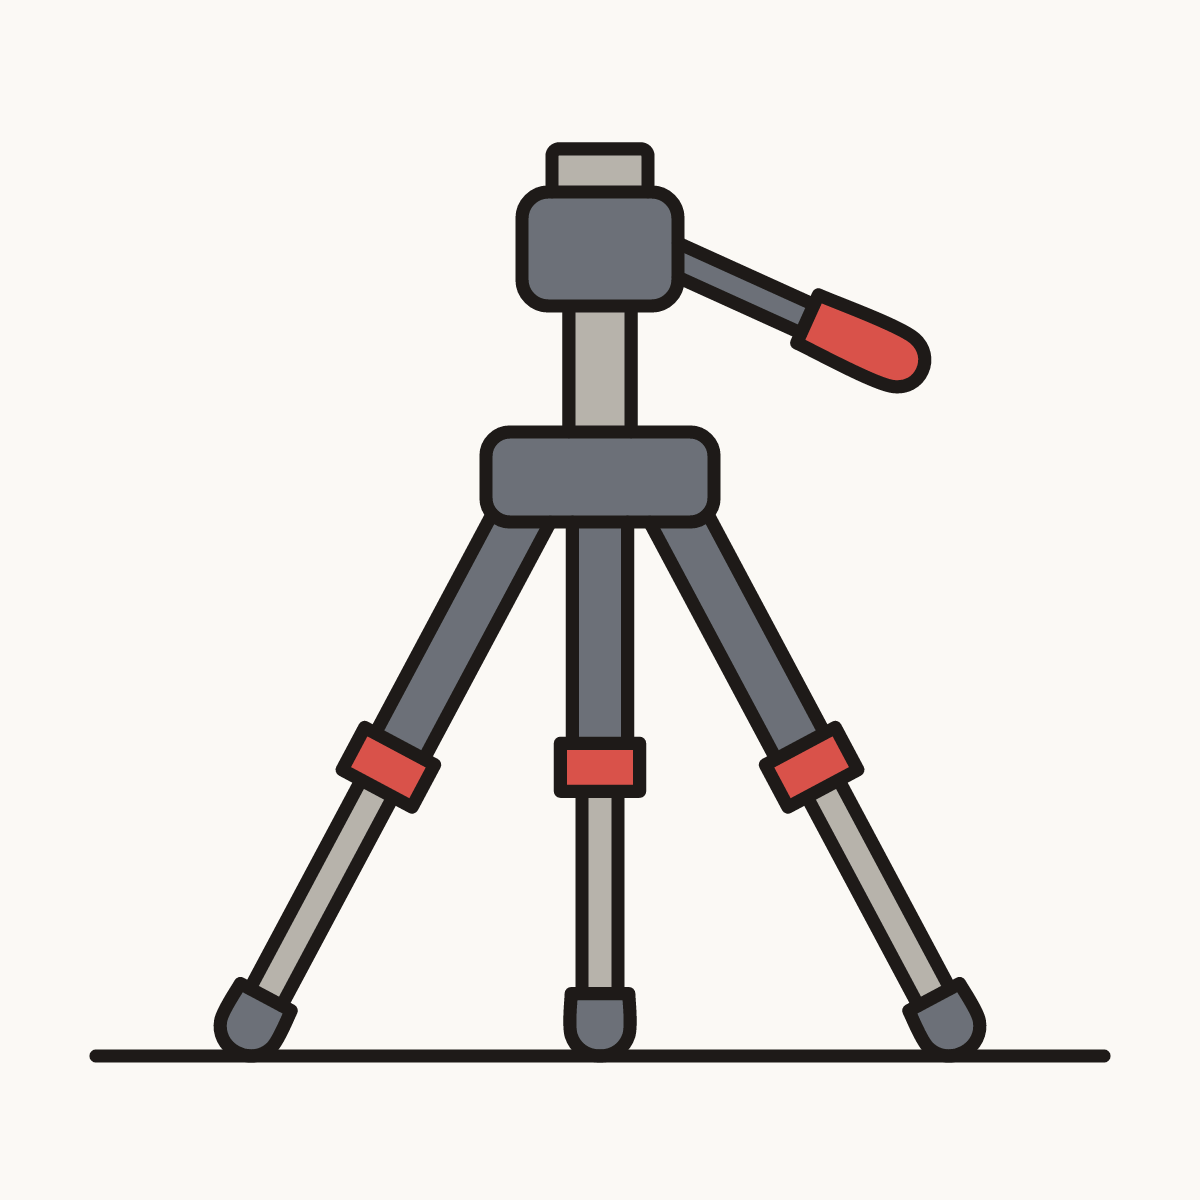
Your finished drawing
Follow the steps above and this is where you end up: a tripod, drawn by you.
Every step in one picture