Watch it draw itself · tap to replay
How to Draw a Toddler Bed
Draw a toddler bed in 13 easy steps, about 10 minutes. Free, with a printable worksheet.
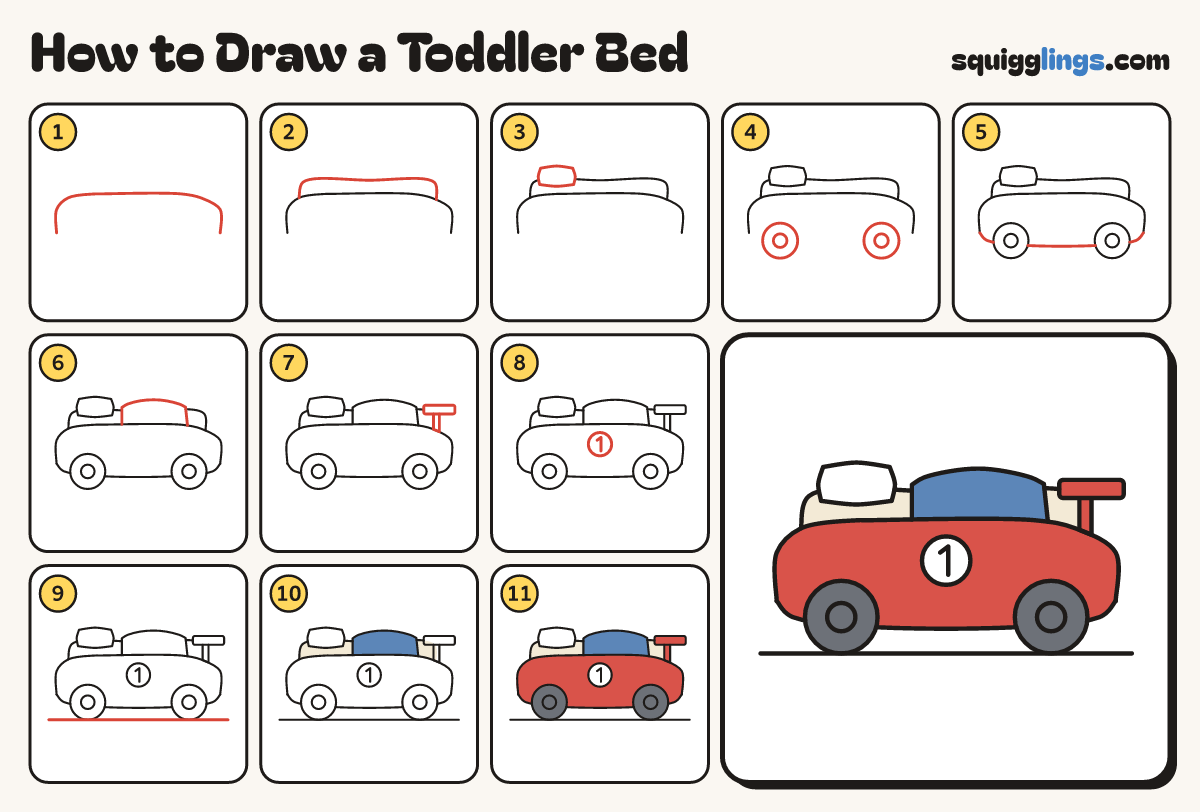
Each picture adds one red line. Draw that line, then scroll to the next picture. Rub out any dashed helper lines at the end. First up: two bed posts.
Step 1: Two bed posts
Draw a tall post with a round top on the left. Draw a shorter one far to the right.
Tip A toddler bed is small and low, so it is easy to climb into.
Step 2: The side board
Low down, join the posts with a long thin box. Leave a gap under it for the legs.
Step 3: The mattress
On the side board draw a long flat mattress with soft corners, from post to post.
Step 4: Puffy pillow
On the mattress draw a puffy pillow with 4 soft corners, next to the tall post.
Step 5: The safety rail
Start high on the tall post. Draw a bar to the middle that bends down behind the mattress.
Step 6: 2 rail bars
Under the rail draw 2 thin bars going down behind the pillow.
Step 7: The blanket
From the rail to the short post draw a blanket over the mattress, hanging down to a wavy edge.
Step 8: Blanket fold
Draw a line down the blanket near its left edge, from top to bottom, for the folded end.
Step 9: Blanket dots
Draw 3 small round dots on the blanket, in a slanted row.
Step 10: The floor
Start left of the bed and draw a long floor line under the posts. Stop past the right post.
Step 11: Cream and yellow
Go over your lines. Colour the mattress cream and the 3 dots yellow. Leave the pillow white.
Step 12: Blue blanket
Colour the folded end of the blanket light blue. Colour the rest blue, going around the dots.
Step 13: Wood bed
Colour the posts, the side board, the rail and the bars light brown.
Your finished drawing
Follow the steps above and this is where you end up: a toddler bed, drawn by you.
Every step in one picture