Watch it draw itself · tap to replay
How to Draw a Telephone Pole
Draw a telephone pole in 12 easy steps, about 9 minutes. Free, with a printable worksheet.
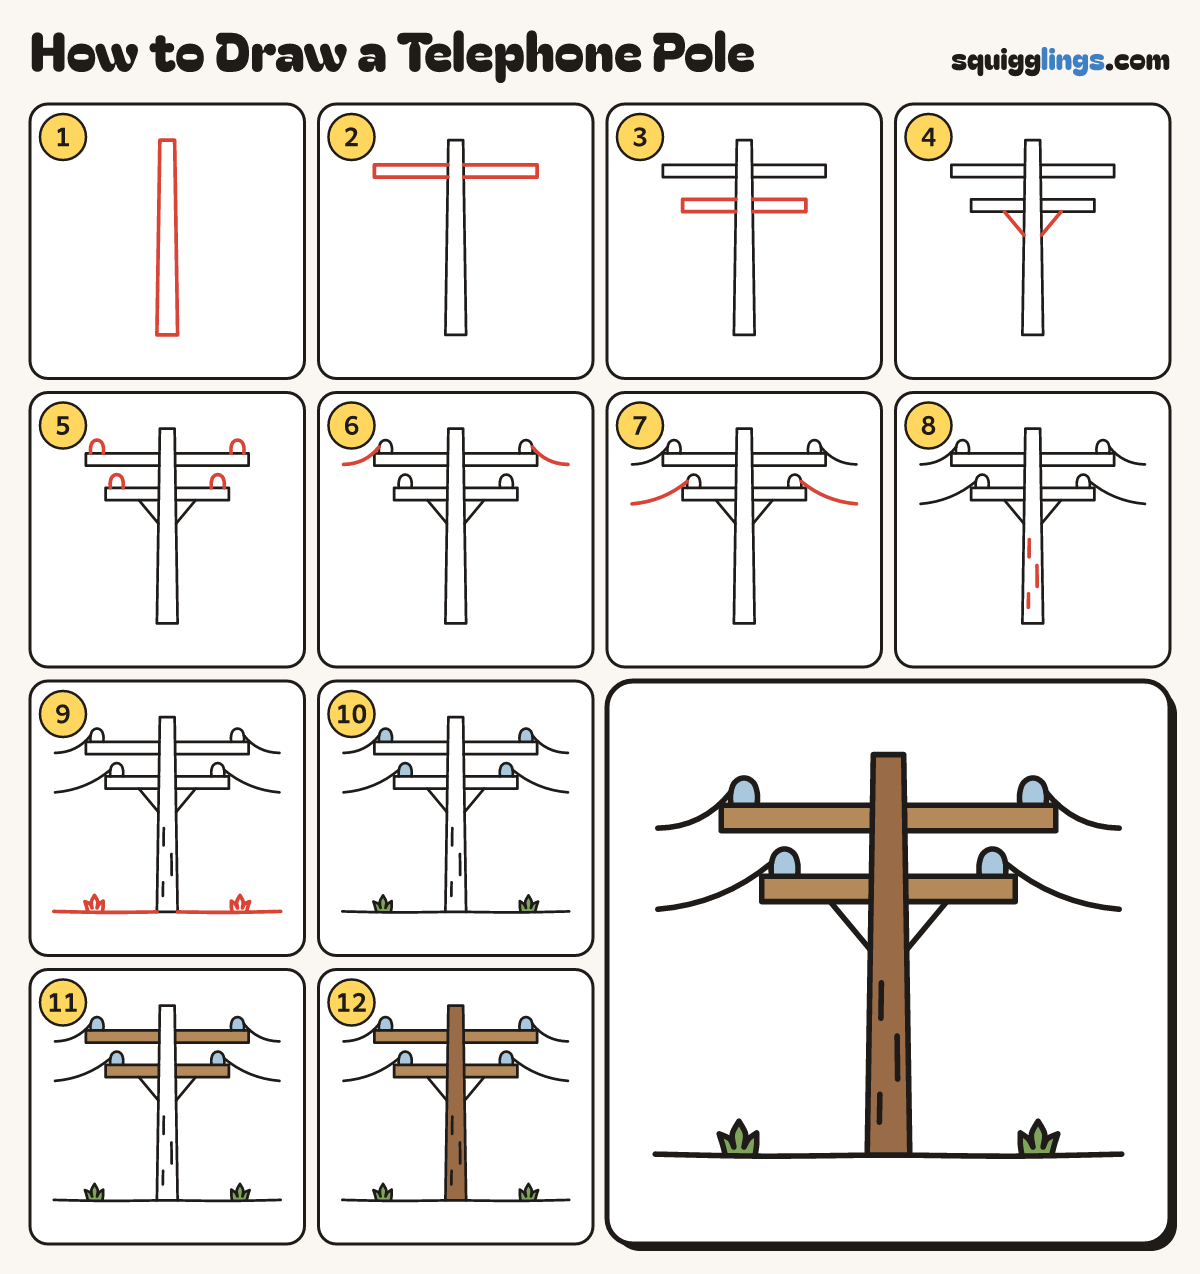
Each picture adds one red line. Draw that line, then scroll to the next picture. Rub out any dashed helper lines at the end. First up: the tall pole.
Step 1: The tall pole
Down the middle of your paper draw a tall thin pole, a little wider at the bottom.
Tip Leave room at the bottom for the ground.
Step 2: The top crossarm
Near the top draw a long thin box across, behind the pole. Make both sides the same length.
Step 3: The lower crossarm
A little lower draw a second thin box across, behind the pole. Make this one shorter.
Step 4: Two braces
Start under each side of the lower crossarm. Slant a line down and in. Stop on the pole.
Step 5: Four knobs
Start on a crossarm near its end. Draw a little bell shape and stop on the crossarm. Draw 4.
Tip The wires rest on these knobs.
Step 6: The top wires
Start at each top knob. Draw a drooping wire out and stop near the edge of your paper.
Step 7: The lower wires
Start at each lower knob. Draw a drooping wire out to the edge, under the top wire.
Step 8: Wood marks
Draw 3 short lines down the pole, here and there, for the grain of the wood.
Step 9: Ground and grass
Draw a ground line from the pole out to each edge. Add a small grass tuft on each side.
Step 10: Blue knobs, green grass
Go over your lines. Colour the 4 knobs light blue and the 2 grass tufts green.
Step 11: Light brown crossarms
Colour both crossarms light brown, on each side of the pole.
Step 12: Brown pole
Colour the pole dark brown. Your telephone pole is done!
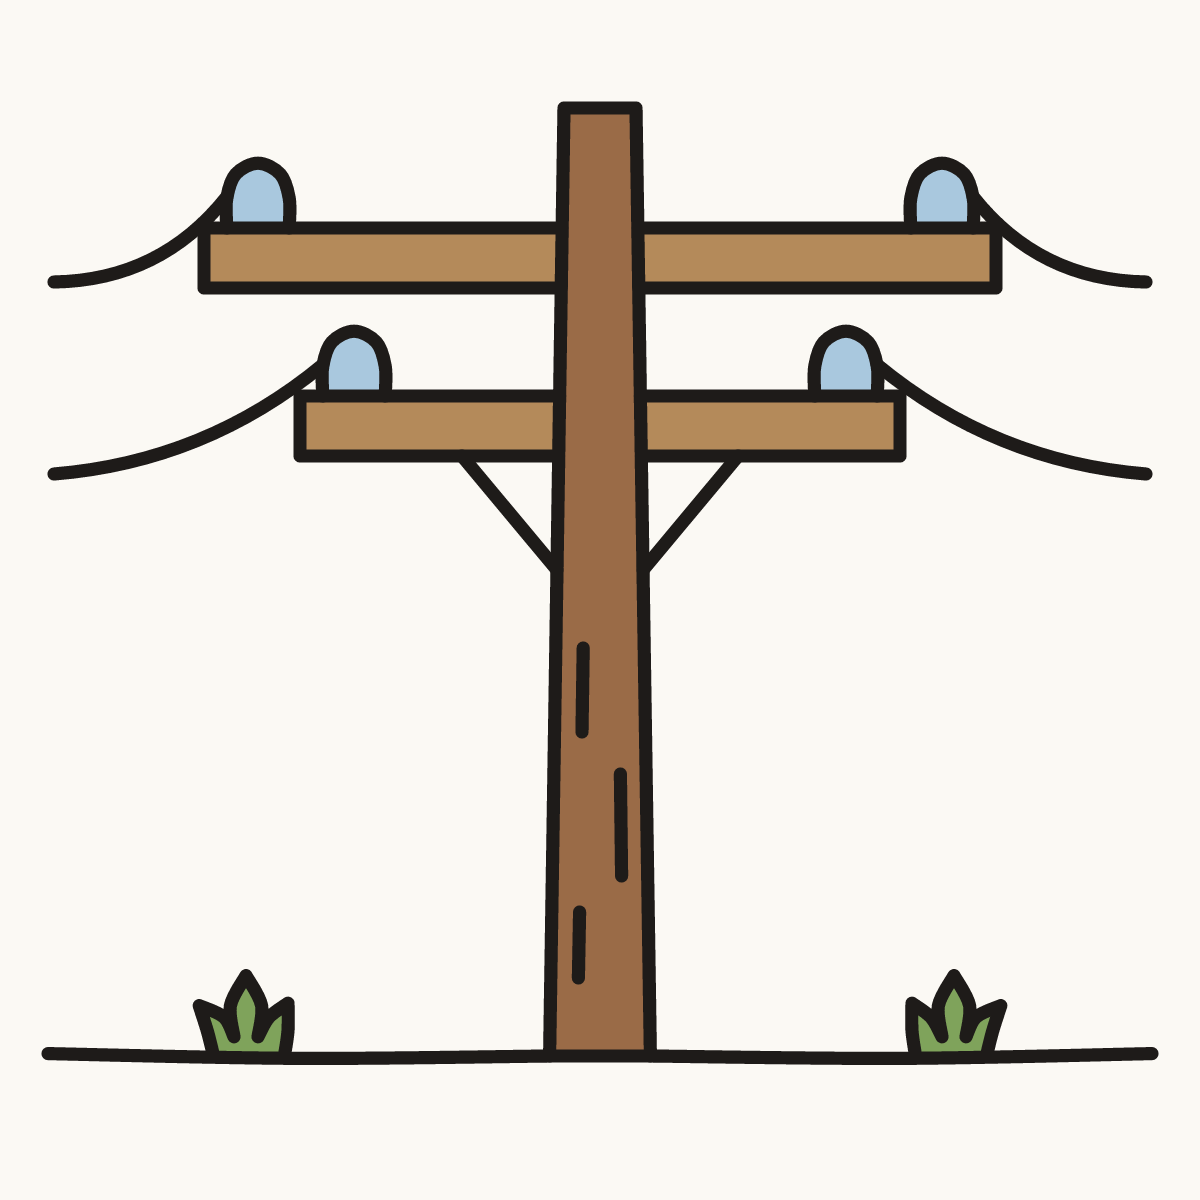
Your finished drawing
Follow the steps above and this is where you end up: a telephone pole, drawn by you.
Every step in one picture