Watch it draw itself · tap to replay
How to Draw a Steamroller
Draw a steamroller in 12 easy steps, about 9 minutes. Free, with a printable worksheet.
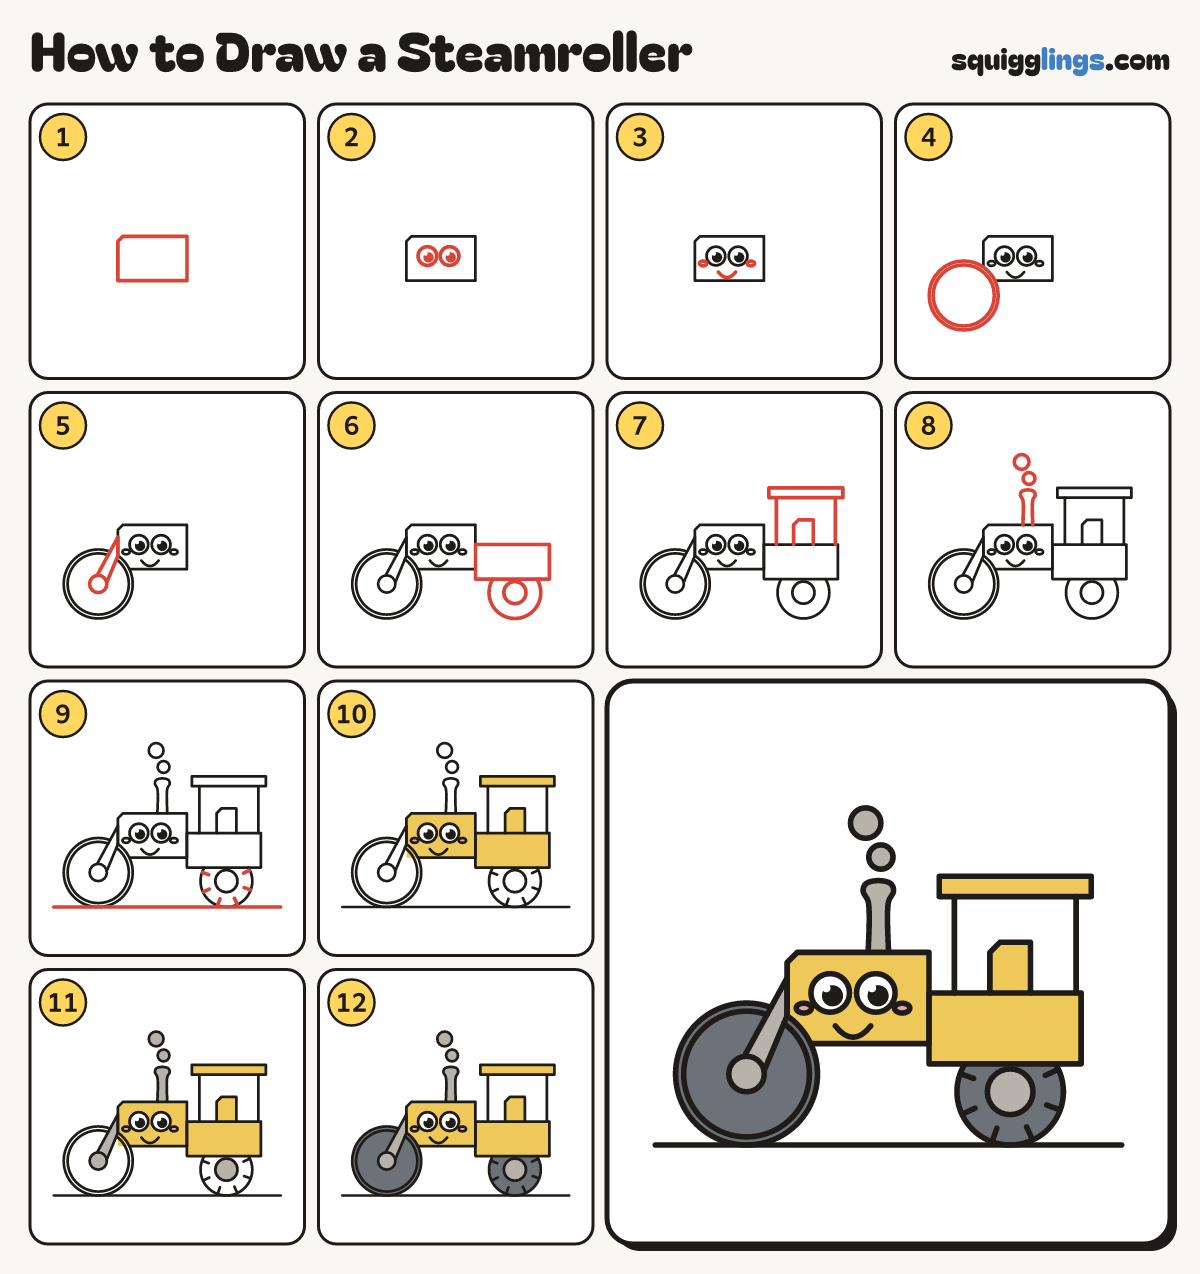
Each picture adds one red line. Draw that line, then scroll to the next picture. Rub out any dashed helper lines at the end. First up: the hood.
Step 1: The hood
Left of the middle, above the bottom, draw a box for the engine hood.
Tip A chunky hood with a big drum in front and an open cab behind.
Step 2: Two headlight eyes
On the hood draw 2 big round headlight eyes above the middle, with a pupil and shine in each.
Step 3: Smile and cheeks
Under the eyes draw a little smile from eye to eye. Add a small oval cheek beside each eye.
Step 4: The big drum
In front of the hood draw a big drum circle, taller than the hood. Add a thin ring just inside.
Step 5: The fork arm
From the hood front draw a fat arm slanting down to the drum's middle. Add a small axle circle there.
Step 6: Cab floor and wheel
Behind the hood draw a lower cab floor box. Under its back end draw a big wheel with a hub.
Tip The floor is as long as the hood. The wheel is smaller than the drum.
Step 7: Open cab
Draw a flat roof over the cab floor, with 2 posts from its ends down to it. Add a seat.
Step 8: Exhaust stack
Start on the hood top. Draw a stack up to a flared top and back down. Add 2 puffs above.
Step 9: Treads and road
On the back tyre draw 6 tread lines pointing in. Rule a road line under the drum and tyre.
Step 10: Yellow machine
Go over your lines. Colour the hood, cab floor, seat and roof yellow, and the cheeks pink.
Tip Keep the eyes white.
Step 11: Grey arm and stack
Colour the arm, the axle, both hubs, the stack and the puffs grey.
Step 12: Slate drum and tyre
Colour the drum and back tyre slate grey, around the arm and hubs. Your steamroller is done!
Your finished drawing
Follow the steps above and this is where you end up: a steamroller, drawn by you.
Every step in one picture