Watch it draw itself · tap to replay
How to Draw Snowshoes
Draw snowshoes in 10 easy steps, about 8 minutes. Free, with a printable worksheet.
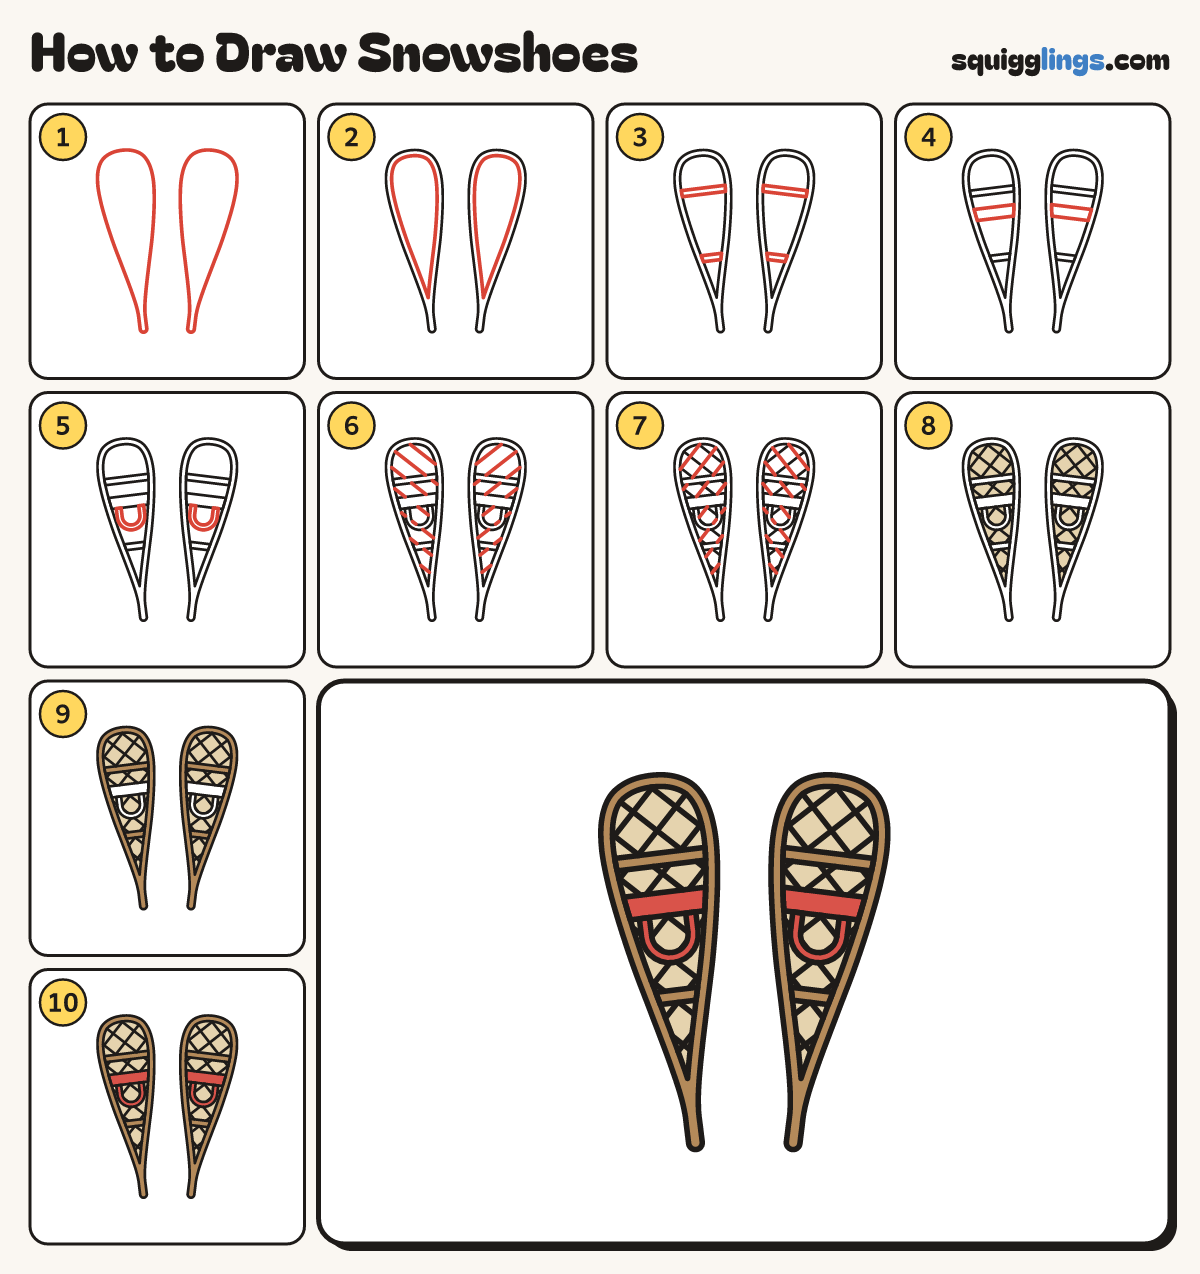
Each picture adds one red line. Draw that line, then scroll to the next picture. Rub out any dashed helper lines at the end. First up: two long frames.
Step 1: Two long frames
Draw 2 long teardrops side by side, round at the top. Bring each down to a short thin tail.
Tip Lean the tops apart a little, like the letter V.
Step 2: Thick frames
Inside each shoe draw a smaller teardrop, a finger in from the edge. End it in a point.
Step 3: Two bars each
Draw 2 thin bars across each shoe: one near the top and one below the middle.
Tip Each bar is 2 lines close together, from edge to edge.
Step 4: Foot straps
Just under each top bar, draw a wide strap across the shoe.
Tip Your boot goes under this strap.
Step 5: Heel loops
Under each strap draw a U-shaped loop, made of 2 lines side by side.
Tip The loop holds the heel of your boot.
Step 6: Slanted lines
Draw slanted lines across each shoe. Start on one edge, stop on the other. Skip the bars and straps.
Step 7: Criss-cross
Now draw lines slanting the other way. Start on one edge and stop on the other, to make diamonds.
Tip This net keeps your feet on top of deep snow.
Step 8: Sand webbing
Go over your lines. Colour the net inside each frame sand yellow. Leave the bars and straps white.
Step 9: Brown wood
Colour the frames, the tails and the 4 bars light brown, like wood.
Step 10: Red straps
Colour the straps and the heel loops red. Your snowshoes are done!
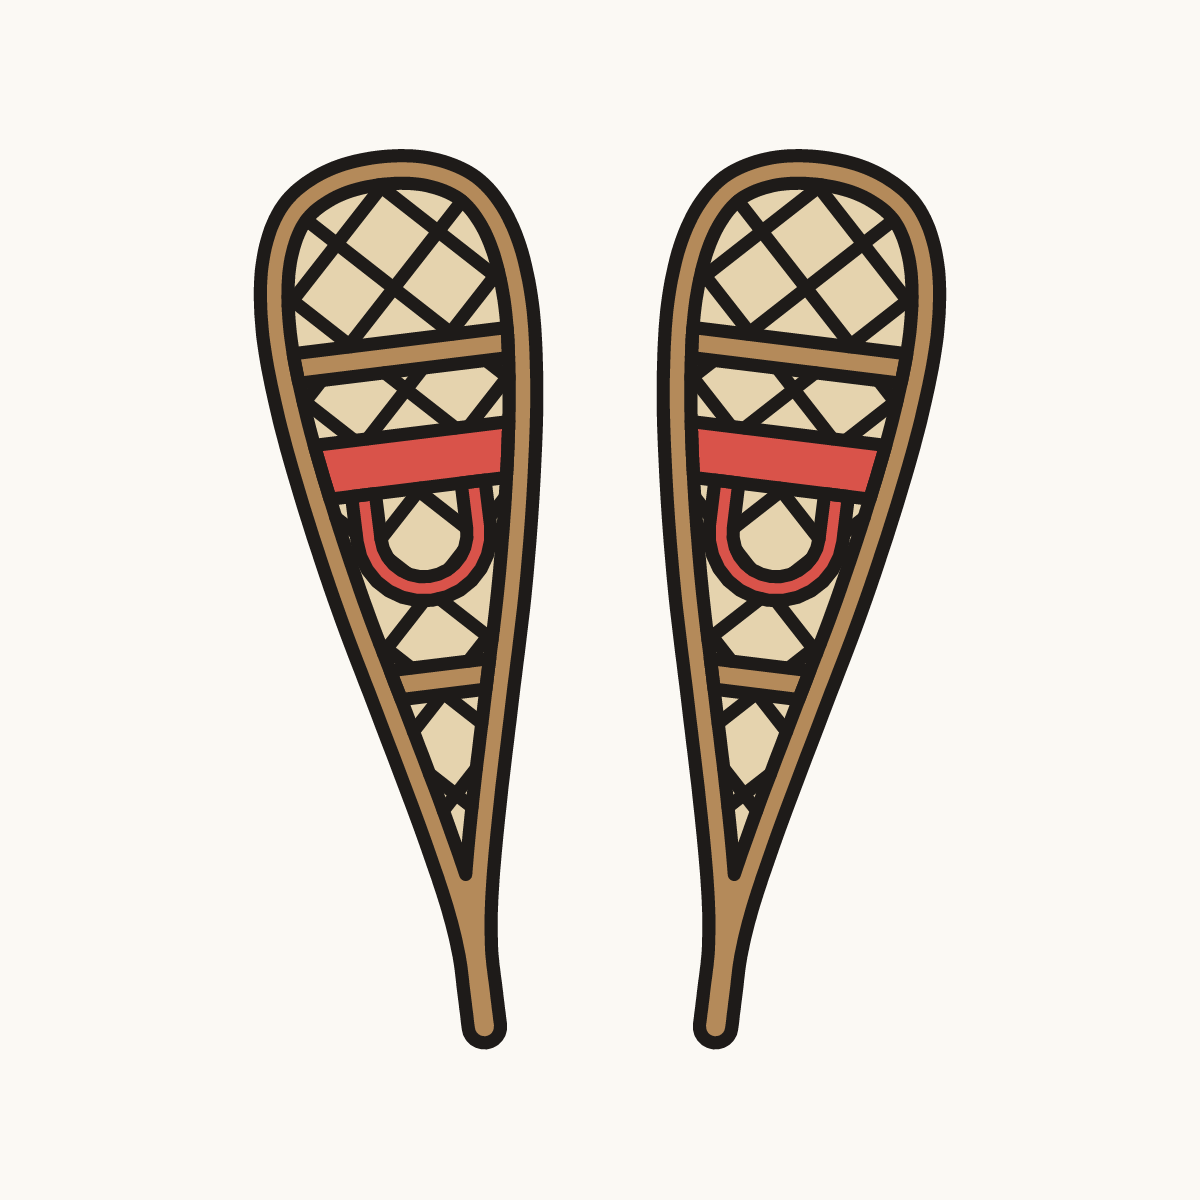
Your finished drawing
Follow the steps above and this is where you end up: snowshoes, drawn by you.
Every step in one picture