Watch it draw itself · tap to replay
How to Draw a Deep Fryer Basket
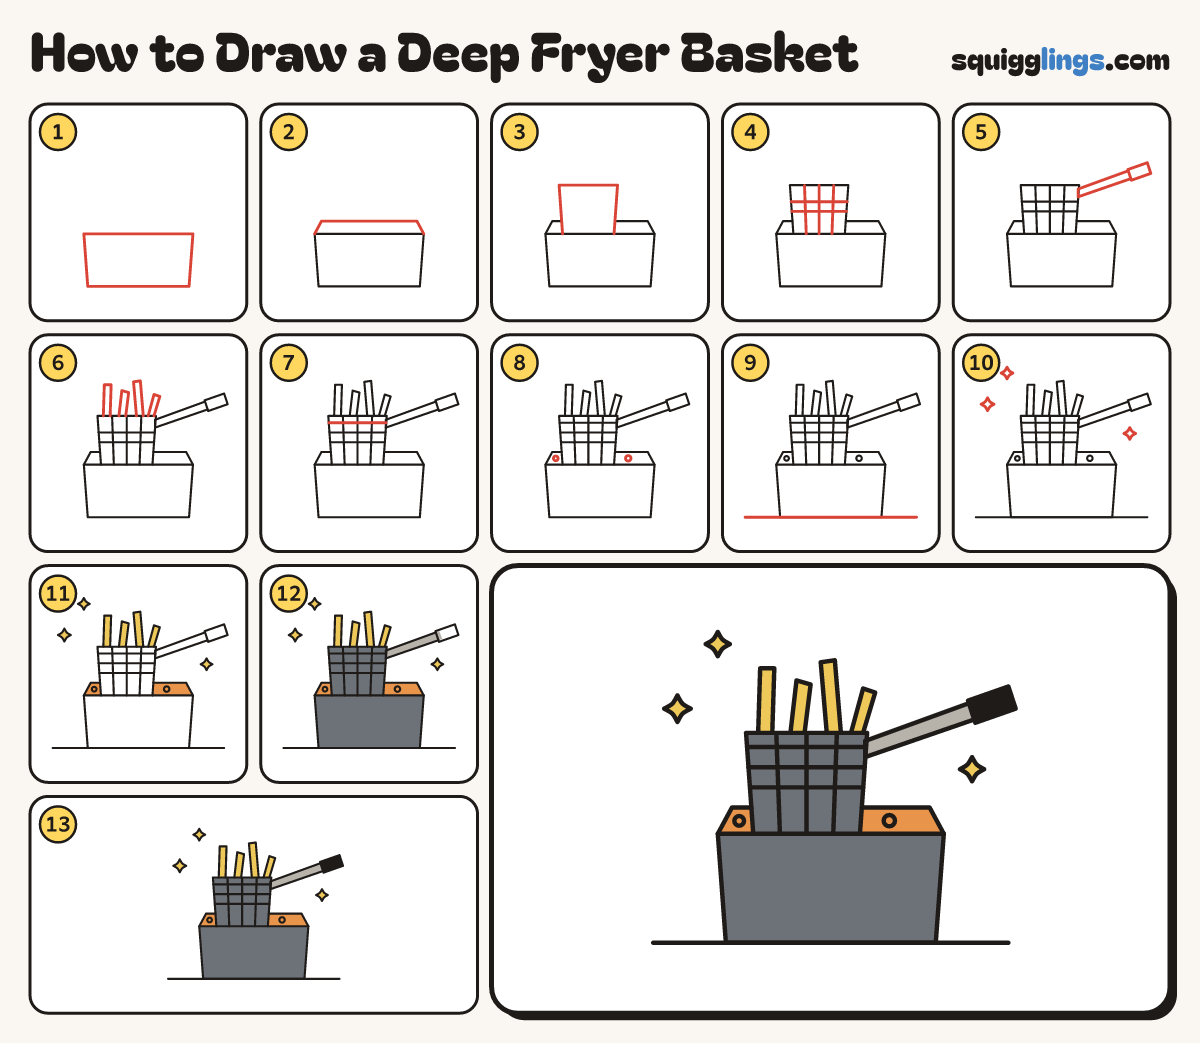
Draw a deep fryer basket in 13 easy steps, about 10 minutes. Free, with a printable worksheet.
Each picture adds one red line. Draw that line, then scroll to the next picture. Rub out any dashed helper lines at the end. First up: the basket.
Step 1: The basket
Draw the basket: a curved top dipping in the middle, 2 sides slanting in, and a curved bottom.
Step 2: Five fries
Standing up out of the basket draw 5 long thin fries, different heights, bottoms hidden behind the basket's top.
Step 3: Back rim
Start at the basket's left corner. Draw a curve bowing up to the right corner, hopping behind the fries.
Step 4: Wire mesh
Inside the basket draw 4 lines from top to bottom and 2 curved lines from side to side.
Step 5: The handle
Just under the basket's right corner draw a thin rod slanting up, with a fat rounded grip on its end.
Step 6: Fryer rim
Start at the basket's left side. Draw a wide flat oval round its bottom, stopping at its right side.
Step 7: The oil
Inside the oval draw a smaller oval the same way, from the basket's left side round to its right.
Step 8: Fryer body
From the big oval's 2 ends draw sides going down. Join them with a flat bottom with round corners.
Step 9: The dial
On the front of the fryer draw a round dial with a short line pointing up inside it.
Step 10: Ground line
Draw a ground line out from each bottom corner of the fryer, 1 to the left and 1 to the right.
Step 11: Yellow fries, orange oil
Go over your lines. Colour the 5 fries yellow and the oil around the basket orange.
Step 12: Grey basket
Colour the basket, the handle rod and the dial grey, around the fries.
Step 13: Slate fryer
Colour the fryer slate grey around the oil and dial, then the grip black. Your fryer basket is done!
Your finished drawing
Follow the steps above and this is where you end up: a deep fryer basket, drawn by you.
Every step in one picture