Watch it draw itself · tap to replay
How to Draw a Skeleton Hand
Draw a skeleton hand in 10 easy steps, about 8 minutes. Free, with a printable worksheet.
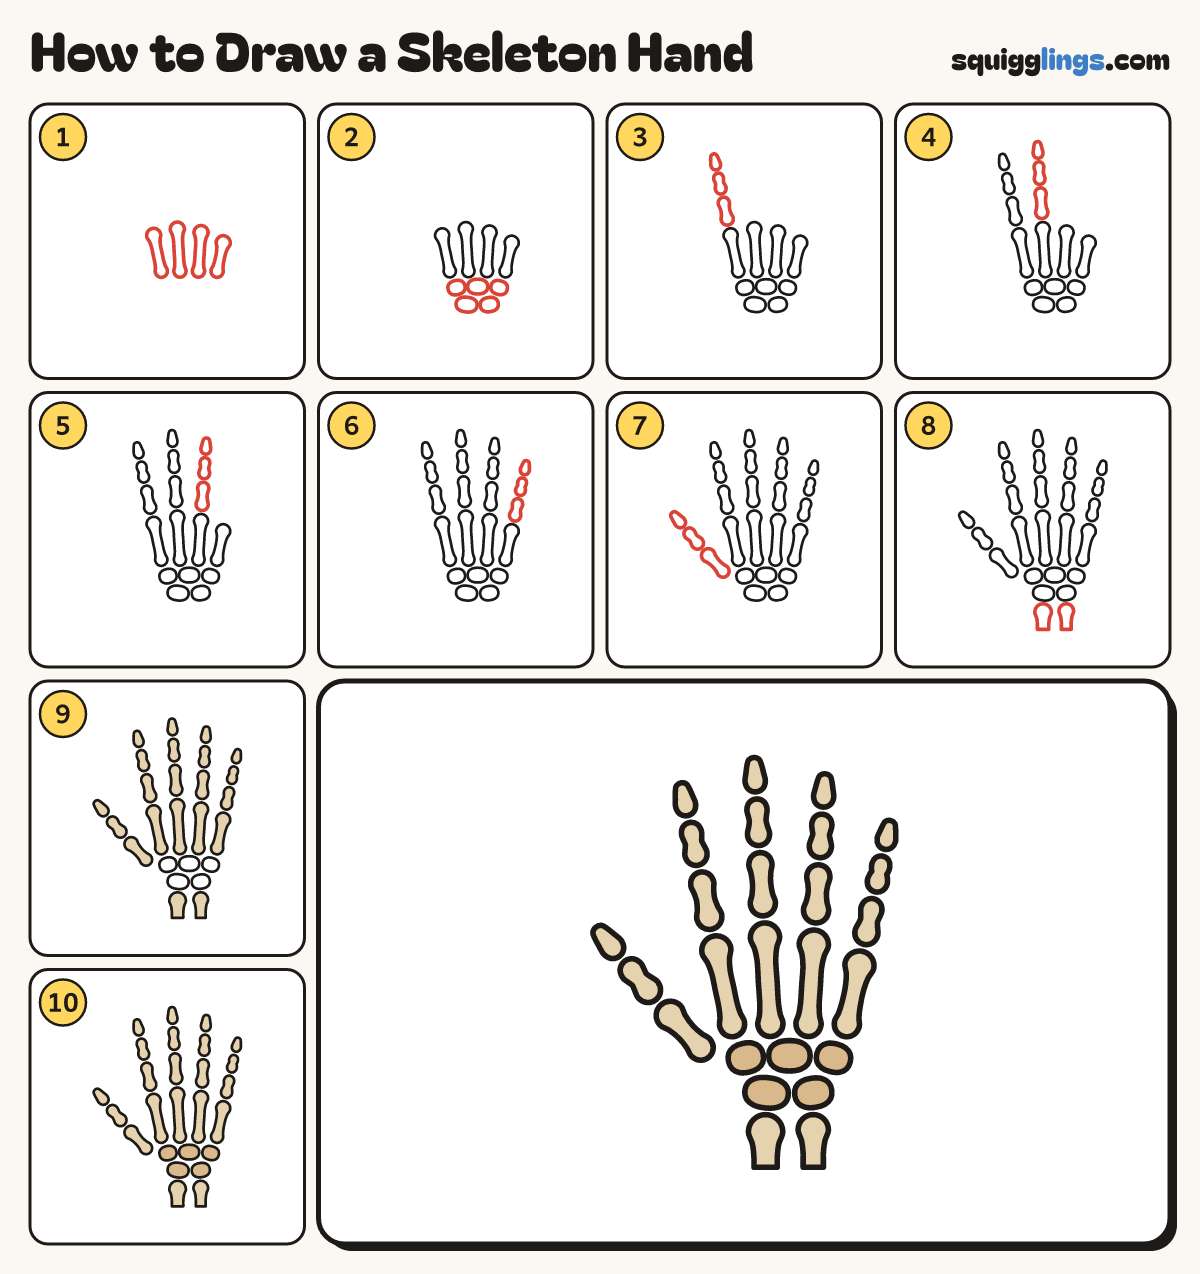
Each picture adds one red line. Draw that line, then scroll to the next picture. Rub out any dashed helper lines at the end. First up: hand bones.
Step 1: Hand bones
In the middle of your paper draw 4 long bones side by side, fanning out at the top like a V.
Tip A bone is a thin stick with a round knob on each end.
Step 2: Wrist pebbles
Under the hand bones draw 3 small pebbles in a row. Draw 2 more pebbles below them.
Tip Leave a little gap around every pebble.
Step 3: Pointer finger
Above the first hand bone stack 3 bones leaning left: a long one, a shorter one, a small rounded tip.
Tip Leave a tiny gap at each joint.
Step 4: Tallest finger
Above the second hand bone stack 3 more bones the same way. This is the tallest finger.
Step 5: Ring finger
Above the third hand bone stack 3 bones, leaning a little to the right.
Step 6: Little finger
Above the last hand bone stack 3 smaller bones, leaning out to the right. This finger is the shortest.
Step 7: Thumb
From the left of the wrist draw 3 bones in a line, leaning far out to the left.
Tip The thumb ends lower than the fingers.
Step 8: Arm bones
Under the pebbles draw 2 thick arm bones going down, each with a round knob on top.
Tip Finish each one with a flat line at the bottom.
Step 9: Sand bones
Colour all the finger bones, the hand bones and the 2 arm bones sand. Leave the pebbles white.
Step 10: Tan wrist
Go over your lines. Colour the 5 wrist pebbles tan.
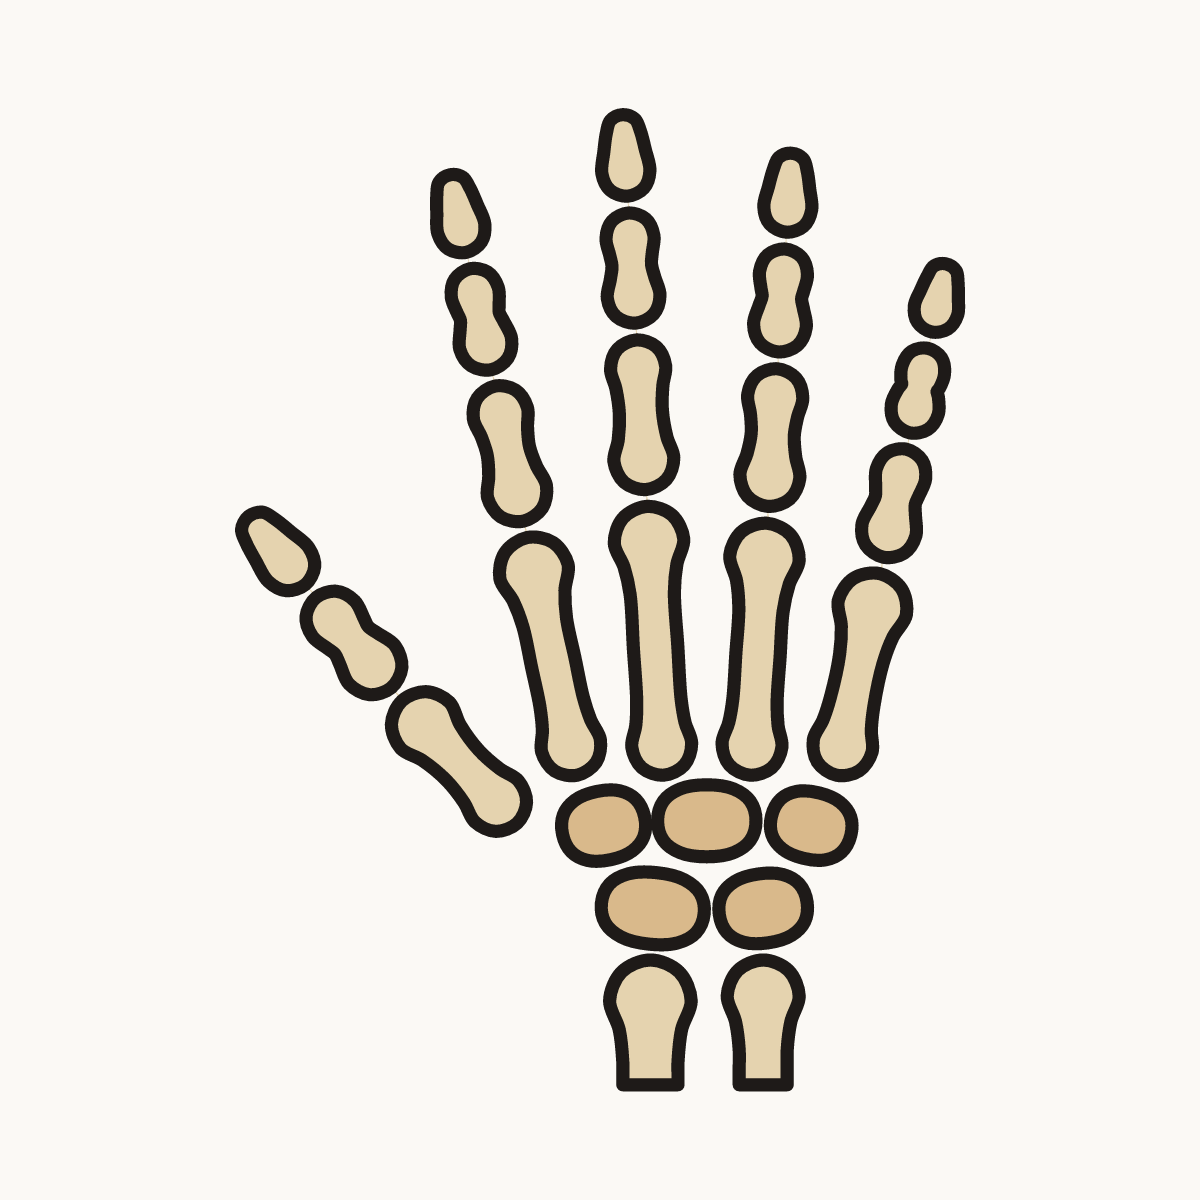
Your finished drawing
Follow the steps above and this is where you end up: a skeleton hand, drawn by you.
Every step in one picture