Watch it draw itself · tap to replay
How to Draw a Silo
Draw a silo in 12 easy steps, about 9 minutes. Free, with a printable worksheet.
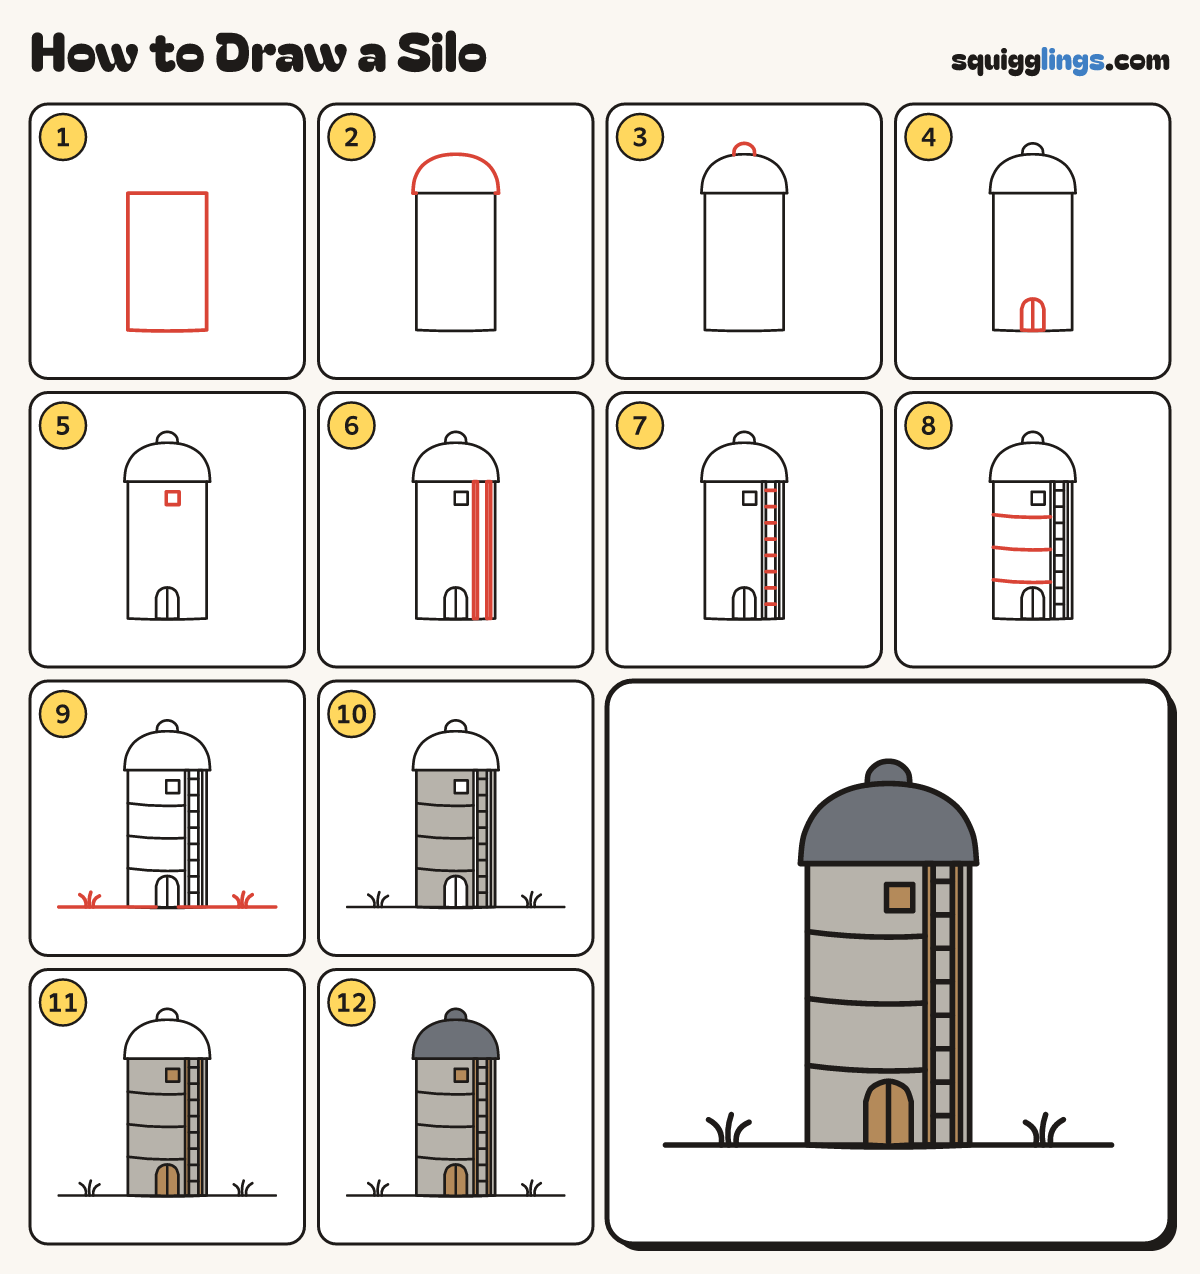
Each picture adds one red line. Draw that line, then scroll to the next picture. Rub out any dashed helper lines at the end. First up: the tall tube.
Step 1: The tall tube
In the middle draw a tall tube standing up: 2 long straight sides, a flat top and bottom.
Tip A silo is like a giant can standing on end.
Step 2: The dome cap
On top of the tube draw a dome like half an egg, from one top corner over to the other.
Tip The dome sticks out a tiny bit past the sides, like a lid.
Step 3: A little vent
Right on top of the dome draw a tiny bump, no taller than a thumbnail, for the vent.
Step 4: The door
At the bottom of the tube draw a small door with a round top and a line down its middle.
Tip The door is small, about a quarter as wide as the tube.
Step 5: A small hatch
Near the top, a little right of the middle, draw a small square for a hatch.
Step 6: The ladder rails
On the right of the tube draw 2 tall skinny rails a finger apart, from the dome to the bottom.
Step 7: The rungs
Between the 2 rails draw 8 short straight lines from the left rail across to the right rail, evenly spaced.
Step 8: 3 bands
Start at the left edge. Draw 3 lines across, sagging down a tiny bit, and stop at the ladder.
Tip The bands bow down a little because the silo is round.
Step 9: The ground
Start at the left edge. Draw a ground line across to the right edge. Add 3 grass blades each side.
Step 10: Grey silo
Go over your lines, then colour the whole tube grey, leaving the door, the hatch and the ladder rails white.
Step 11: Wooden door and ladder
Colour the door, the little hatch and the 2 ladder rails wood brown.
Step 12: Slate dome
Colour the dome and the vent slate grey. Your silo is finished!
Your finished drawing
Follow the steps above and this is where you end up: a silo, drawn by you.
Every step in one picture