Watch it draw itself · tap to replay
How to Draw a Shrimp Boil
Draw a shrimp boil in 12 easy steps, about 9 minutes. Free, with a printable worksheet.
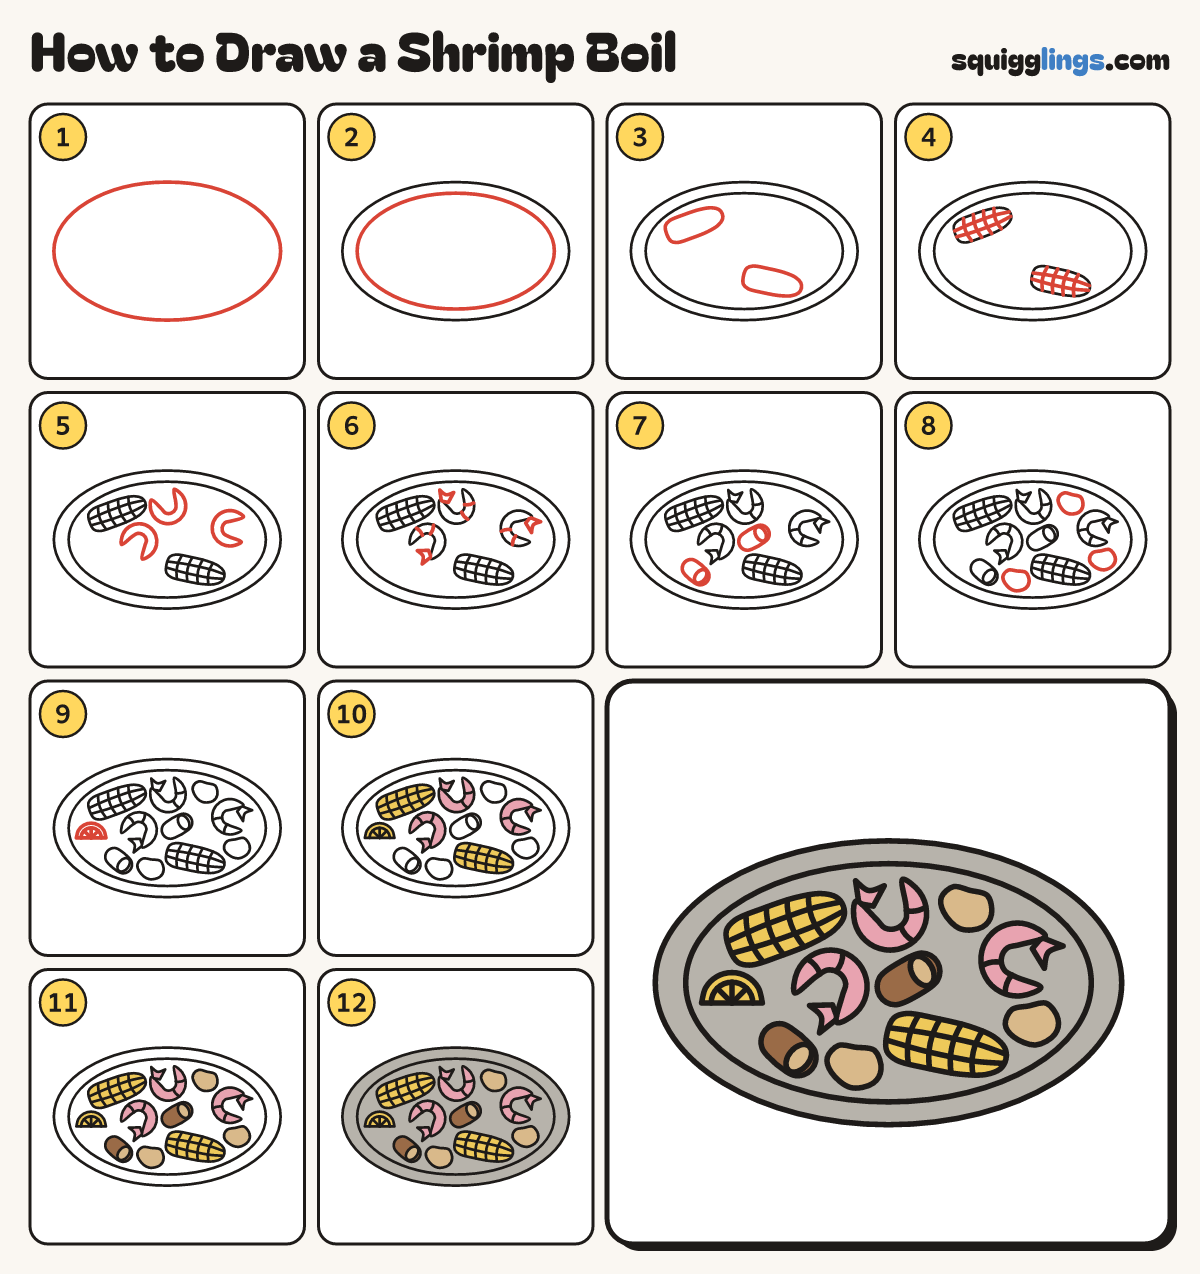
Each picture adds one red line. Draw that line, then scroll to the next picture. Rub out any dashed helper lines at the end. First up: a tray.
Step 1: A tray
In the middle of your paper draw a big oval tray, nearly as wide as the page.
Step 2: The rim
Draw a second oval a finger inside the tray, all the way round, for the rim.
Step 3: Corn cobs
Draw 2 fat sausage shapes for corn cobs, one at the top left and one at the bottom right.
Step 4: Kernels
On each cob draw 2 lines from end to end, then 4 curved lines across from edge to edge.
Step 5: Shrimp
Draw 3 curled shrimp like fat commas, each turned a different way: top middle, right, and left.
Step 6: Tail fans and rings
On the thin end of each shrimp draw a small tail fan. Add 2 short curved lines across each body.
Step 7: Sausage
Draw 2 fat sausage chunks leaning different ways, one in the middle and one at the bottom left.
Step 8: Potatoes
Draw 3 lumpy potatoes: one near the top, one at the right under a shrimp, and one at the bottom.
Step 9: A lemon wedge
At the left draw a half circle lying flat. Add a smaller one inside and 3 lines from the middle.
Step 10: Pink and yellow
Go over your lines, then colour the shrimp pink, and the corn and the lemon yellow.
Step 11: Tan and brown
Colour the potatoes and the sausage ends tan, then the sausage brown around the ends.
Step 12: A grey tray
Colour the tray grey, going around all the food. Your shrimp boil is done!
Your finished drawing
Follow the steps above and this is where you end up: a shrimp boil, drawn by you.
Every step in one picture