Watch it draw itself · tap to replay
How to Draw Shorts
Draw shorts in 11 easy steps, about 8 minutes. Free, with a printable worksheet.
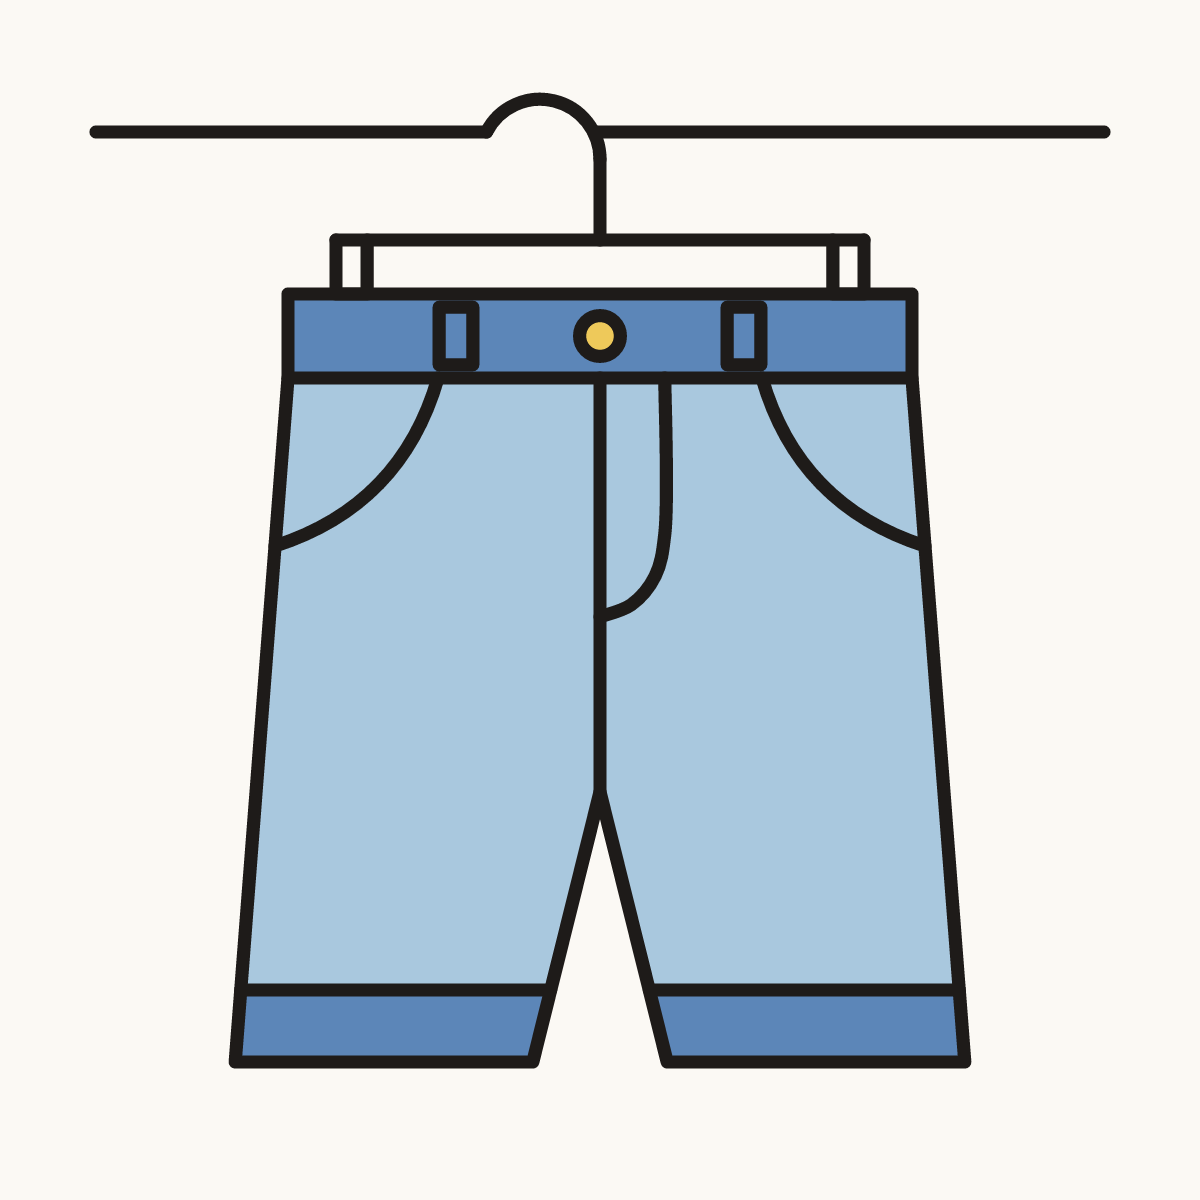
Each picture adds one red line. Draw that line, then scroll to the next picture. Rub out any dashed helper lines at the end. First up: the waistband.
Step 1: The waistband
Above the middle of your paper draw a long flat box. Leave room above it for the hanger.
Tip Make the band about as wide as your hand.
Step 2: Two short legs
From the band's left corner draw 2 short wide legs with an upside-down V between. Stop at the right corner.
Tip Each leg gets a little wider toward the bottom.
Step 3: Button and seam
Draw a round button in the middle of the band. Draw a line from the band down to the V.
Step 4: The fly
Start on the band, right of the seam. Draw a J line down and in. Stop on the seam.
Step 5: Pockets
On each hip start on the band, a thumb from the side. Scoop a curve down to the side edge.
Tip Make both pockets the same size.
Step 6: Belt loops
On the band draw 2 small upright boxes, one on each side of the button.
Tip A belt slides through these loops.
Step 7: Turned-up hems
Near the bottom of each leg, start at one edge. Draw a line across. Stop at the other edge.
Tip Keep both hem lines level.
Step 8: The hanger
Join 2 clips on the band with a bar. From its middle draw a hook curling left, then stop.
Step 9: The rail
Start near the left edge, level with the hook's tip. Draw a straight rail across to the right.
Step 10: Yellow and light blue
Colour the button yellow. Colour the shorts light blue, from the band down to the 2 hem lines.
Step 11: Blue band and hems
Go over your lines. Colour the band, its loops and the 2 hems a darker blue, around the button.
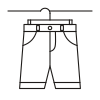
Your finished drawing
Follow the steps above and this is where you end up: shorts, drawn by you.
Every step in one picture