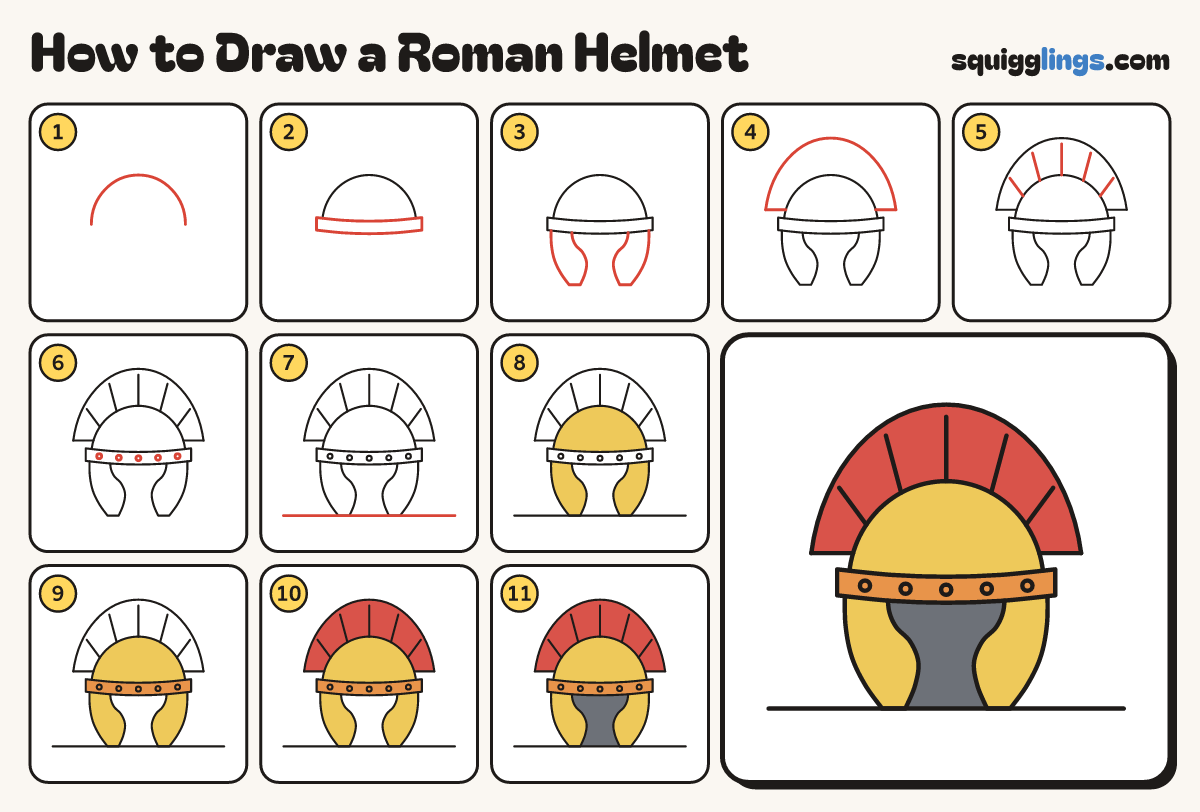
Watch it draw itself · tap to replay
How to Draw a Roman Helmet
Draw a Roman helmet in 11 easy steps, about 8 minutes. Free, with a printable worksheet.
Each picture adds one red line. Draw that line, then scroll to the next picture. Rub out any dashed helper lines at the end. First up: the dome.
Step 1: The dome
In the middle of your paper draw a big dome, like an upside-down U. Start low left, stop low right.
Tip Make both sides of the dome match.
Step 2: Brow band
Across the bottom of the dome draw a long thin band. Let it poke out a little each side.
Step 3: Cheek guards
Under each end of the band draw a cheek guard hanging down. Make it narrow at the flat bottom.
Tip Leave a wide gap between the 2 guards. That is where the face goes.
Step 4: The crest
Start on the dome's left side. Draw a short line out, a tall arch over, and stop on the right.
Tip A Roman centurion wore a crest like this, running from ear to ear.
Step 5: Crest bristles
Inside the crest draw 5 straight lines fanning out from the dome. Stop just before the crest's edge.
Step 6: Rivets
Along the brow band draw a row of 5 tiny round rivets.
Tip Space the rivets evenly, with one right in the middle.
Step 7: Ground
Draw one straight ground line under the helmet, right along the flat bottoms of the cheek guards.
Step 8: Gold dome
Colour the dome and both cheek guards yellow, like shiny gold.
Step 9: Orange band
Colour the whole brow band orange.
Step 10: Red crest
Colour the crest red, between the bristle lines.
Tip Real crests were made of horsehair or feathers, dyed red.
Step 11: Dark inside
Colour the gap between the cheek guards dark grey, down to the ground. Go over your lines. Done!
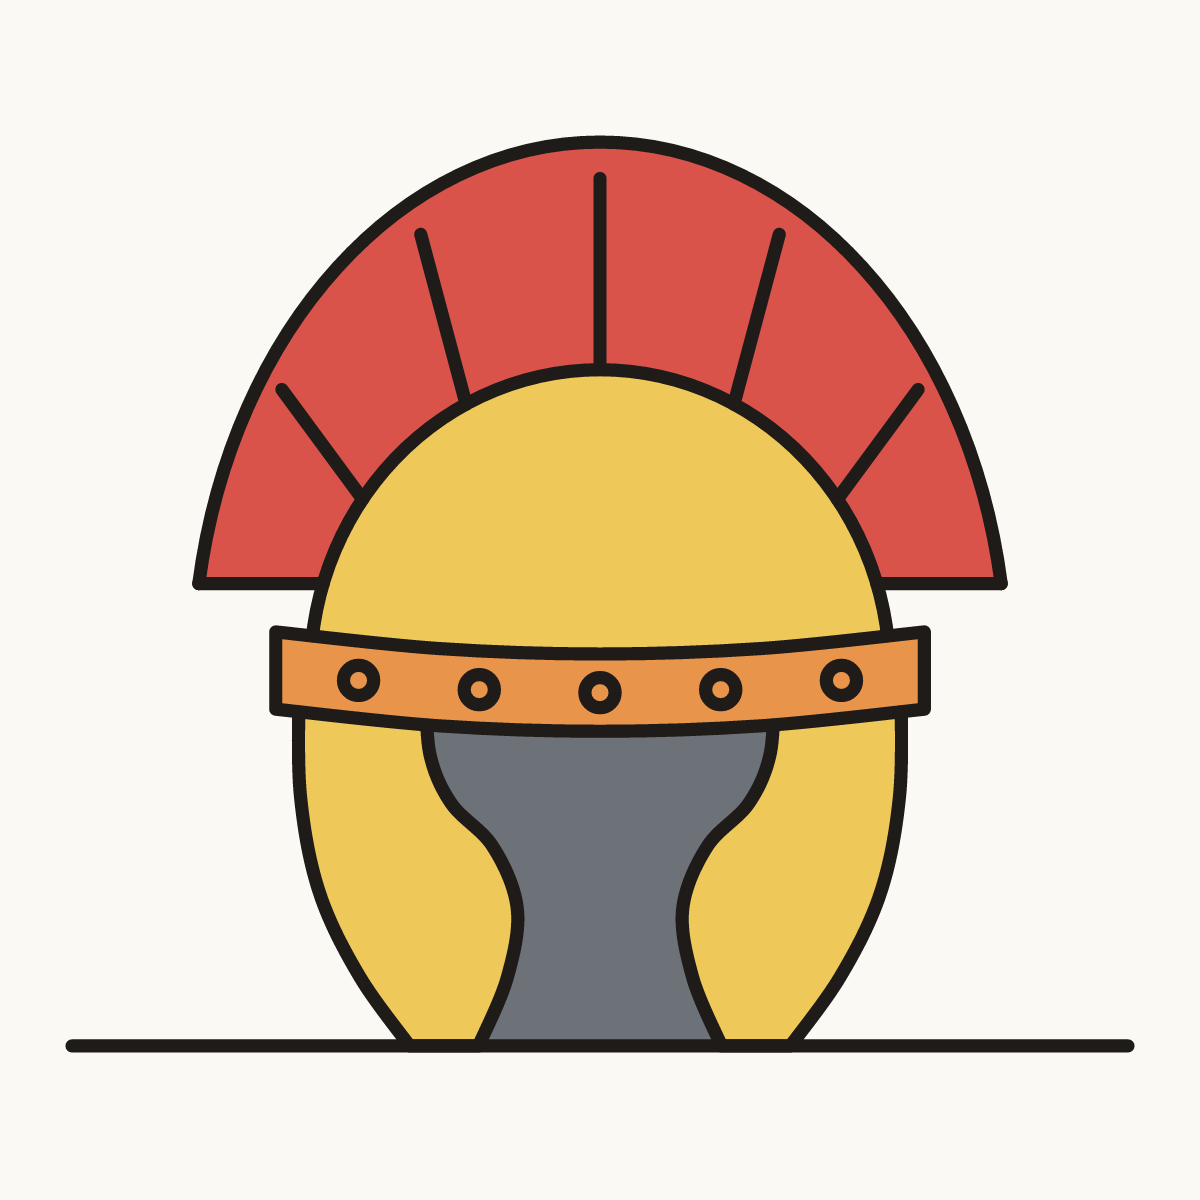
Your finished drawing
Follow the steps above and this is where you end up: a Roman helmet, drawn by you.
Every step in one picture