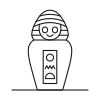
Watch it draw itself · tap to replay
How to Draw a Canopic Jar
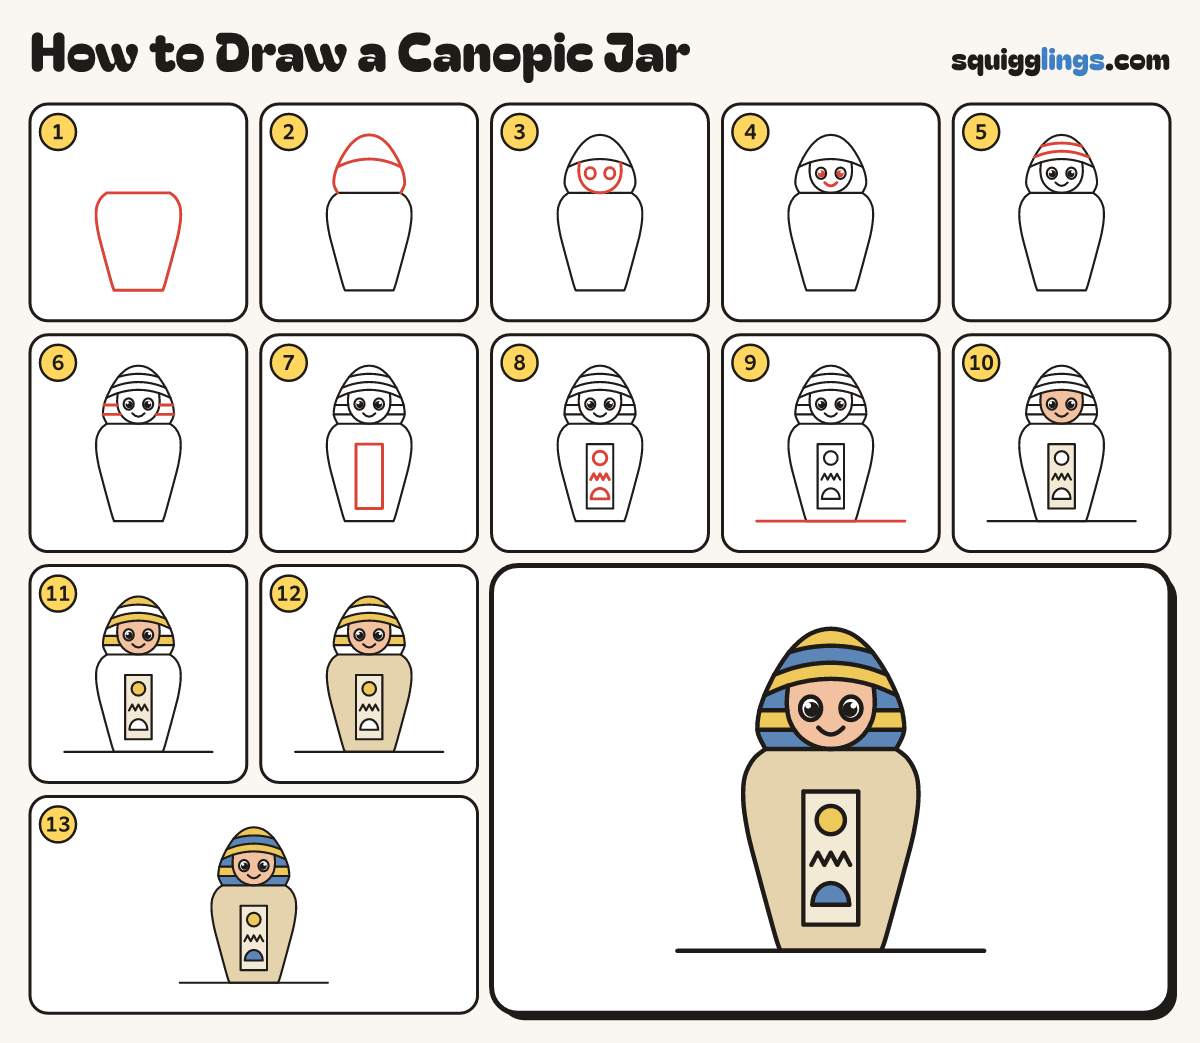
Draw a canopic jar in 13 easy steps, about 10 minutes. Free, with a printable worksheet.
Each picture adds one red line. Draw that line, then scroll to the next picture. Rub out any dashed helper lines at the end. First up: the jar.
Step 1: The jar
Draw a tall pot: a flat top, round shoulders and sides sloping in to a flat bottom.
Tip Leave room above the pot for the lid. The pot is widest near its top.
Step 2: The headdress
From the jar's top left corner draw a tall dome over to the right corner. Add a curve across it.
Tip The lid of a canopic jar is shaped like a head. The curve runs from edge to edge.
Step 3: The face
Hang a U from the curve: start near its left end, touch the jar, go back up. Add 2 eyes.
Tip Make the U wide. The chin just touches the top of the jar.
Step 4: Pupils and smile
Colour a big black dot in each eye, leaving a tiny shine. Draw a U smile below.
Step 5: The headband
Above the face draw 2 more curves across the dome, from side to side.
Tip Each curve bends the same way as the first one.
Step 6: Side stripes
On each side draw 2 straight lines from the outside edge across to the face.
Step 7: The name box
Down the middle of the jar draw a tall thin box.
Tip Egyptians wrote on the front of the jar in a neat column.
Step 8: Three signs
In the box draw a round sun, a zigzag for water and a little dome.
Tip Leave a gap between the signs so each one is easy to see.
Step 9: The ground
Draw a ground line under the jar, poking out on both sides.
Step 10: Peach and cream
Colour the face peach and the name box cream. Leave the eyes white.
Step 11: Yellow stripes
Colour the headband, the very top, the middle stripe on each side and the sun yellow.
Step 12: Sandy jar
Colour the jar sandy yellow, going around the name box.
Tip Real canopic jars were carved from pale stone.
Step 13: Blue stripes
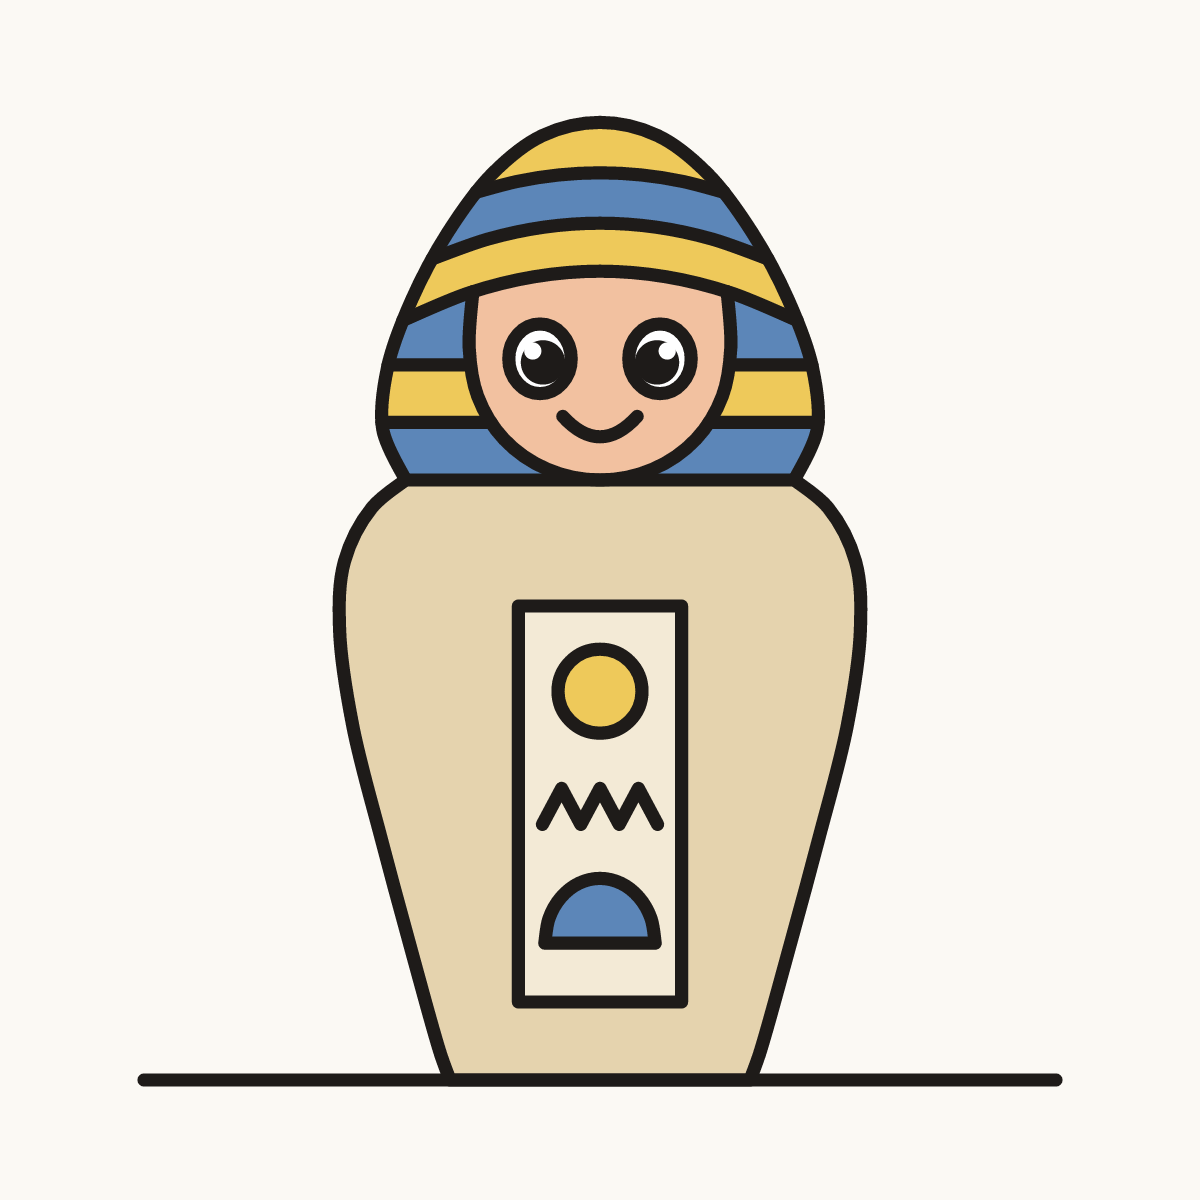
Go over your lines. Colour the other stripes and the little dome blue. Your canopic jar is done!
Your finished drawing
Follow the steps above and this is where you end up: a canopic jar, drawn by you.
Every step in one picture