Watch it draw itself · tap to replay
How to Draw a Resistor
Draw a resistor in 10 easy steps, about 8 minutes. Free, with a printable worksheet.
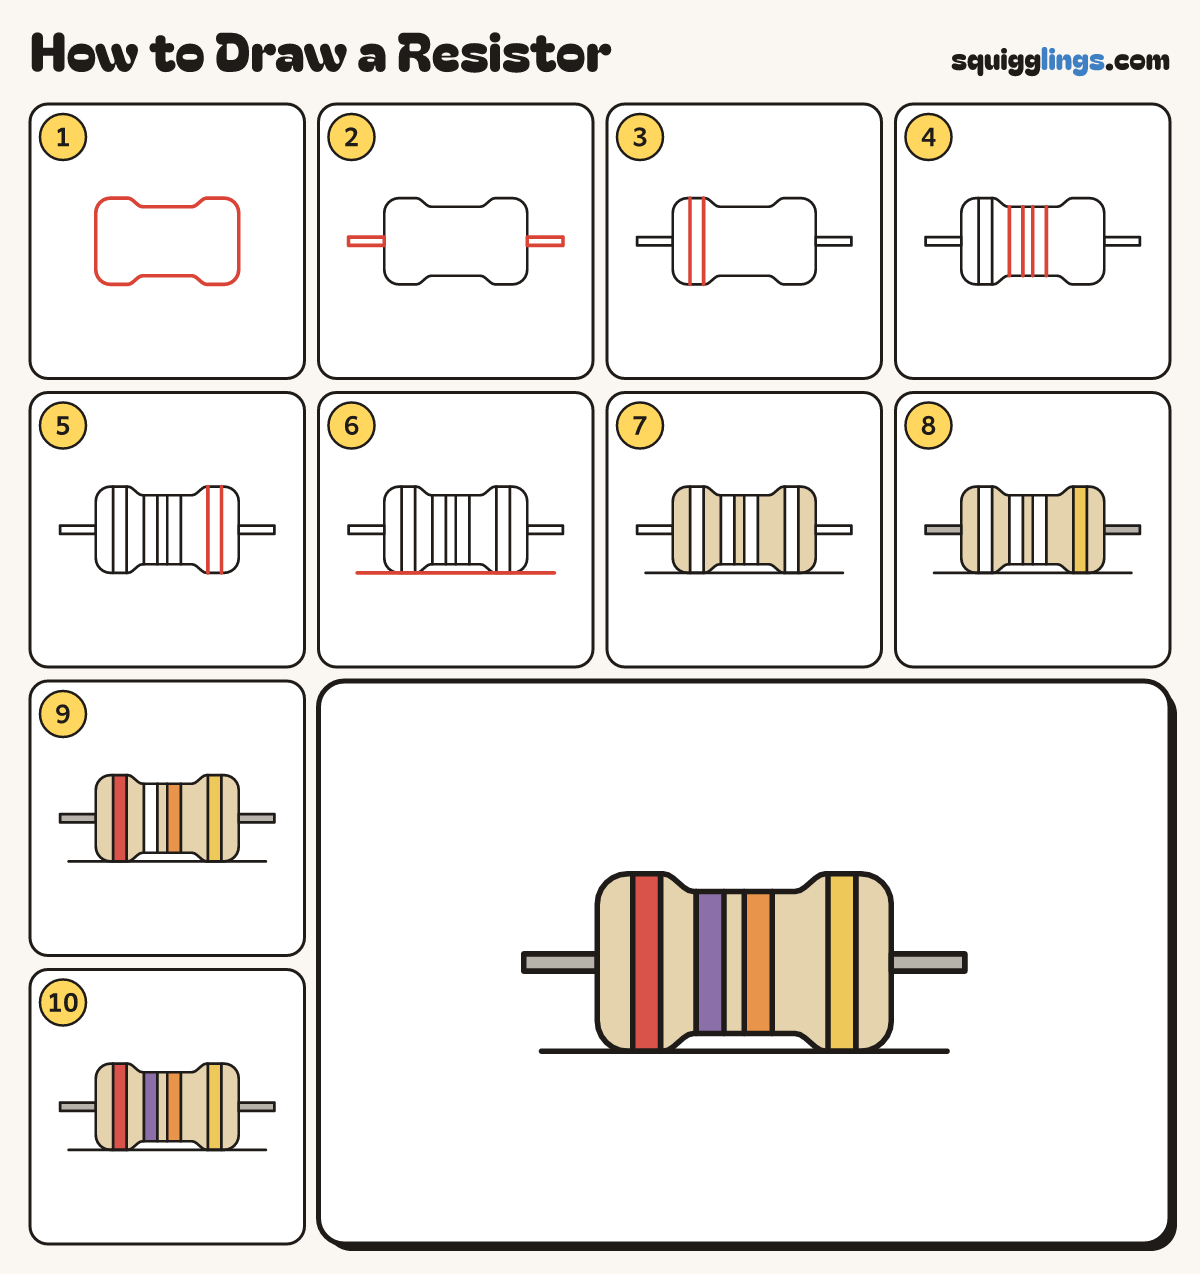
Each picture adds one red line. Draw that line, then scroll to the next picture. Rub out any dashed helper lines at the end. First up: the body.
Step 1: The body
In the middle of your paper draw a long sausage shape, a little fatter at both ends.
Tip A resistor is a tiny part that slows electricity down.
Step 2: Two wires
From the middle of each end draw a long thin wire sticking straight out to the side.
Tip Keep both wires level, like one straight line running through the body.
Step 3: First stripe
On the fat left end draw 2 lines from top to bottom to make a stripe.
Tip The coloured stripes are a code that tells how strong the resistor is.
Step 4: Two more stripes
In the thin middle draw 2 more stripes the same way, close together.
Step 5: Last stripe
On the fat right end draw one more stripe, with a wider gap before it.
Tip The last stripe sits apart so you know which end to read from.
Step 6: The table
Draw a long table line under the body, from left to right, touching the 2 fat ends.
Step 7: Tan body
Colour the body tan, a pale sandy colour. Colour around the 4 stripes and leave them white for now.
Step 8: Yellow and grey
Colour the stripe on the right end yellow. Colour the 2 wires grey.
Step 9: Orange and red
Colour the stripe on the left end red. Colour the stripe nearest the yellow one orange.
Step 10: Purple stripe
Go over your lines, then colour the last stripe purple.
Your finished drawing
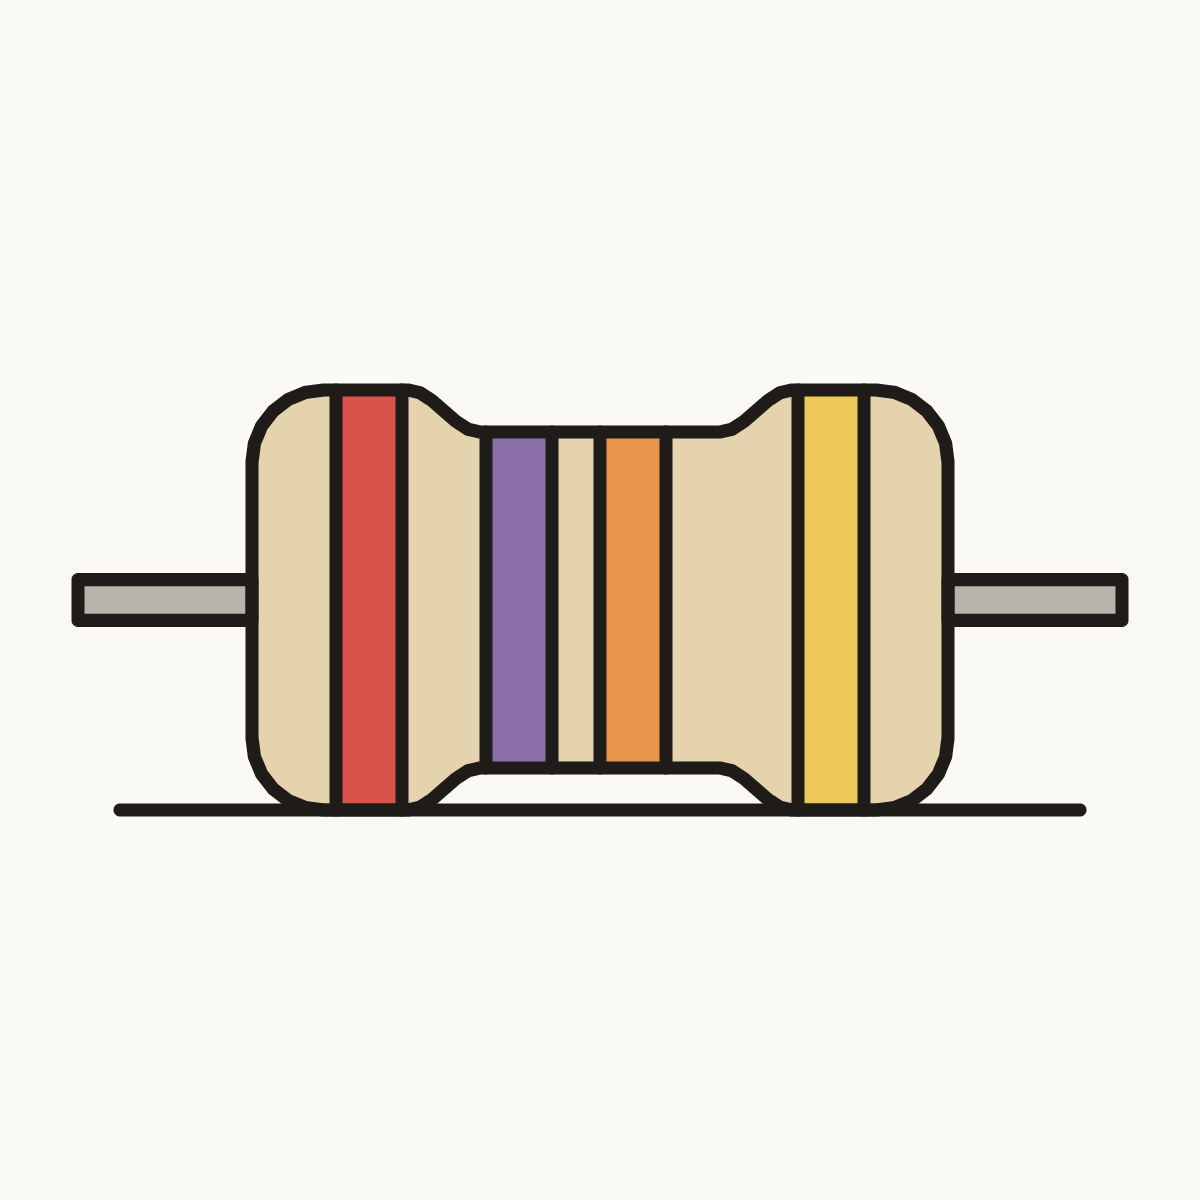
Follow the steps above and this is where you end up: a resistor, drawn by you.
Every step in one picture