Watch it draw itself · tap to replay
How to Draw a Red Blood Cell
Draw a red blood cell in 10 easy steps, about 8 minutes. Free, with a printable worksheet.
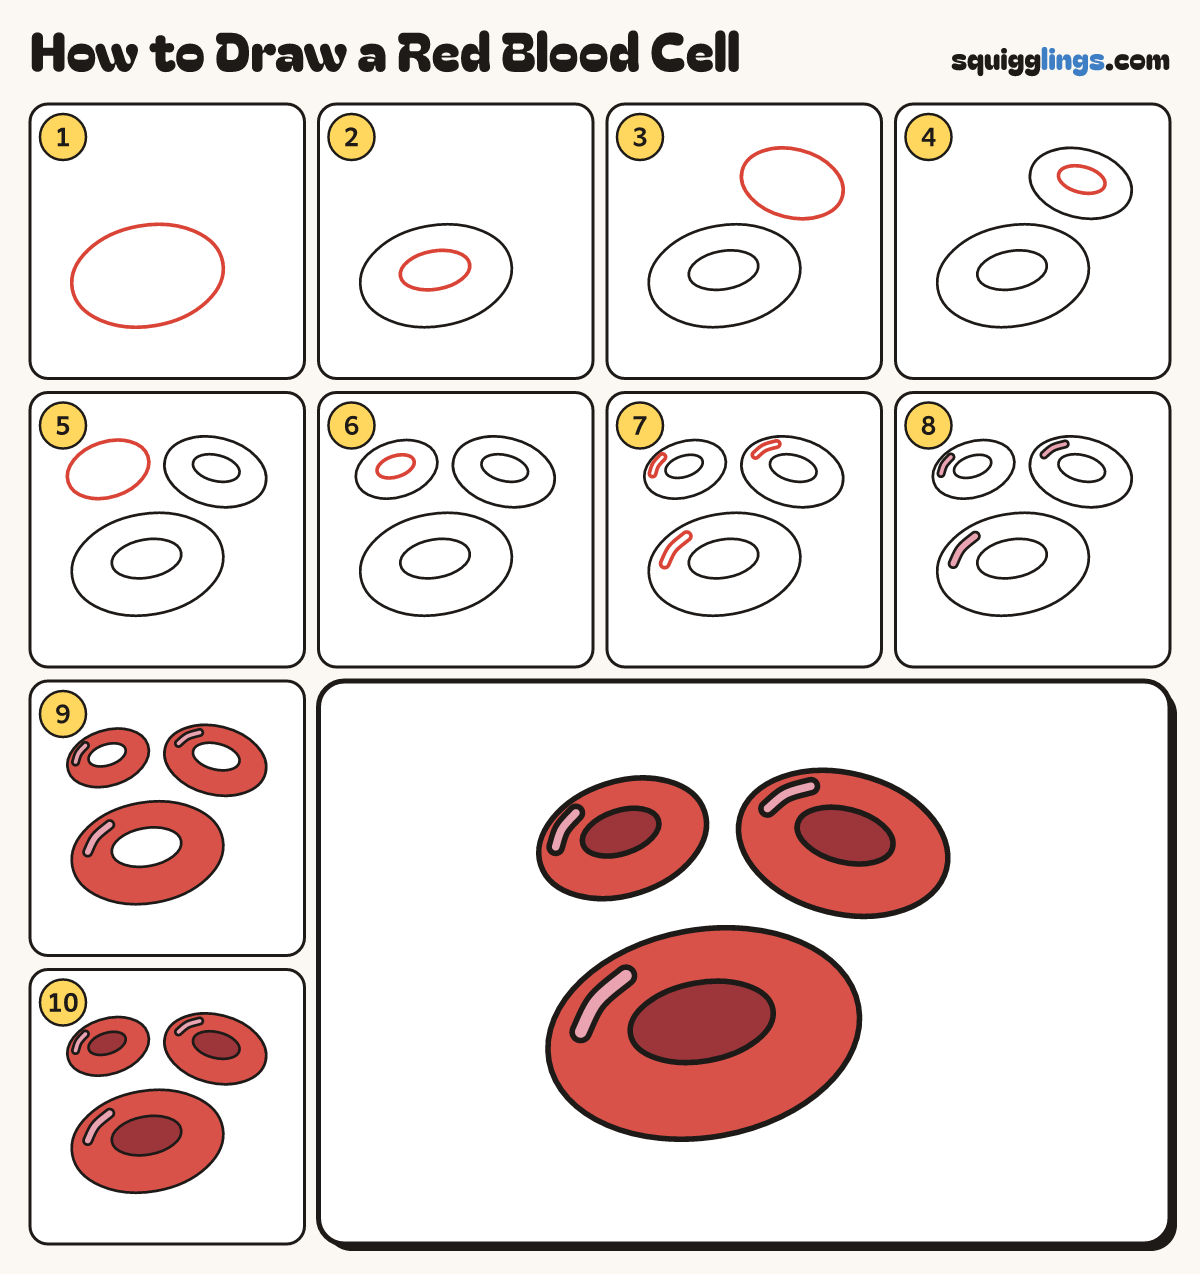
Each picture adds one red line. Draw that line, then scroll to the next picture. Rub out any dashed helper lines at the end. First up: big cell.
Step 1: Big cell
Low on your paper, draw a big squashed circle, like a coin lying down. Tip it a little.
Tip A red blood cell is a round disc with a dent pressed into the middle.
Step 2: Its dimple
Inside, a bit above the middle, draw a smaller squashed circle for the dimple.
Tip Leave a wide rim all the way round the dimple.
Step 3: Second cell
Up on the right, draw a smaller squashed circle, tipped the other way.
Step 4: Second dimple
Draw its dimple inside, a bit above the middle.
Step 5: Third cell
Up on the left, draw the smallest squashed circle. Keep a gap between all 3 cells.
Tip Real blood has millions of these!
Step 6: Third dimple
Draw its little dimple inside, a bit above the middle.
Step 7: Three shines
On the top left rim of each cell draw a small curved sausage for a shine.
Tip Keep each shine on the rim, not touching the dimple.
Step 8: Pink shines
Go over your lines, then colour the 3 shines pink.
Step 9: Red cells
Colour the 3 cells red around the pink shines. Leave the dimples white for now.
Step 10: Dark red dimples
Colour the 3 dimples dark red, and your red blood cells are done!
Tip No dark red? Colour them red, then go over them again, pressing harder.
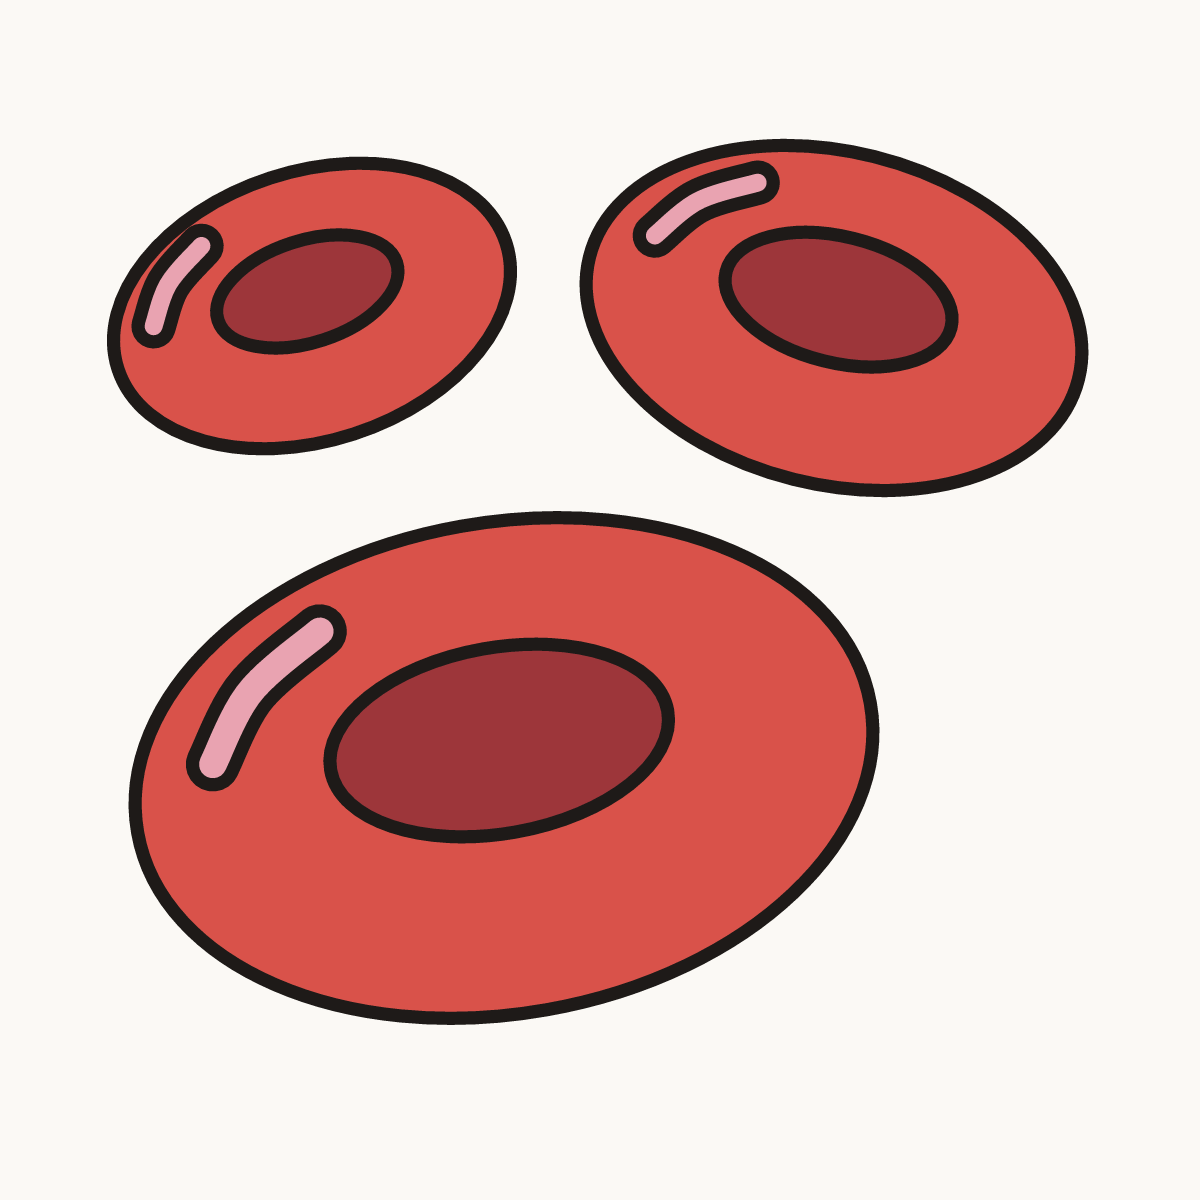
Your finished drawing
Follow the steps above and this is where you end up: a red blood cell, drawn by you.
Every step in one picture