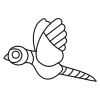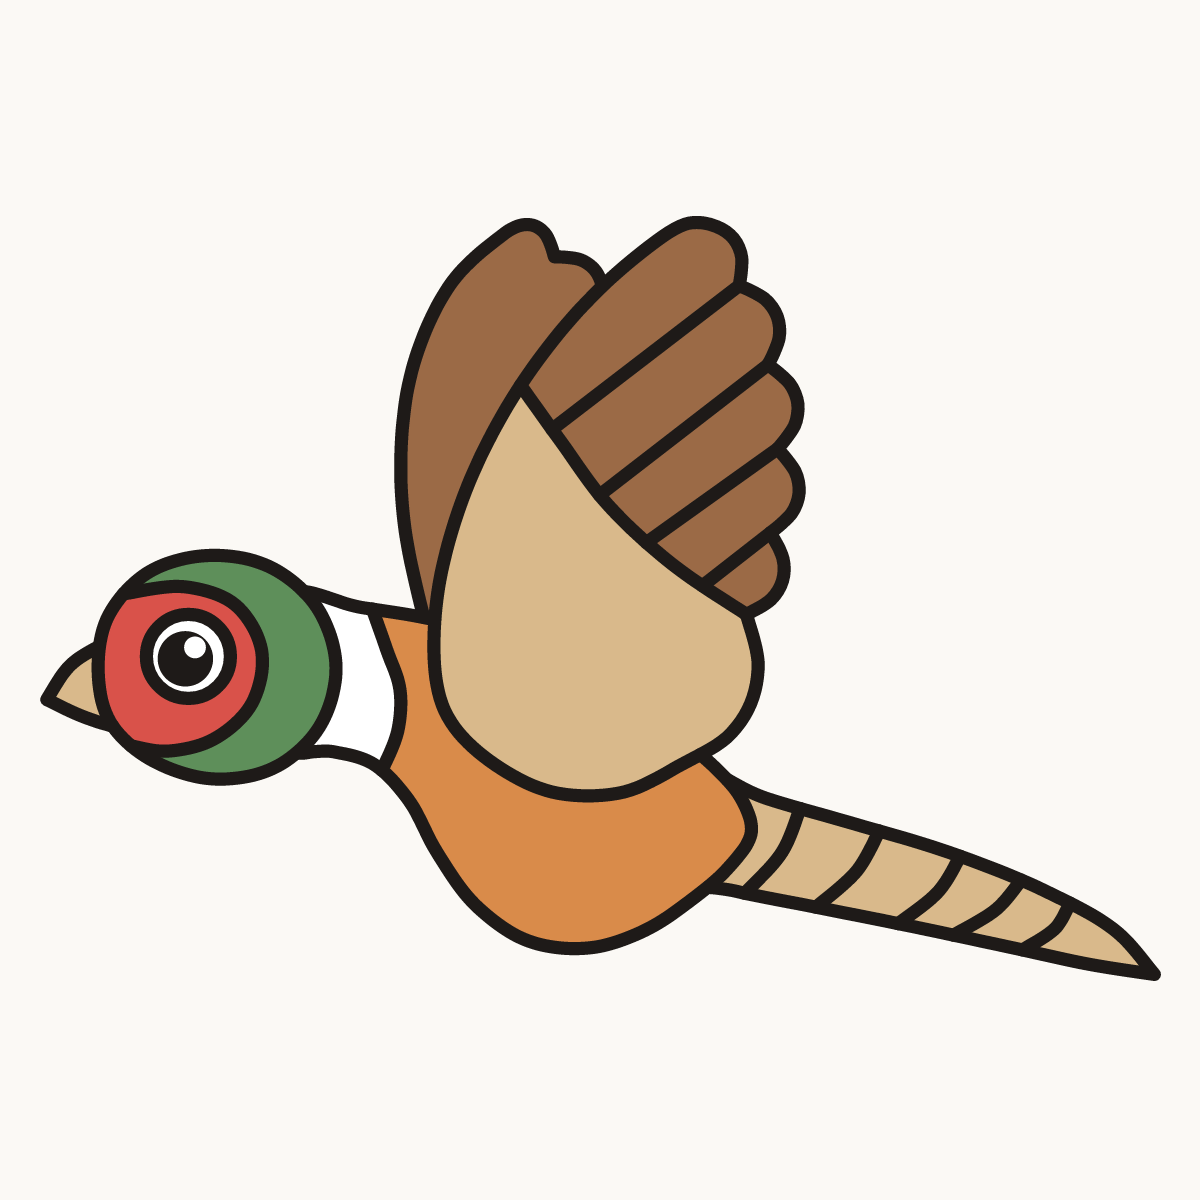
Watch it draw itself · tap to replay
How to Draw a Flying Pheasant
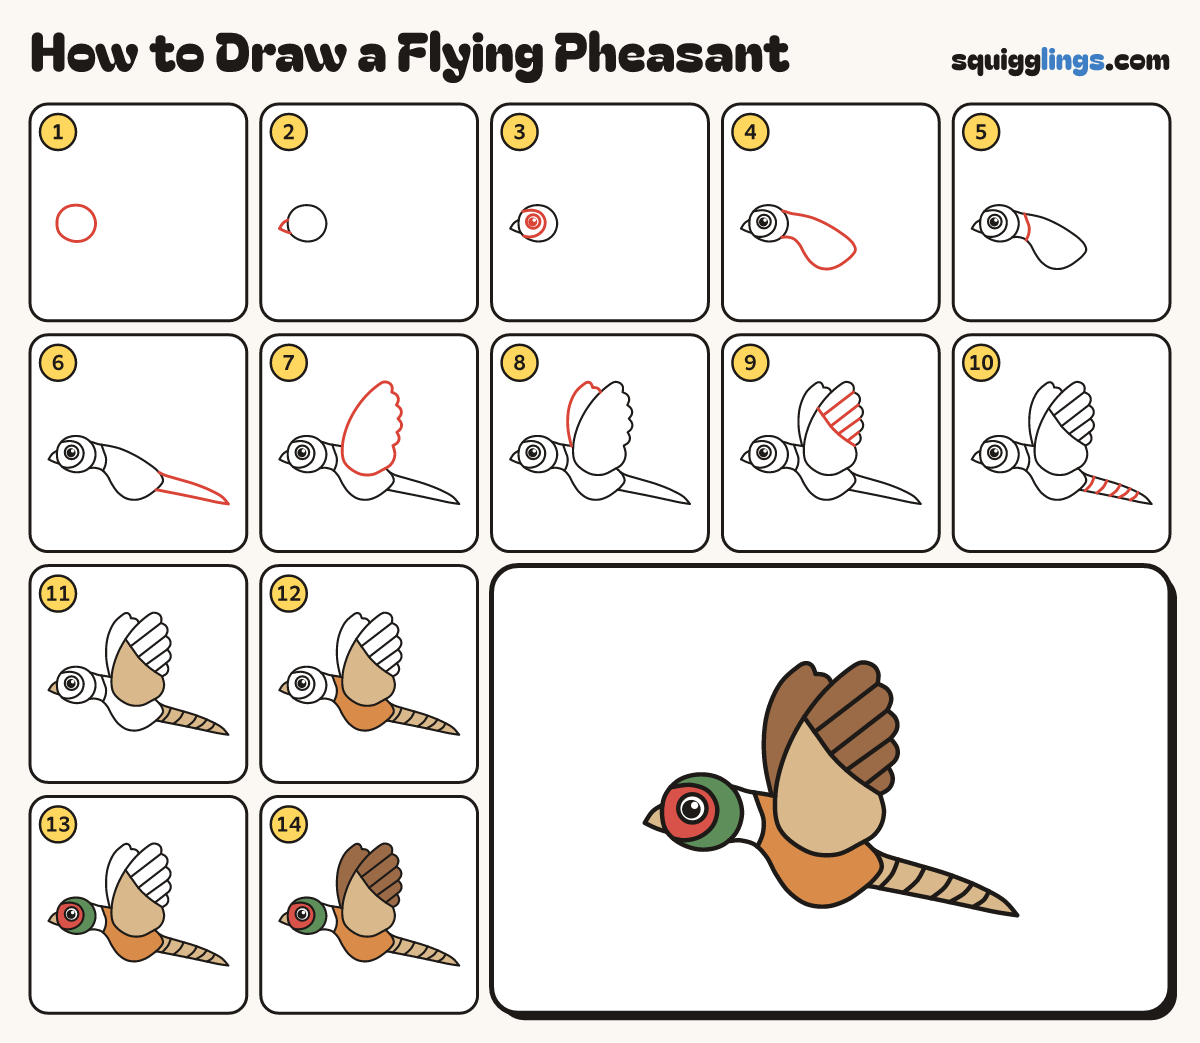
Draw a flying pheasant in 14 easy steps, about 11 minutes. Free, with a printable worksheet.
Each picture adds one red line. Draw that line, then scroll to the next picture. Rub out any dashed helper lines at the end. First up: round head.
Step 1: Round head
On the left draw a round head, a little wider than tall.
Tip Leave lots of room on the right for the long tail.
Step 2: Short beak
Start on the front of the head. Draw a short pointed beak that hooks down a little.
Step 3: Eye and patch
Draw a round eye with a black dot and a shine. Draw a curve round behind it, edge to edge.
Tip Leave the rest of the eye white.
Step 4: Neck and body
Start behind the head. Draw a neck, a long back sloping down, a pointed rump and a round belly.
Tip The body tips up at the front, because the bird is flying.
Step 5: Neck ring
Draw 1 curve across the neck, close behind the head, from the top edge to the bottom edge.
Step 6: Long tail
Start on the rump. Draw a very long tail out to a point, then back to the rump.
Tip Make the tail as long as the body.
Step 7: Front wing
Start on the back behind the ring. Draw a big wing up to a round tip, then 6 bumps down.
Tip The wing grows from the shoulder, not from the head.
Step 8: Back wing
Start at the bottom of the front wing. Draw a second wing peeking out in front of it.
Step 9: Wing feathers
Draw a curve across the front wing. From the 4 top dips draw lines down to it.
Step 10: Tail bars
Draw 5 short bars across the tail, each from its top edge to its bottom edge.
Step 11: Tan tail
Colour the beak, the long tail and the wing below the curve tan.
Step 12: Copper body
Colour the body copper orange, around the wing. Leave the neck ring white.
Step 13: Red and green
Colour the face patch red, around the eye. Colour the rest of the head green.
Tip Leave the eye white.
Step 14: Brown feathers
Colour the long wing feathers and the back wing brown. Your flying pheasant is done!
Your finished drawing
Follow the steps above and this is where you end up: a flying pheasant, drawn by you.
Every step in one picture