Watch it draw itself · tap to replay
How to Draw Parts of an Insect
Draw parts of an insect in 12 easy steps, about 9 minutes. Free, with a printable worksheet.
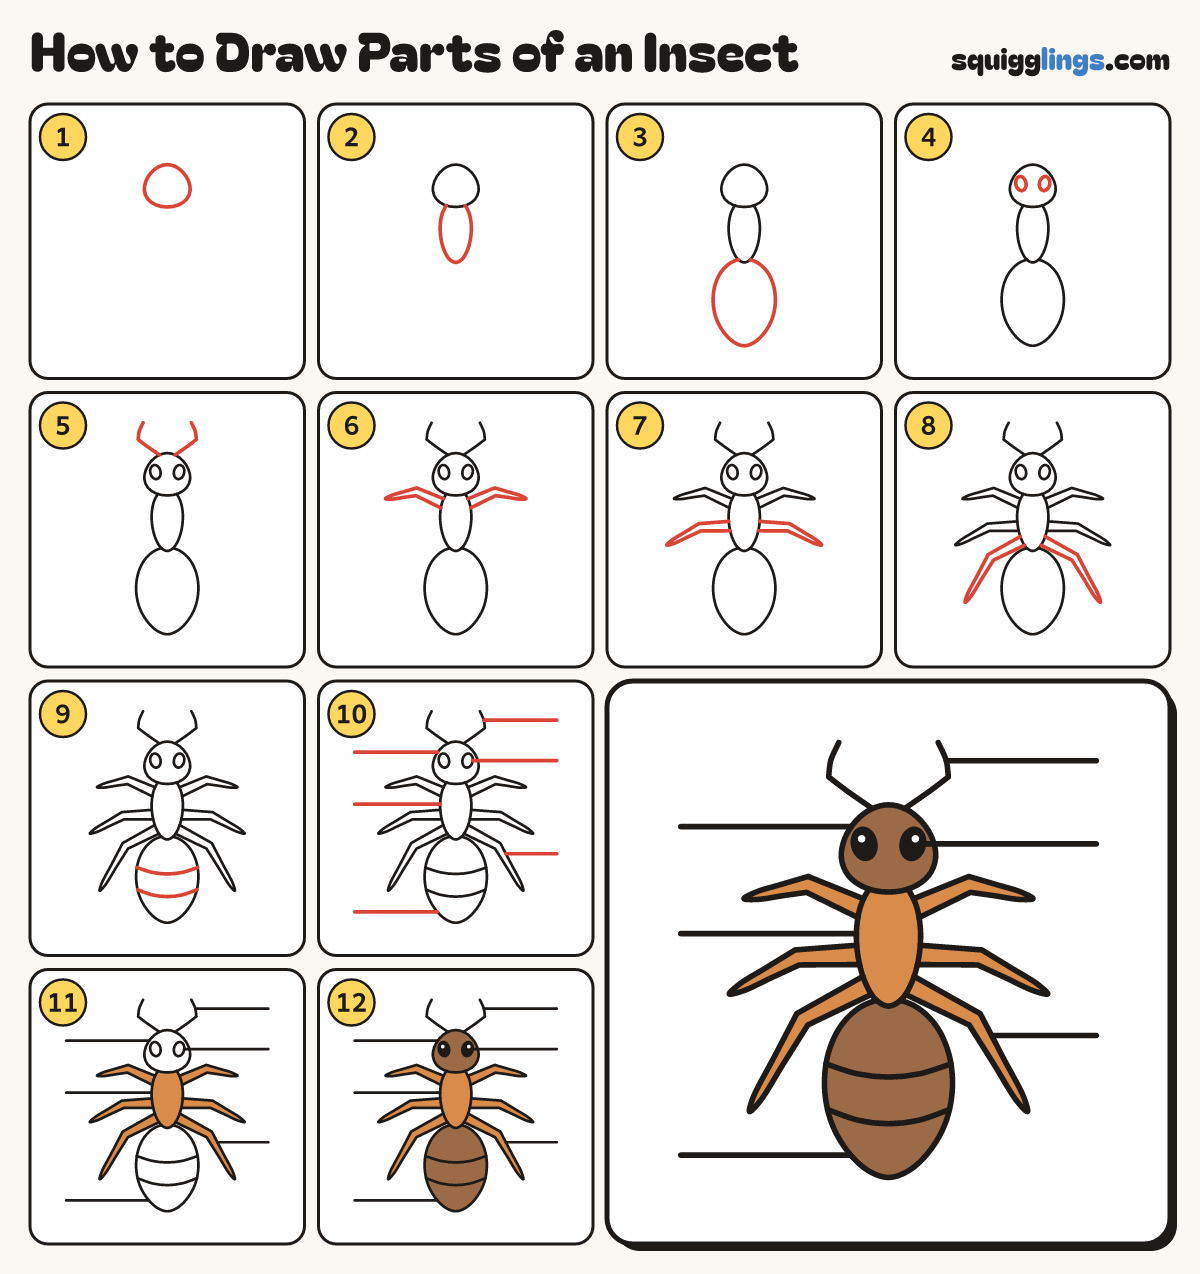
Each picture adds one red line. Draw that line, then scroll to the next picture. Rub out any dashed helper lines at the end. First up: the head.
Step 1: The head
Near the top of your paper draw an egg for the head, a little wider at the bottom.
Tip Leave room above the head for the antennae.
Step 2: The thorax
Under the head draw a slim tall oval. This middle part is called the thorax.
Tip Keep it thinner than the head.
Step 3: The abdomen
Under the thorax draw a big egg with a soft point at the bottom. This is the abdomen.
Tip An insect always has these 3 body parts.
Step 4: Two eyes
Draw 2 small ovals on the head, one near each side.
Step 5: Two antennae
Start on top of the head. Draw 2 feelers out to an elbow, then bend them up.
Step 6: Front legs
From high on each side of the thorax draw a leg up to a knee, then down to a point.
Step 7: Middle legs
From the middle of the thorax draw a leg straight out to a knee, then down to a point.
Step 8: Back legs
From low on the thorax draw the longest legs, out to a knee, then steeply down to a point.
Tip Count them: 6 legs, and every one joins the thorax.
Step 9: Abdomen stripes
Draw 2 curved lines across the abdomen, each from the left edge to the right edge.
Step 10: Label lines
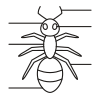
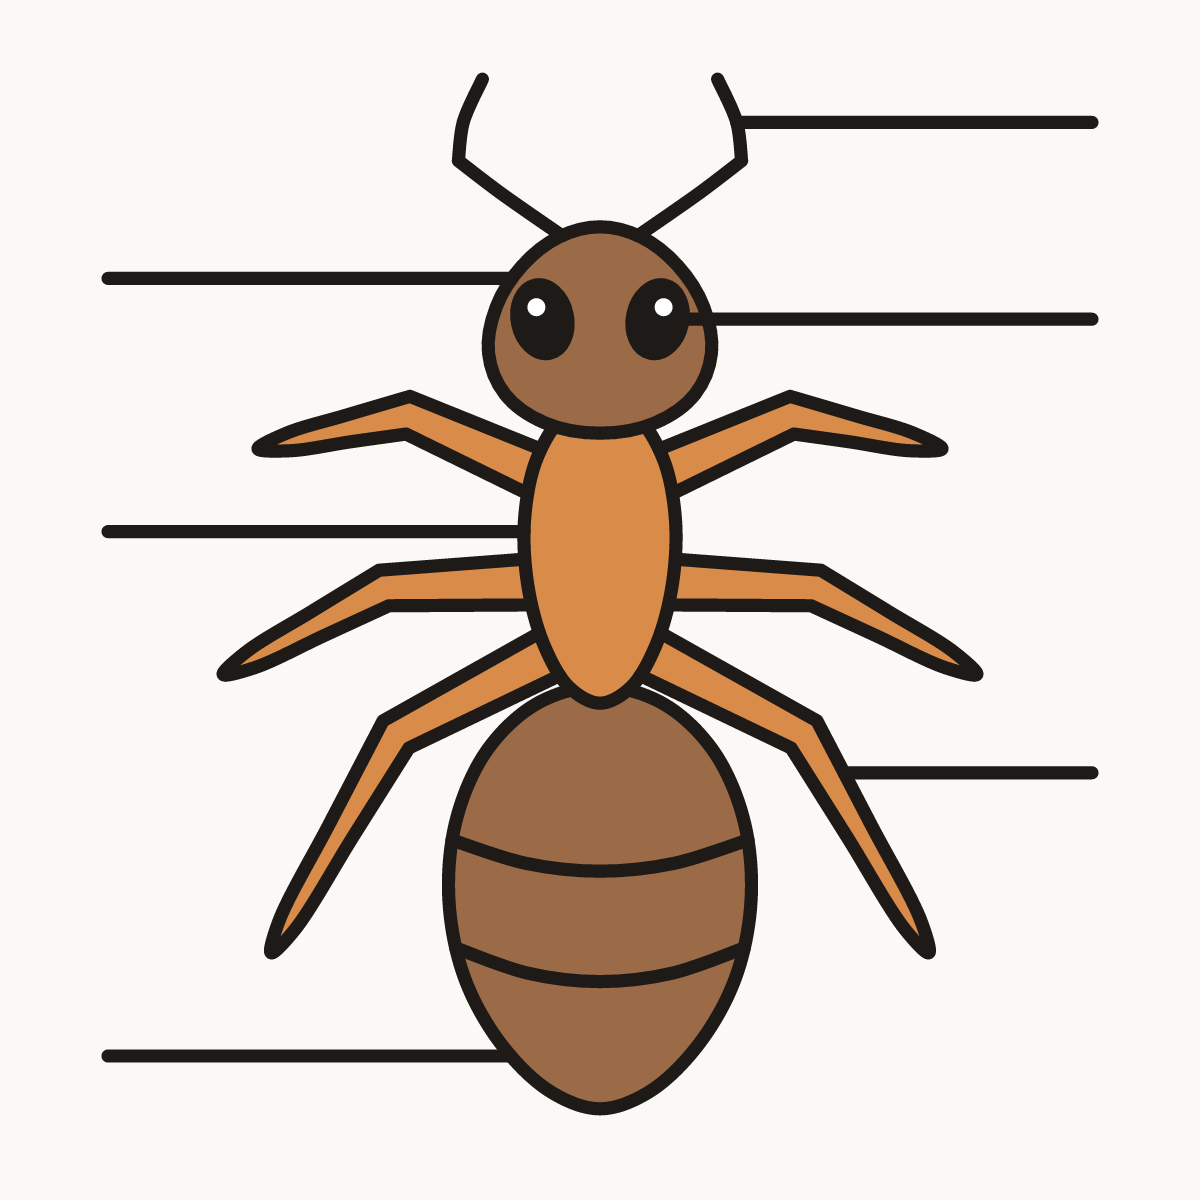
Rule 6 lines out to the sides: from an antenna, an eye, the head, the thorax, a leg, the abdomen.
Tip Write the names at the ends of the lines.
Step 11: Orange thorax and legs
Colour the thorax and all 6 legs orange.
Step 12: Brown and black
Colour the head and the abdomen brown, around the eyes. Colour the eyes black, leaving a tiny white dot.
Your finished drawing
Follow the steps above and this is where you end up: parts of an insect, drawn by you.
Every step in one picture