Watch it draw itself · tap to replay
How to Draw a Norway Map
Draw a norway map in 12 easy steps, about 9 minutes. Free, with a printable worksheet.
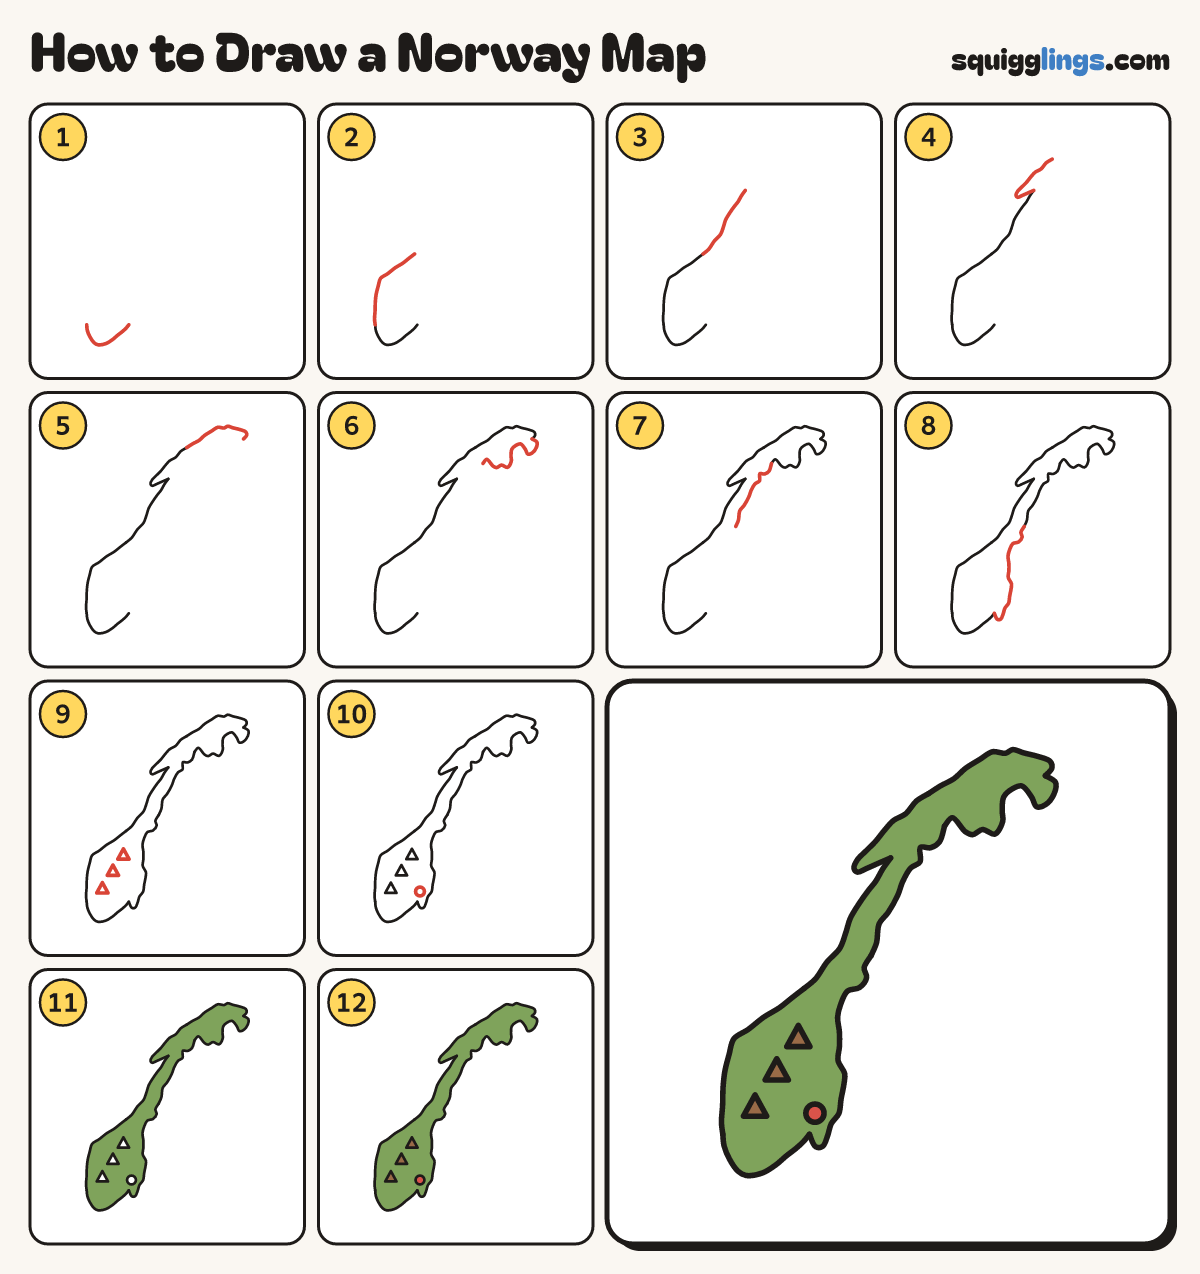
Each picture adds one red line. Draw that line, then scroll to the next picture. Rub out any dashed helper lines at the end. First up: the south tip.
Step 1: The south tip
Start near the bottom, left of the middle. Draw a wide U to the left. Stop level with the start.
Tip Norway is fat at the bottom and long and thin at the top.
Step 2: The west coast
Carry on from there. Go up, then lean right with a bumpy line. Stop about halfway up the page.
Step 3: The long coast
Carry on from there. Draw a long bumpy line slanting up to the right. Stop well above the middle.
Step 4: The island finger
From there, draw a thin finger pointing left and back again. Then slant up to the right and stop.
Tip The finger is a row of islands called Lofoten.
Step 5: The top
Carry on from there. Draw a bumpy hill to the right, round the end. Stop in a small notch.
Step 6: Back along the top
From the notch, curl round and draw a bumpy line back to the left. Stop below where the top began.
Step 7: The thin part
Carry on from there. Slant down to the left, close beside the long coast. Stop halfway down the page.
Tip Keep this line close to the coast. Norway is very thin here.
Step 8: Close the shape
Carry on from there. Draw a bumpy line down. Curl round the bottom to join where you began.
Step 9: The mountains
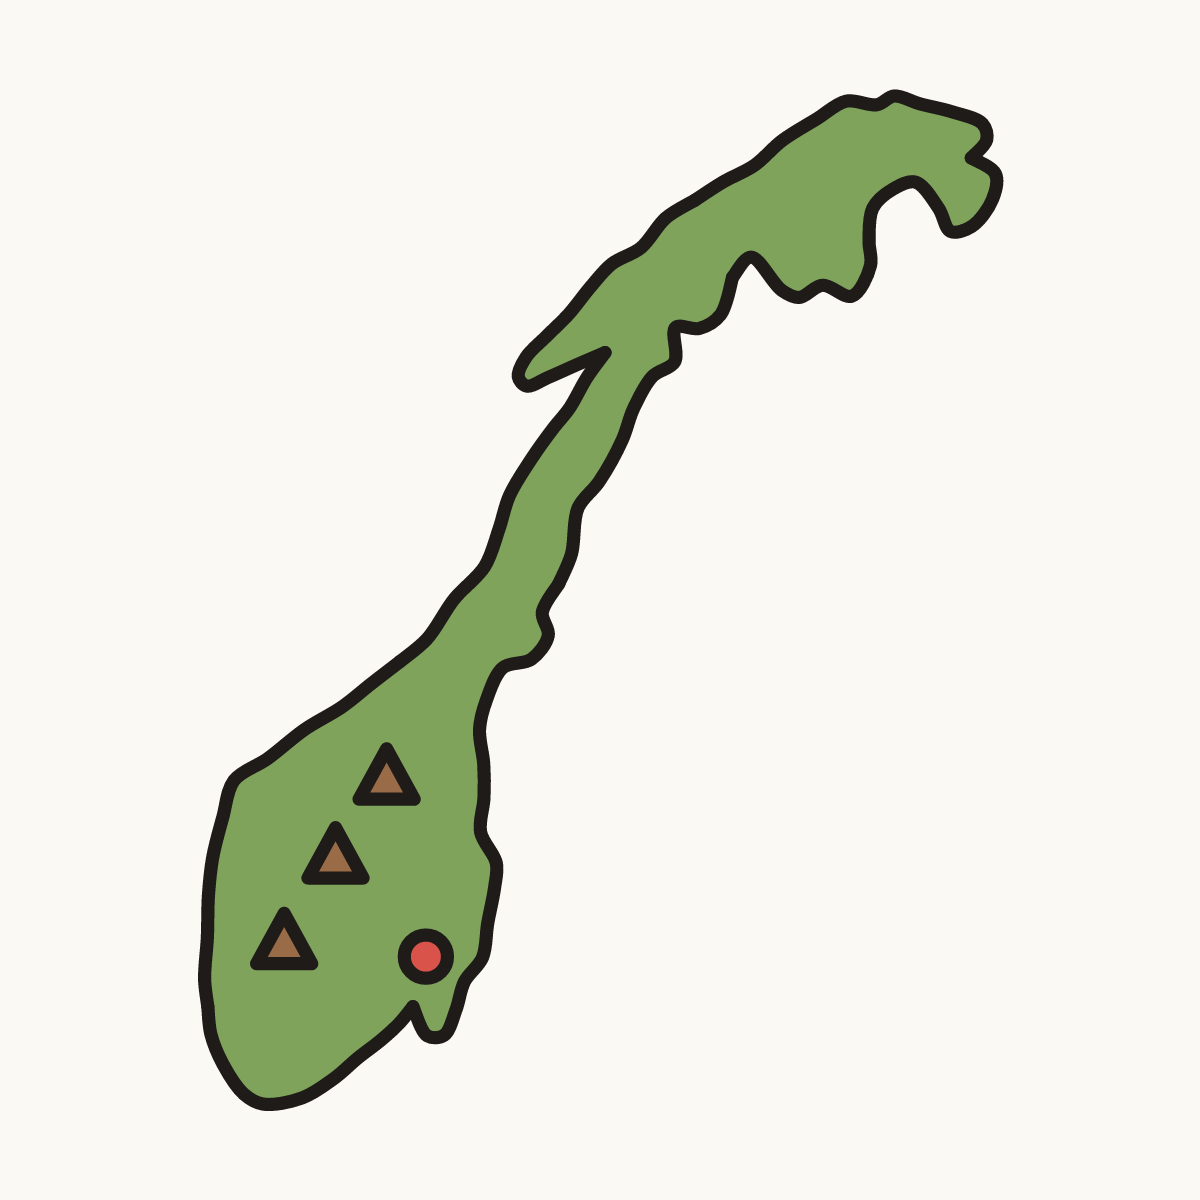
In the fat part, draw 3 little triangle mountains in a slanting row.
Step 10: The capital
Just above the small notch at the bottom, draw a small circle for the capital city, Oslo.
Step 11: Green land
Go over your lines. Colour all the land green, around the mountains and the circle.
Step 12: Brown and red
Colour the 3 mountains brown and the capital red. Your map of Norway is done!
Your finished drawing
Follow the steps above and this is where you end up: a norway map, drawn by you.
Every step in one picture