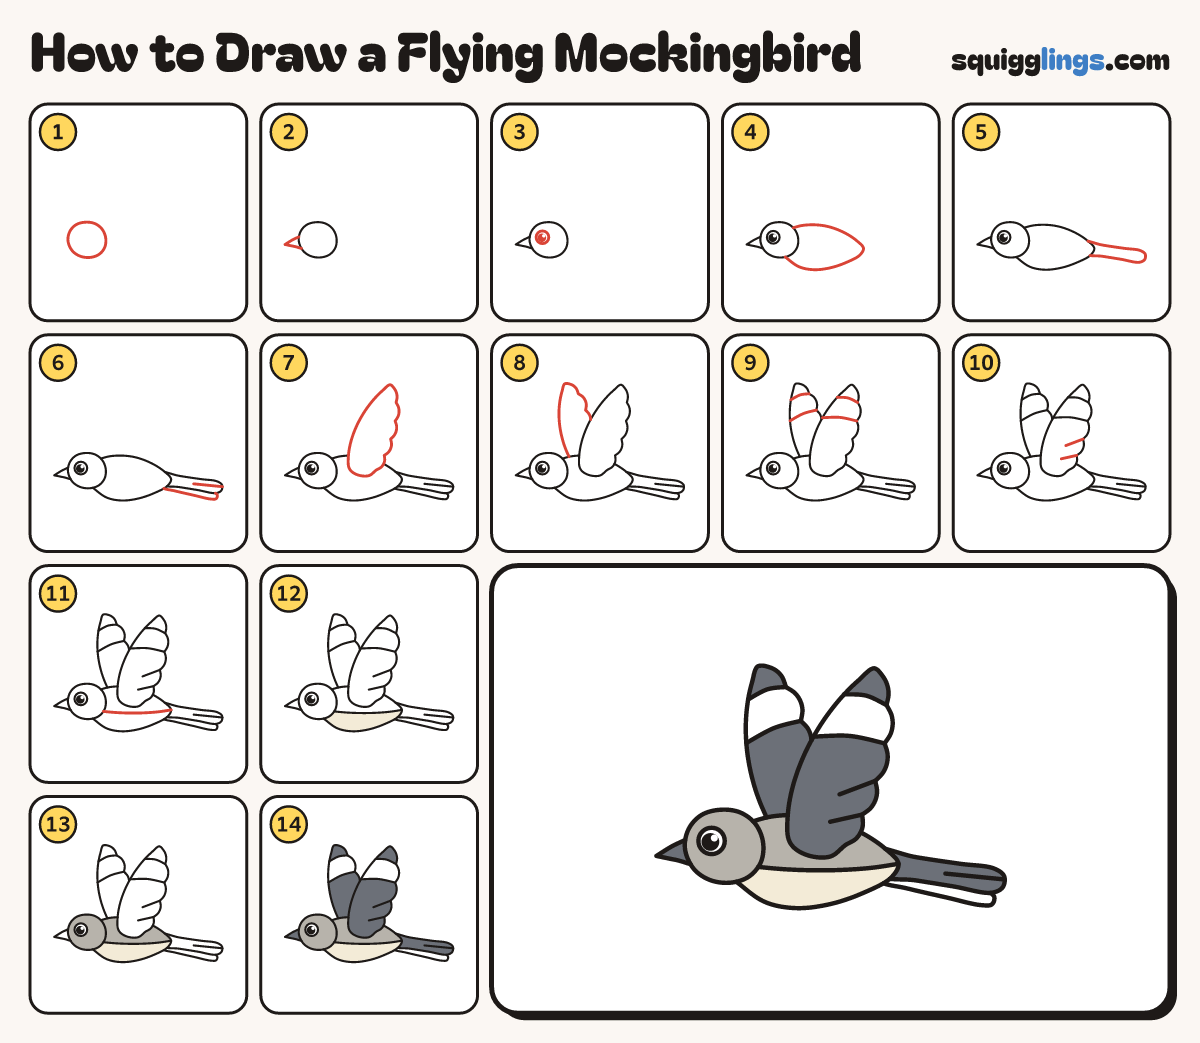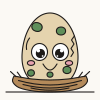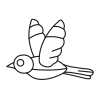
Watch it draw itself · tap to replay
How to Draw a Flying Mockingbird
Draw a flying mockingbird in 14 easy steps, about 11 minutes. Free, with a printable worksheet.
Each picture adds one red line. Draw that line, then scroll to the next picture. Rub out any dashed helper lines at the end. First up: round head.
Step 1: Round head
On the left draw a small round head, a little wider than tall.
Tip Keep it small. This bird is slim.
Step 2: Thin beak
Start on the front of the head. Draw a thin pointed beak out to the left and back.
Step 3: Bright eye
Near the beak draw a round eye. Colour a black dot inside it, leaving a tiny shine.
Tip Leave the rest of the eye white.
Step 4: Slim body
Start behind the head. Draw a long back line, a pointed end, and a soft belly back to the chin.
Tip The body is long and thin, like a lemon.
Step 5: Long tail
Start on the pointed end. Draw a long tail with a round tip, as long as the body.
Step 6: Tail edge
Under the tail draw one more long feather peeking out. Add a line along the tail from its tip.
Step 7: Front wing
On the shoulder draw a big wing reaching up and back, with 5 soft bumps down its back edge.
Tip The wing starts just behind the head.
Step 8: Back wing
Start on the back, in front of the first wing. Draw a second wing standing up. Stop behind the first.
Step 9: Wing patches
Draw 2 lines across each wing, from the front edge to the dips between the top bumps.
Tip These bands are the white flashes a mockingbird shows.
Step 10: Feather lines
Start at the 2 lowest dips of the front wing. Draw a line from each towards the shoulder. Stop partway.
Step 11: Belly line
Start under the chin. Draw a line along the side of the body. Stop at the pointed end.
Step 12: Cream belly
Colour the belly cream, under the line you just drew.
Step 13: Grey feathers
Colour the head and the back grey, around the eye. Leave the eye white.
Step 14: Dark wings
Colour the beak, both wings and the tail top dark grey. Leave the bands and the tail edge white.
Your finished drawing
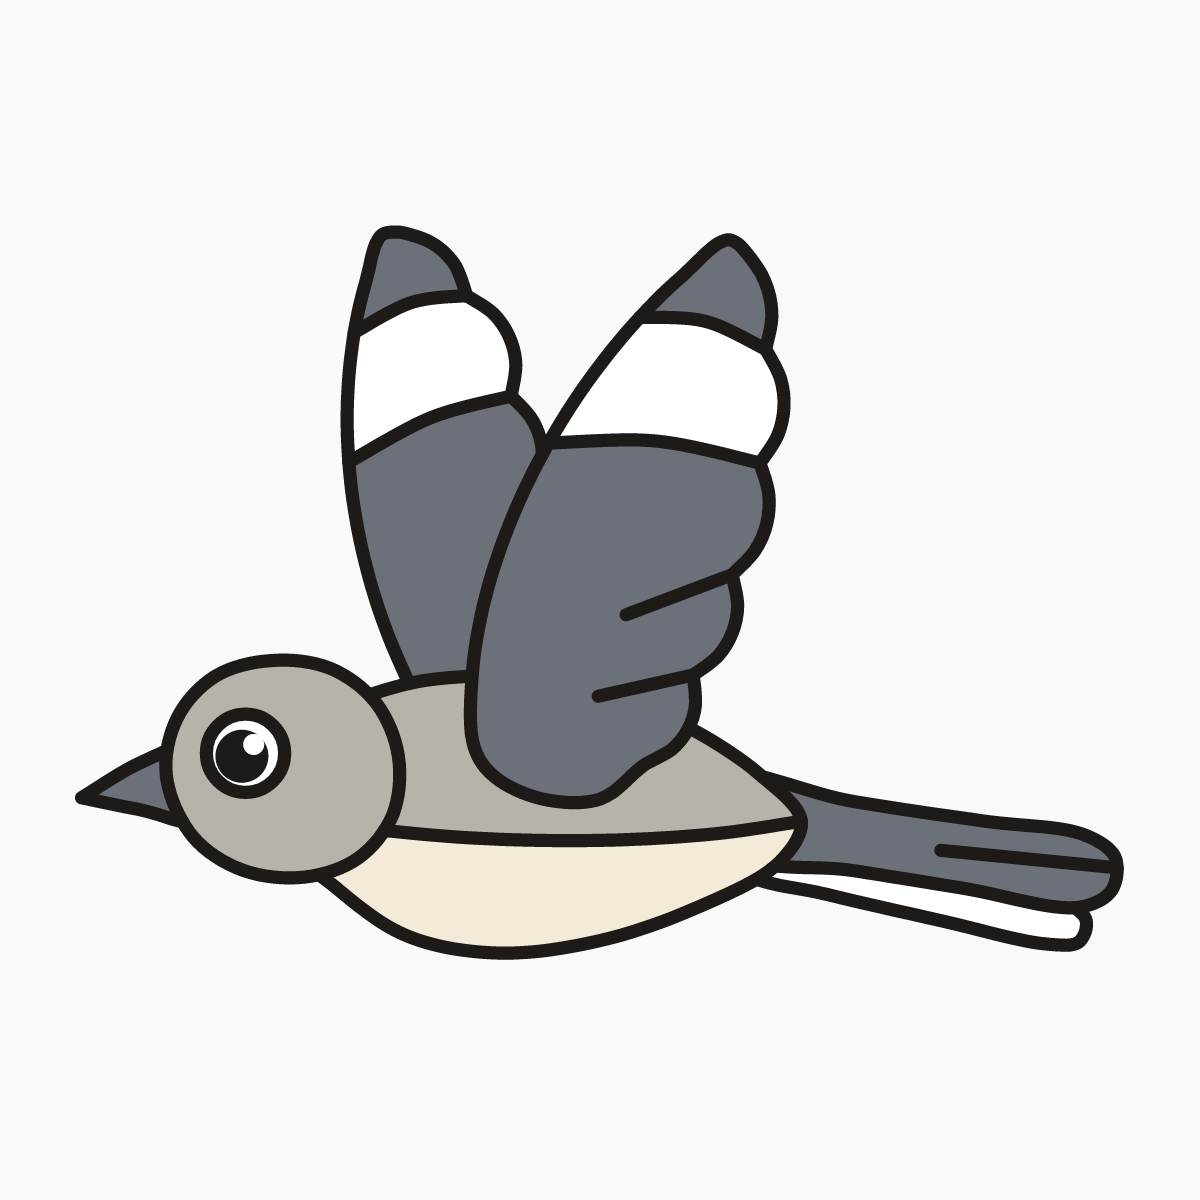
Follow the steps above and this is where you end up: a flying mockingbird, drawn by you.
Every step in one picture