Watch it draw itself · tap to replay
How to Draw a Mannequin
Draw a mannequin in 10 easy steps, about 8 minutes. Free, with a printable worksheet.
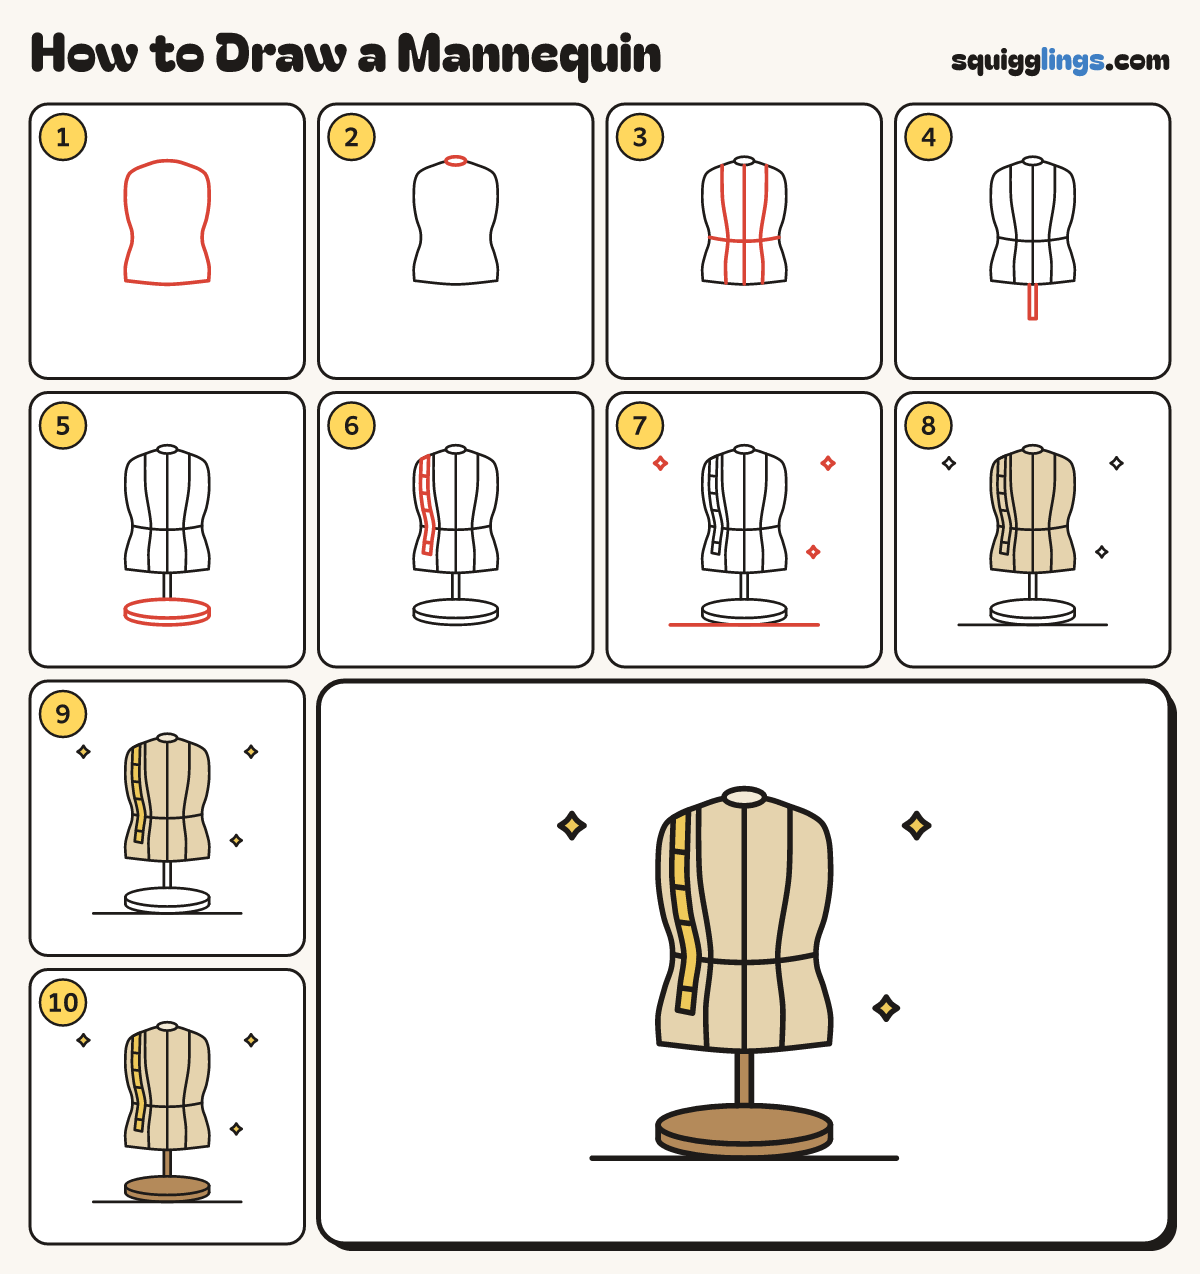
Each picture adds one red line. Draw that line, then scroll to the next picture. Rub out any dashed helper lines at the end. First up: the body shape.
Step 1: The body shape
Near the top of your paper draw a curvy body: sloping shoulders, a narrow waist, wide hips, a round bottom.
Step 2: The neck
On top of the body, in the middle, draw a small flat oval like a coin lying down: the neck.
Step 3: Seams
Draw a line from the neck down to the bottom, a seam from each shoulder, a curve across the waist.
Step 4: The pole
From the bottom of the body draw a thin pole straight down, stopping a hand above the paper's bottom.
Step 5: The round base
Under the pole draw a wide flat oval. From its left end curve under to the right end for thickness.
Tip Make the base wider than your hand.
Step 6: A measuring tape
Over the left shoulder draw a long thin ribbon hanging down the front: the measuring tape. Add 4 tiny ticks.
Step 7: Sparkles and floor
Draw 3 sparkles, by the shoulders and by one hip. Draw a floor line under the base, past both sides.
Step 8: Sand body
Go over your lines, then colour the body sand, going round the tape, and the neck oval cream.
Step 9: Yellow tape and sparkles
Colour the measuring tape and the sparkles yellow.
Step 10: Wood pole and base
Colour the pole and the whole base wood brown, and your mannequin is done!
Your finished drawing
Follow the steps above and this is where you end up: a mannequin, drawn by you.
Every step in one picture