Watch it draw itself · tap to replay
How to Draw a Long Sleeve Shirt
Draw a long sleeve shirt in 11 easy steps, about 8 minutes. Free, with a printable worksheet.
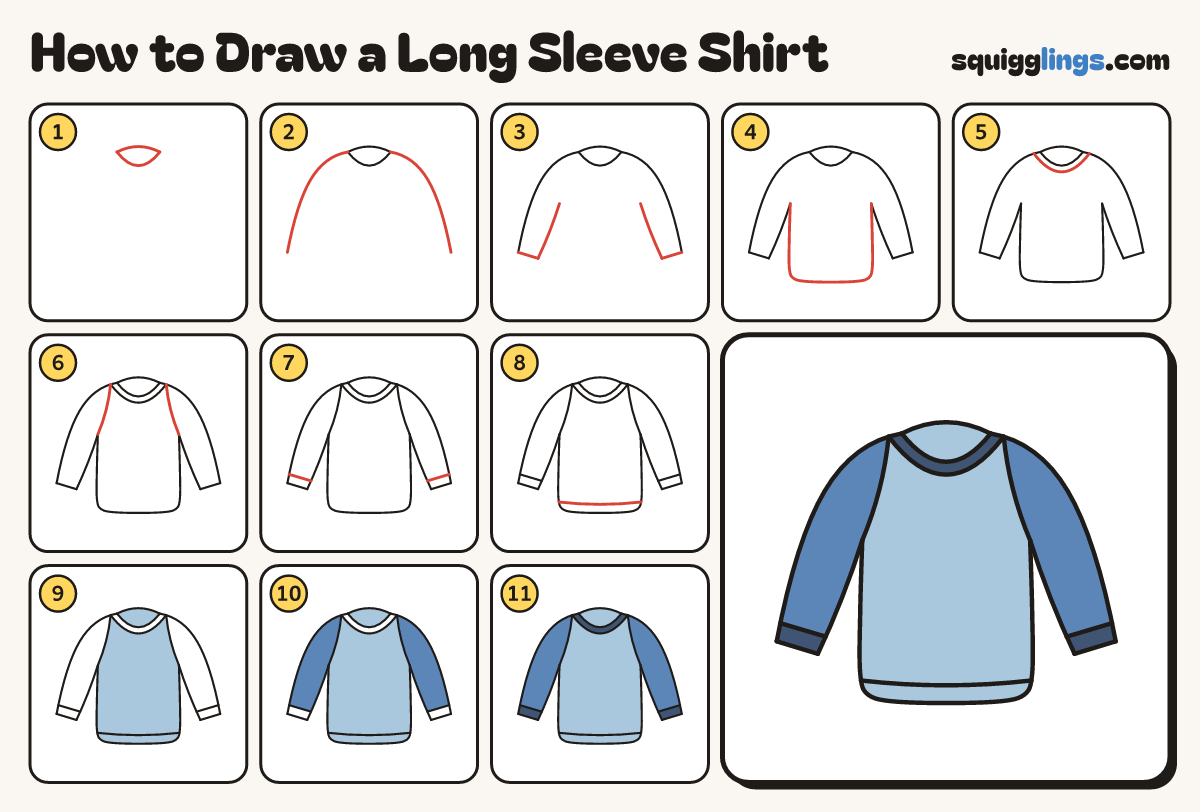
Each picture adds one red line. Draw that line, then scroll to the next picture. Rub out any dashed helper lines at the end. First up: the neck hole.
Step 1: The neck hole
Near the top draw a rainbow 3 fingers wide. Under it draw a U from end to end.
Tip Start high on your paper: the shirt hangs a long way down.
Step 2: Shoulders and sleeves
From each end of the rainbow draw a line sloping over the shoulder and far down the outside.
Tip Long sleeves reach almost as low as the bottom of the shirt.
Step 3: Cuffs and undersides
Start at the end of each sleeve. Draw a short slanted cuff, then a line back up to the armpit.
Step 4: The body
Start at the left armpit. Draw a side straight down, a sagging hem across, and up to the right armpit.
Step 5: Neck band
Start on the left shoulder. Draw a bigger U under the neck hole, stopping on the right shoulder.
Tip Keep the 2 U lines the same distance apart all the way round.
Step 6: Sleeve seams
Start where the neck band meets each shoulder. Draw a line down, stopping at the armpit.
Tip The seam is where the sleeve is sewn on to the body.
Step 7: Cuff bands
A finger above each cuff draw a slanted line across the sleeve. Start on the outside, stop on the underside.
Step 8: Hem line
A finger above the hem draw a line across the body. Start on the left side, stop on the right.
Tip This line is the stitching that holds the folded hem up.
Step 9: Light blue body
Colour the body light blue, between the 2 sleeve seams. Colour inside the neck hole too.
Step 10: Blue sleeves
Colour both long sleeves blue, from the seams down to the cuff bands.
Step 11: Dark blue trims
Colour the neck band and the 2 cuffs dark blue. Your long sleeve shirt is done!
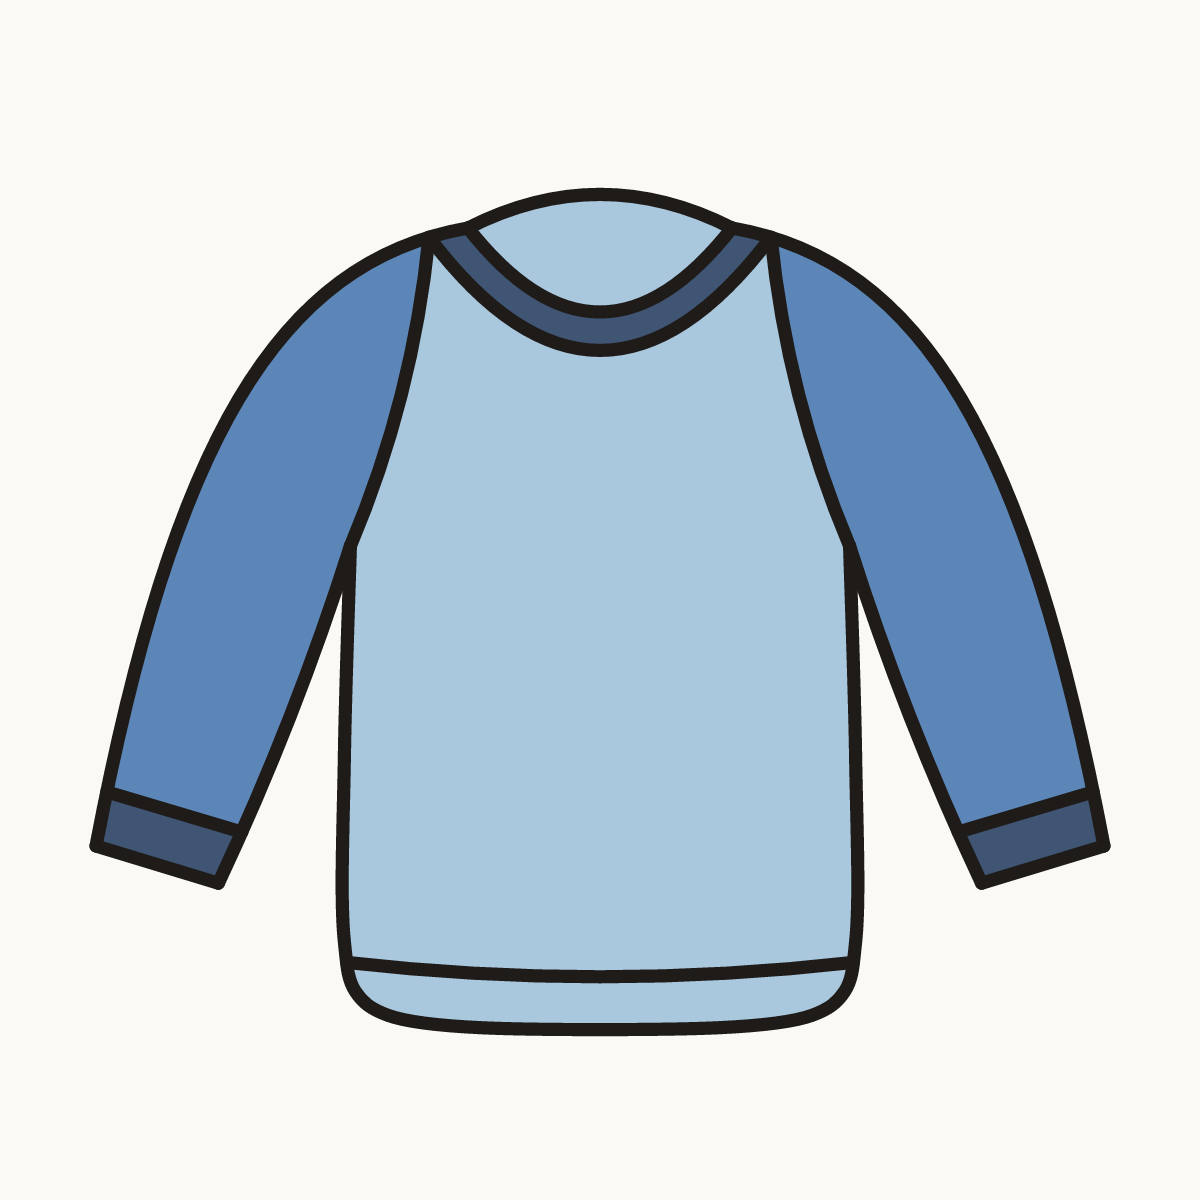
Your finished drawing
Follow the steps above and this is where you end up: a long sleeve shirt, drawn by you.
Every step in one picture