Watch it draw itself · tap to replay
How to Draw a Linzer Cookie
Draw a linzer cookie in 10 easy steps, about 8 minutes. Free, with a printable worksheet.
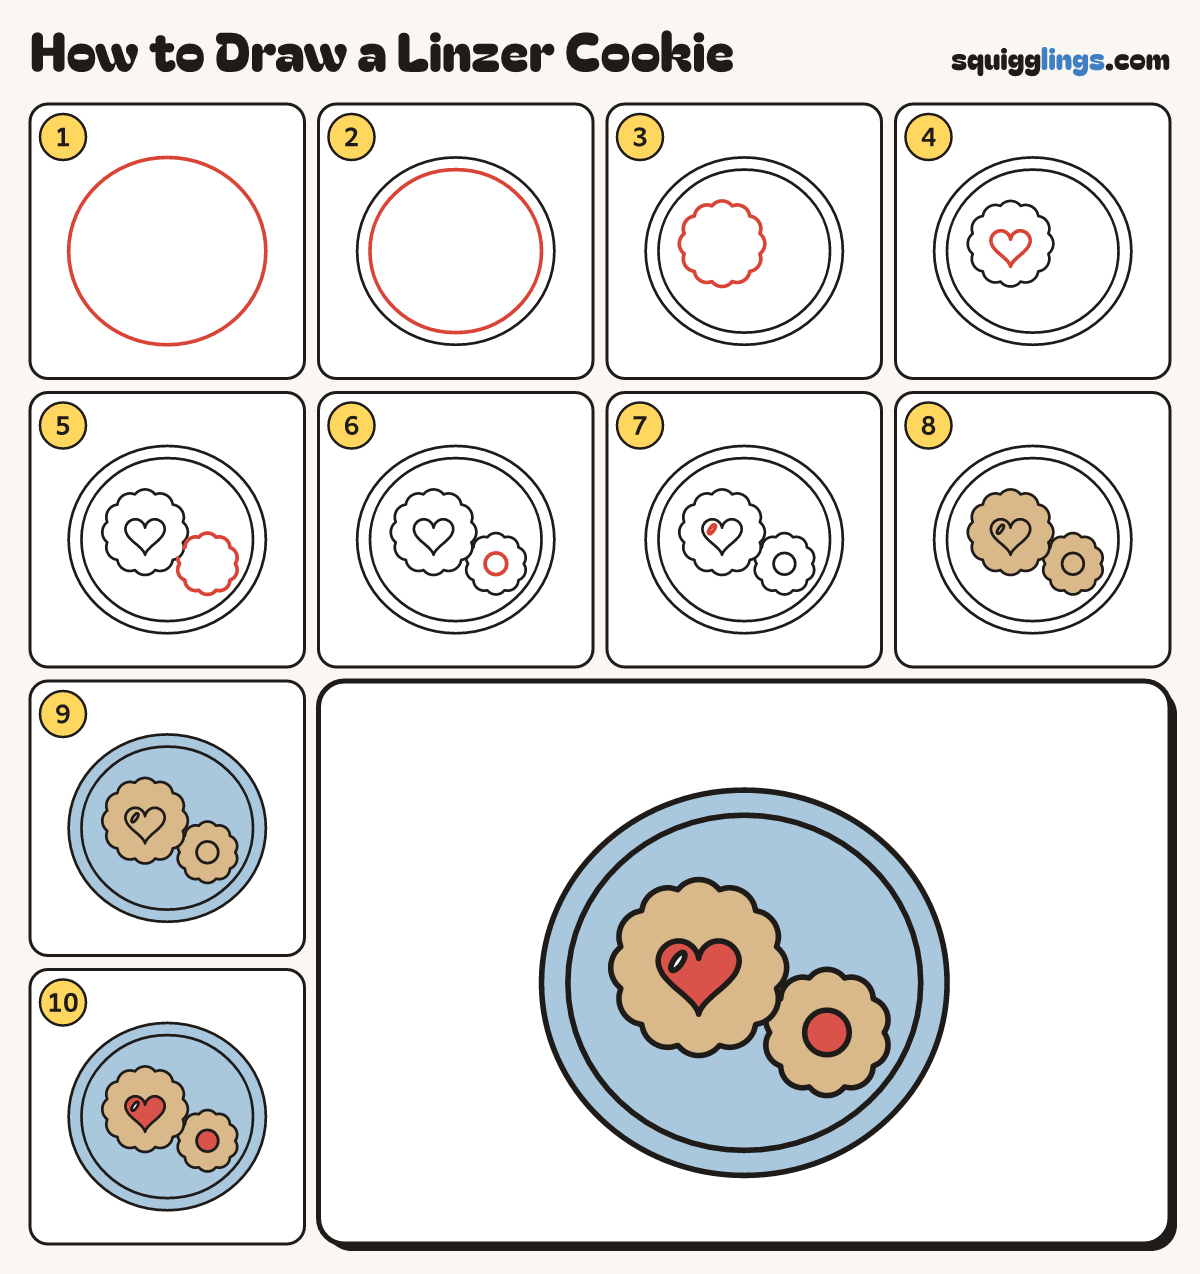
Each picture adds one red line. Draw that line, then scroll to the next picture. Rub out any dashed helper lines at the end. First up: a round plate.
Step 1: A round plate
In the middle of your paper draw a big round plate, as wide as your hand.
Step 2: The rim
Draw a second circle a finger inside the plate, all the way round, for the rim.
Step 3: A big cookie
Left of the plate's middle draw a big cookie with an edge of even round bumps, half the plate wide.
Tip A Linzer cookie is 2 cookies with jam inside and a window on top.
Step 4: A heart window
In the middle of the big cookie draw a heart, a third as wide as the cookie.
Step 5: A smaller cookie
At the lower right draw a smaller cookie with even round bumps, tucked behind the big one.
Step 6: A round window
In the middle of the small cookie draw a small circle for its window.
Step 7: A jam shine
Inside the top left of the heart draw a tiny slanted oval for a shiny spot of jam.
Step 8: Tan cookies
Colour both cookies tan, leaving the windows for now.
Step 9: Sky plate
Colour the plate sky blue, around the cookies.
Step 10: Red jam
Colour the heart and the round window red for jam, around the shine. Your cookie is done!
Your finished drawing
Follow the steps above and this is where you end up: a linzer cookie, drawn by you.
Every step in one picture