Watch it draw itself · tap to replay
How to Draw Fried Shrimp
Draw fried shrimp in 12 easy steps, about 9 minutes. Free, with a printable worksheet.
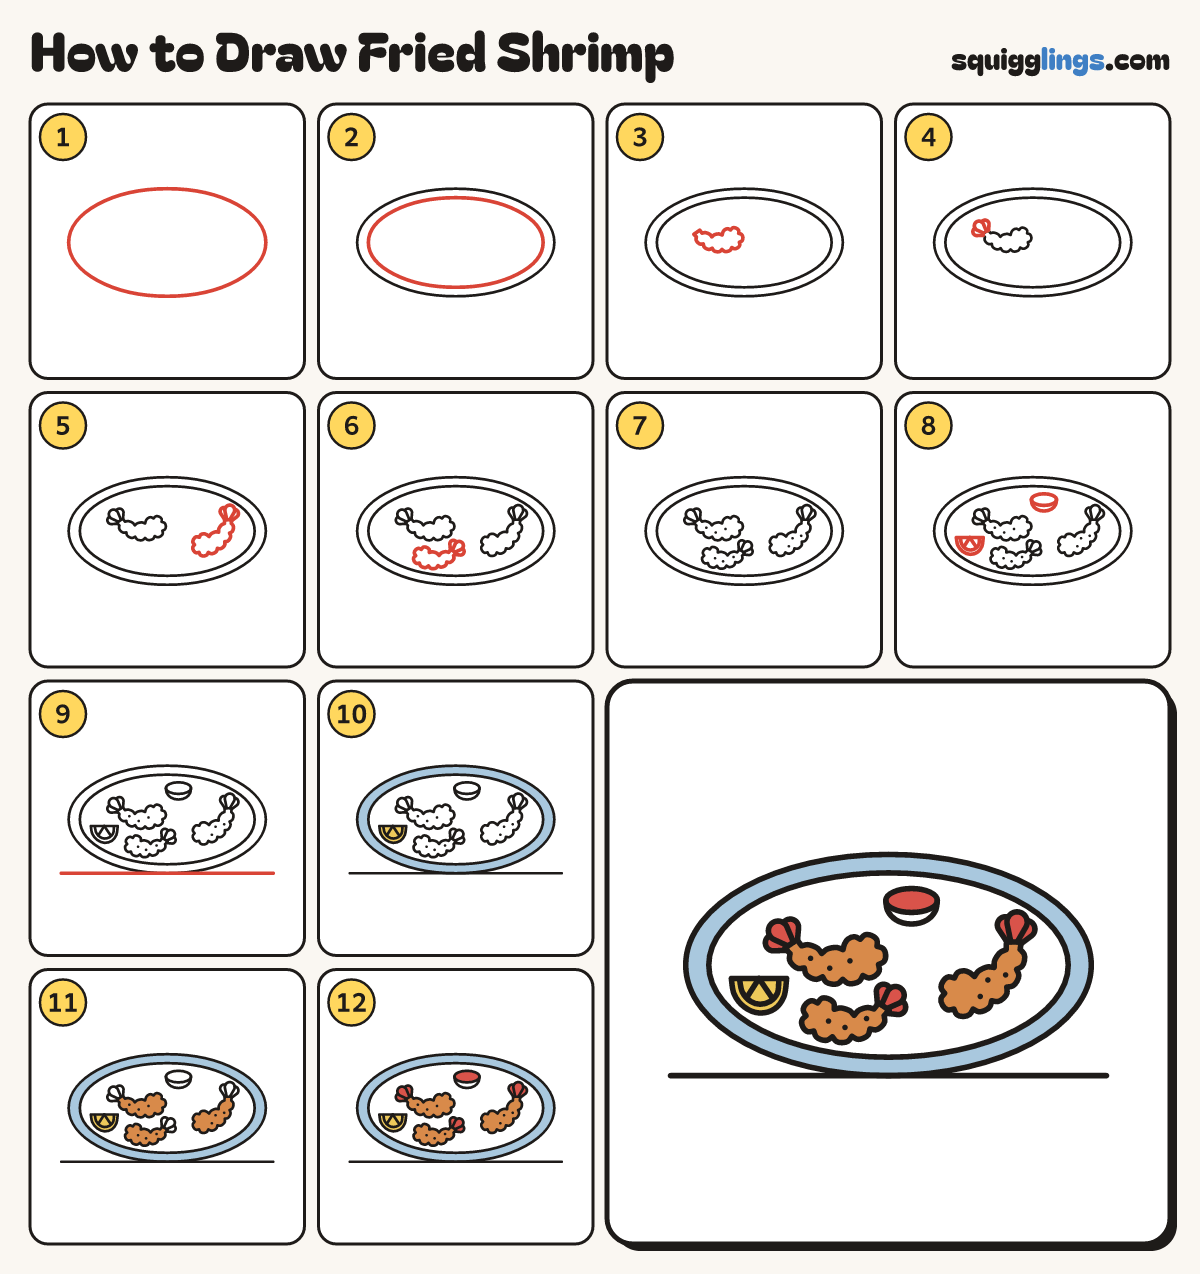
Each picture adds one red line. Draw that line, then scroll to the next picture. Rub out any dashed helper lines at the end. First up: the plate.
Step 1: The plate
In the middle, draw a big wide oval plate, most of the page wide and about half as tall.
Tip Everything sits inside the plate, so make it big.
Step 2: The rim
Inside the plate, draw a second oval a finger in from the edge, for the rim.
Step 3: First shrimp
On the left of the plate, draw a fat curved shrimp with a bumpy edge, head end on the right.
Tip Fat at the head, thin at the tail, with soft round bumps all along: that is the crunchy coating.
Step 4: Its fan tail
At the thin tail end, draw 3 fat teardrop paddles fanning out: one straight back and one each side.
Step 5: Second shrimp
On the right of the plate, draw another bumpy shrimp leaning up: head low left, fan tail up right.
Step 6: Third shrimp
Under the first shrimp, draw a smaller bumpy shrimp lying the other way: head left, fan tail right.
Step 7: Crumbs
Dot 3 tiny crumb specks on each shrimp, not in a straight line.
Step 8: Lemon and sauce
On the left, draw a half-circle lemon with 2 lines. Up top, draw an oval over a U for sauce.
Step 9: The table
Draw a long table line under the plate, just touching its bottom.
Step 10: Yellow lemon, sky rim
Go over your lines, then colour the lemon yellow and the plate rim sky blue, between the 2 ovals.
Step 11: Ginger shrimp
Colour all 3 bumpy shrimp ginger.
Step 12: Red tails and sauce
Colour the tail paddles red, and the sauce in the bowl red too.
Your finished drawing
Follow the steps above and this is where you end up: fried shrimp, drawn by you.
Every step in one picture