Watch it draw itself · tap to replay
How to Draw a Lily Pond
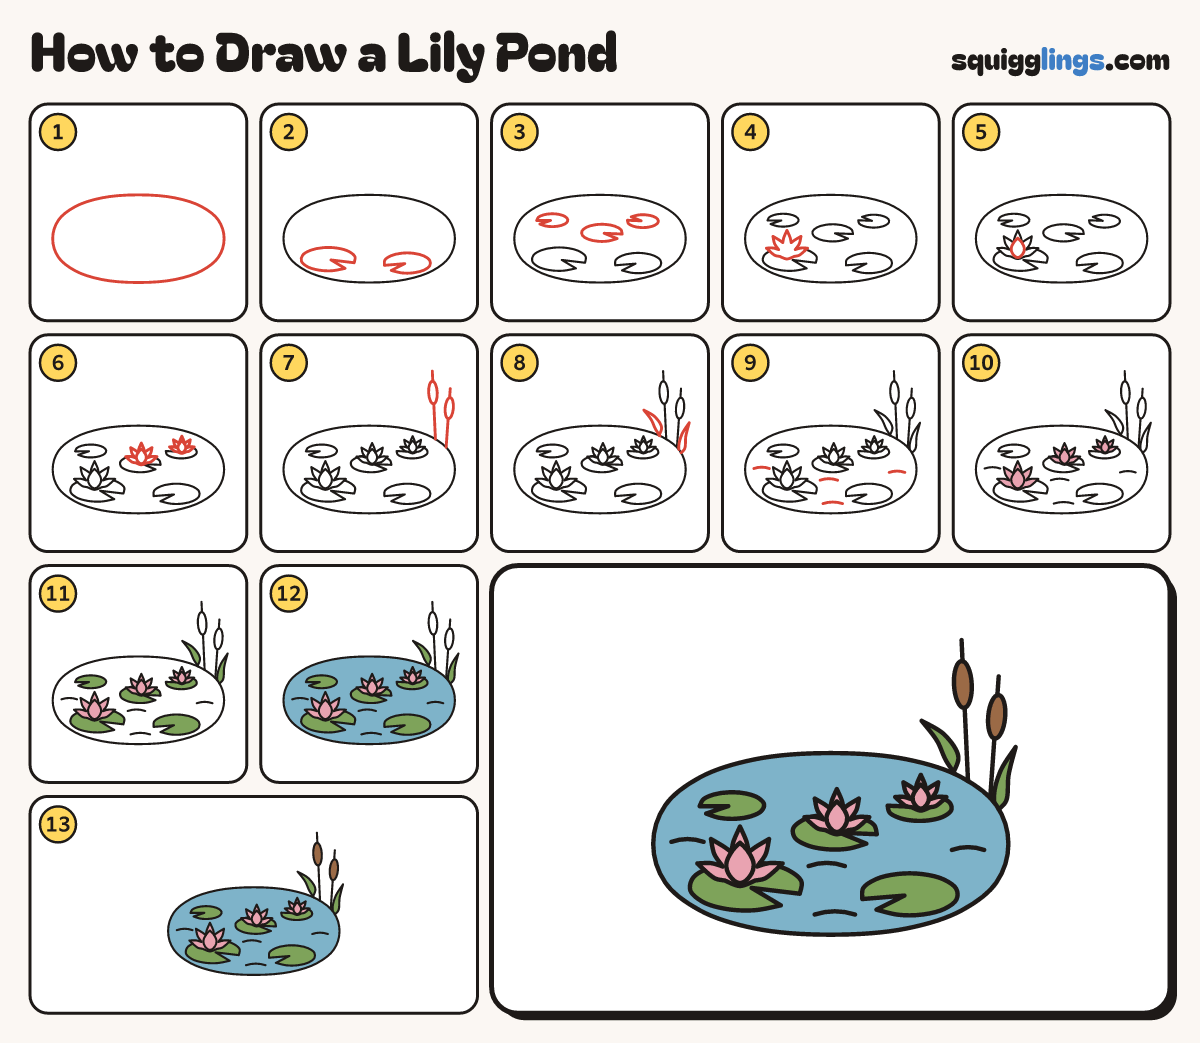
Draw a lily pond in 13 easy steps, about 10 minutes. Free, with a printable worksheet.
Each picture adds one red line. Draw that line, then scroll to the next picture. Rub out any dashed helper lines at the end. First up: the pond.
Step 1: The pond
Across the bottom half of your paper draw a big flat oval, much wider than it is tall.
Tip It looks flat because you see the pond from the side.
Step 2: Front lily pads
Near the bottom of the pond draw 2 flat oval leaves. Cut a V notch into each one.
Tip Like a pizza with one slice missing.
Step 3: More lily pads
Higher up draw 3 smaller flat leaves, each with a V notch. The far ones are the smallest.
Step 4: First water lily
On the big left pad draw a lily: 5 pointed petals fanning out like a crown.
Tip The middle petal is the tallest.
Step 5: Front petal
Inside the lily draw 1 more pointed petal in front, from the bottom up to just below the tip.
Step 6: Two more lilies
Draw a smaller lily the same way on the middle pad and a tiny one on the far right pad.
Step 7: Reeds
From the pond's top right edge draw 2 tall thin stems up. Put a sausage near the top of each.
Step 8: Reed leaves
Beside the stems draw 2 long pointed leaves growing up from the pond's edge, one leaning each way.
Step 9: Ripples
On the open water draw 4 short curved ripple lines.
Step 10: Pink lilies
Colour the 3 water lilies pink.
Step 11: Green pads
Colour the 5 lily pads and the 2 reed leaves green.
Step 12: Blue water
Colour the water blue, going around the lily pads and the lilies.
Step 13: Brown reed tops
Colour the 2 sausage tops brown. Your lily pond is finished!
Your finished drawing
Follow the steps above and this is where you end up: a lily pond, drawn by you.
Every step in one picture