Watch it draw itself · tap to replay
How to Draw a Kayak
Draw a kayak in 13 easy steps, about 10 minutes. Free, with a printable worksheet.
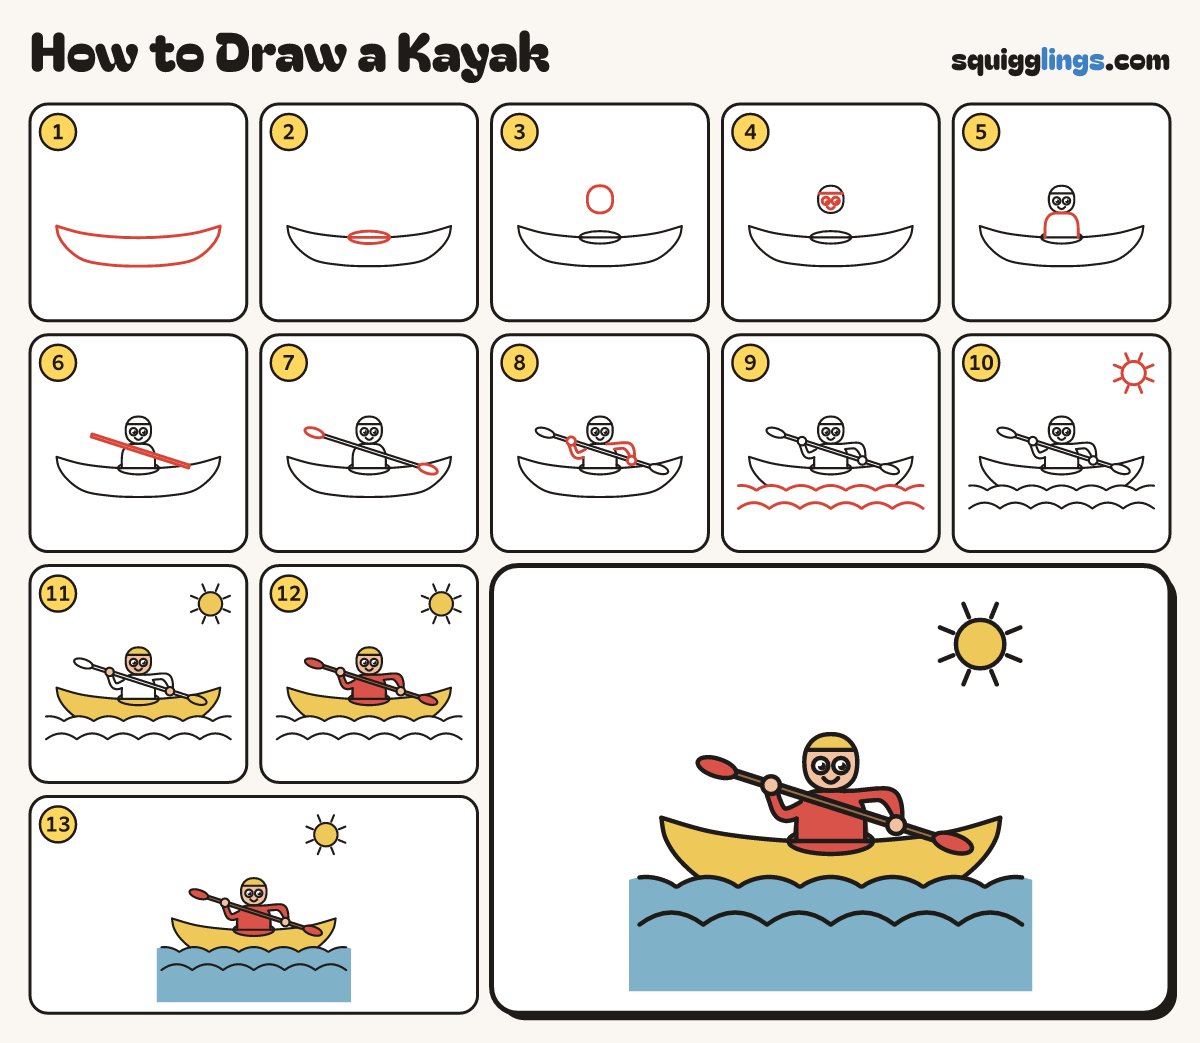
Each picture adds one red line. Draw that line, then scroll to the next picture. Rub out any dashed helper lines at the end. First up: the hull.
Step 1: The hull
Start at the back point. Draw a nearly flat deck to a sharp front point, then swoop back under.
Tip A kayak is long, low and pointed at both ends.
Step 2: The cockpit
Start on the middle of the deck line. Draw a long flat oval, half above, half below, back to start.
Tip Keep the deck line across the middle of the oval.
Step 3: The paddler's head
Above the cockpit, a hand up from the deck, draw a round head a bit wider than tall.
Step 4: Face and cap
Draw 2 big eyes and a U smile. Above them rule a flat cap brim from side across to side.
Tip Leave the eyes white when you colour.
Step 5: The body
Start on the cockpit rim. Draw a round body up to the chin and back. Rub out the rim inside.
Tip The body disappears into the cockpit.
Step 6: The paddle
Start left of the chin. Draw a thin pole across the body to the front. Rub out the lines inside.
Step 7: Two blades
On each end of the pole draw a flat oval blade. Rub out the lines inside each blade.
Tip The blades look like 2 flat spoons.
Step 8: Arms and hands
From each shoulder draw a bent arm to a round hand on the pole. Rub out the lines inside them.
Tip The arms reach out to hold the paddle.
Step 9: Waves
Start at the left edge. Draw 2 rows of hill bumps to the right edge. Rub out the hull below.
Tip The top row crosses the boat near its bottom. The bottom row has bigger bumps.
Step 10: The sun
In the top right corner draw a circle for the sun, with 8 short rays pointing out all around.
Step 11: Peach and yellow
Colour the face and hands peach, and the kayak, cap and sun yellow, around the cockpit and blade.
Step 12: Red and brown
Colour the shirt, arms, blades and the inside of the cockpit red, and the pole brown.
Step 13: Blue sea
Colour the sea blue, from the top wave down to the bottom edge.
Your finished drawing
Follow the steps above and this is where you end up: a kayak, drawn by you.
Every step in one picture