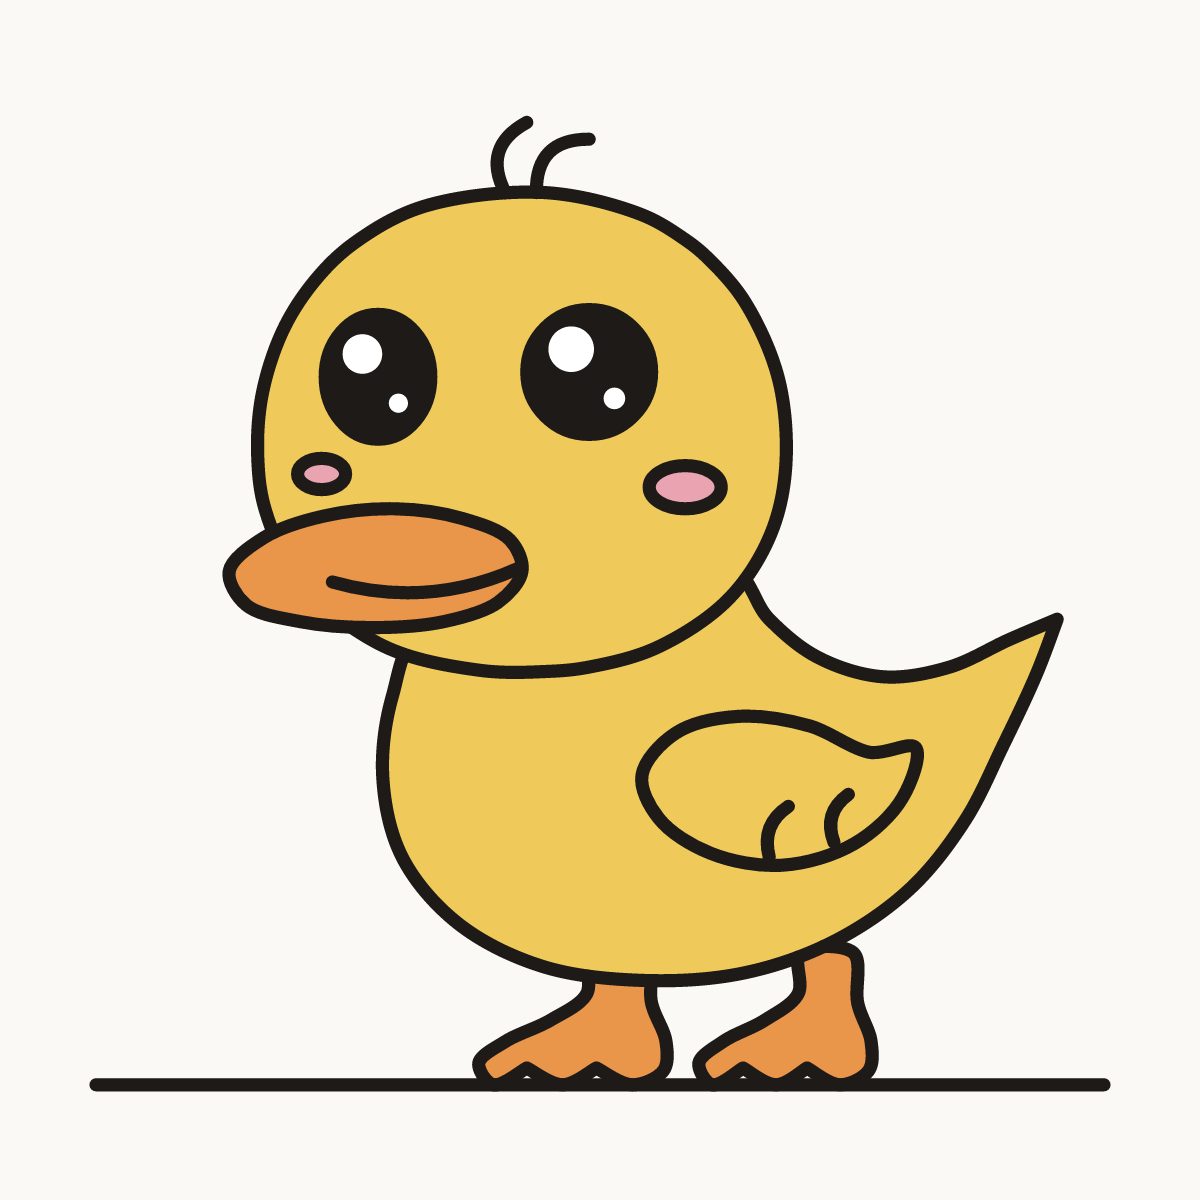
Watch it draw itself · tap to replay
How to Draw a Kawaii Duck
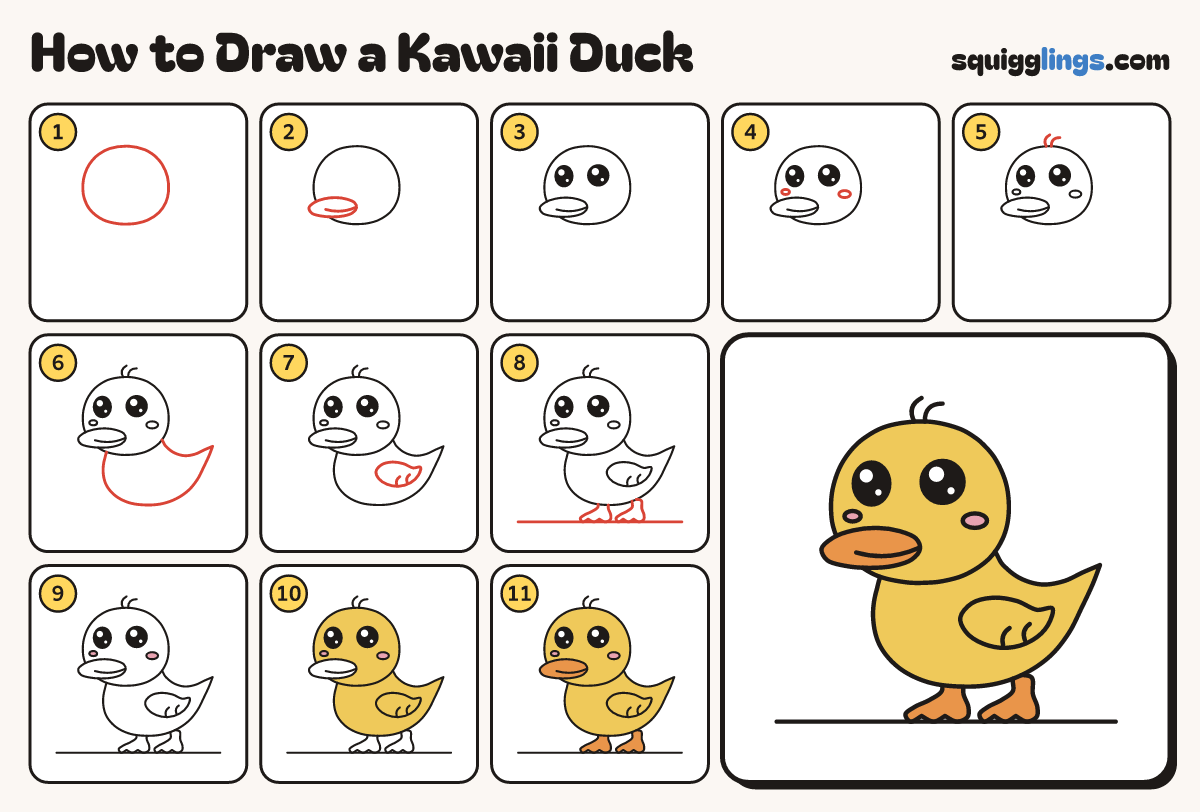
Draw a kawaii duck in 11 easy steps, about 8 minutes. Free, with a printable worksheet.
Each picture adds one red line. Draw that line, then scroll to the next picture. Rub out any dashed helper lines at the end. First up: big round head.
Step 1: Big round head
Near the top left draw a big round head, a little wider than tall, with full cheeks.
Tip The head is as big as the body. Leave room on the right.
Step 2: Flat bill
Low on the left of the face draw a long flat bill poking past the head. Add a smile line.
Tip Flat and wide like a spoon. Rub out the head line inside it.
Step 3: Sparkly eyes
Above the bill draw 2 big round eyes. Colour them black, leaving 2 white shines in each.
Tip The eye on the left is a little narrower.
Step 4: Rosy cheeks
Draw a small flat oval under the outside corner of each eye.
Step 5: Feather tuft
Start on top of the head. Draw 2 short curly feathers sticking up, ending in the air.
Step 6: Plump body
Start under the bill. Draw a round tummy, sweep up to a pointy tail, and back to the head.
Tip The tail tips up at the back.
Step 7: Small wing
On the side of the body draw a small leaf wing pointing to the tail. Add 2 feather lines.
Step 8: Webbed feet
Under the body draw 2 feet like little fans with 3 toes. Draw a ground line under them.
Tip Each foot is narrow at the top and wide at the toes.
Step 9: Pink cheeks
Colour the 2 cheek ovals pink.
Step 10: Yellow duck
Colour the head, body and wing yellow, around the cheeks. Leave the bill and feet white.
Step 11: Orange bill and feet
Colour the flat bill and the 2 webbed feet orange. Your kawaii duck is ready to quack!
Your finished drawing
Follow the steps above and this is where you end up: a kawaii duck, drawn by you.
Every step in one picture