Watch it draw itself · tap to replay
How to Draw a Jumping Frog
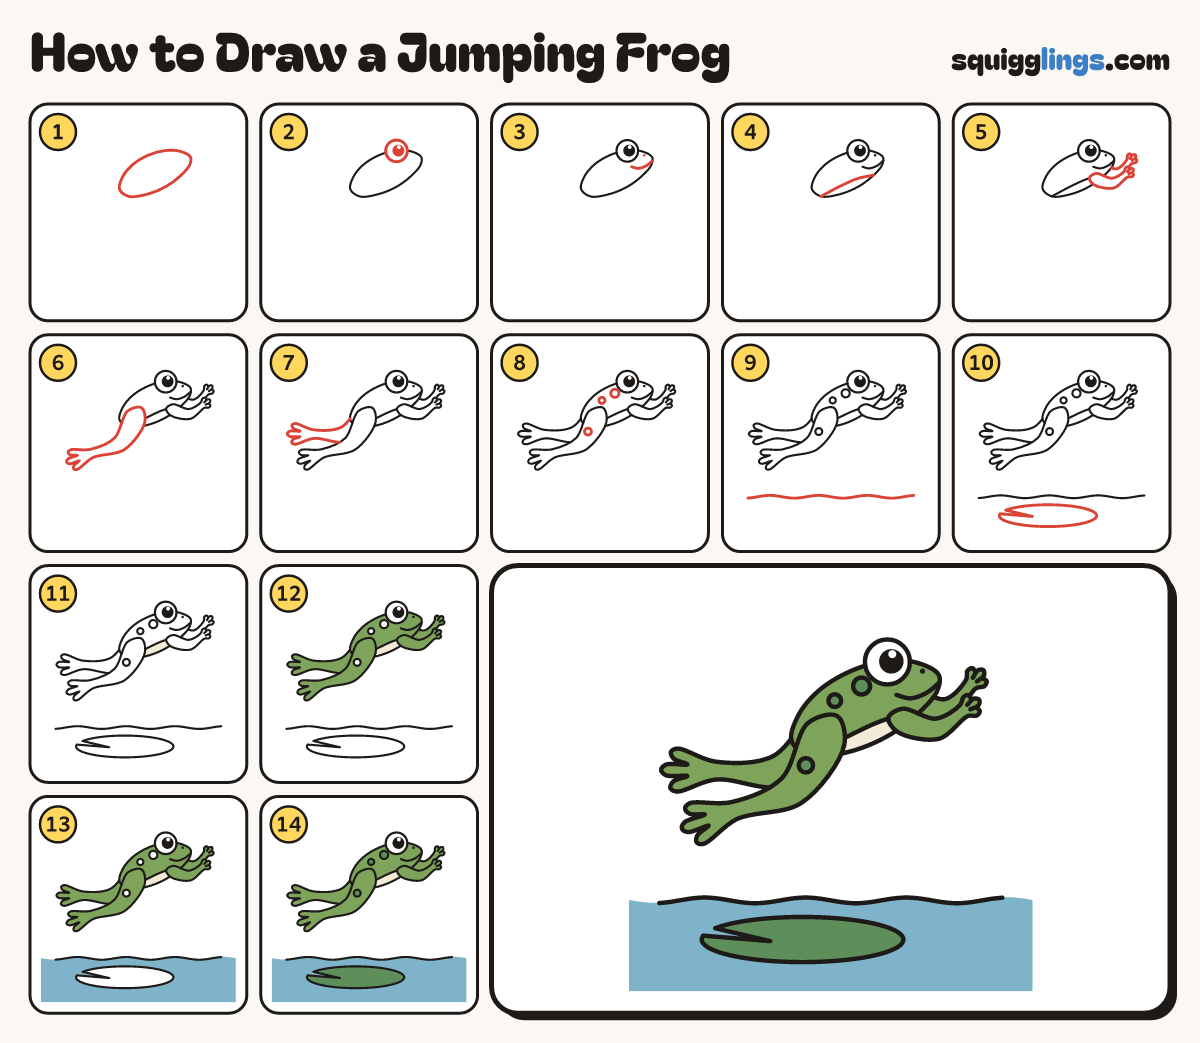
Draw a jumping frog in 14 easy steps, about 11 minutes. Free, with a printable worksheet.
Each picture adds one red line. Draw that line, then scroll to the next picture. Rub out any dashed helper lines at the end. First up: bean body.
Step 1: Bean body
Draw a long bean tilted up to the right. Give it a rounded point for the nose.
Tip Tilt it like a ramp. The frog is jumping up and away.
Step 2: Big eye
On top of the head draw a big circle, half above the bean. Add a black dot inside.
Tip Leave a tiny white shine in the black dot.
Step 3: Smile and nostril
Start at the nose tip. Draw a long smile and stop under the eye. Dot 1 nostril.
Step 4: Tummy line
Start under the chin. Draw a soft curve along the tummy and stop at the back end.
Step 5: Reaching arms
Under the chin draw 2 thin arms reaching forward. Give each one 3 round fingers.
Step 6: Long back leg
Start on the hip. Draw a fat thigh, bend at the knee, and end in a webbed foot.
Tip Make the leg longer than the body. Long legs make a big jump.
Step 7: Other back leg
Just below it draw the other back leg peeking out from behind, with its own webbed foot.
Step 8: Three spots
Draw 2 round spots on the back and 1 on the thigh.
Step 9: Water line
Start at the left edge. Draw a wavy line low across your paper and stop at the right edge.
Step 10: Lily pad
Under the wavy line draw a wide flat oval with a little notch cut in.
Step 11: Cream tummy
Colour the strip under the tummy line cream.
Step 12: Light green frog
Colour the rest of the frog light green, around the 3 spots. Leave the eye white.
Step 13: Blue water
Colour the water under the wavy line blue, going around the lily pad.
Step 14: Dark green
Colour the lily pad and the 3 spots dark green.
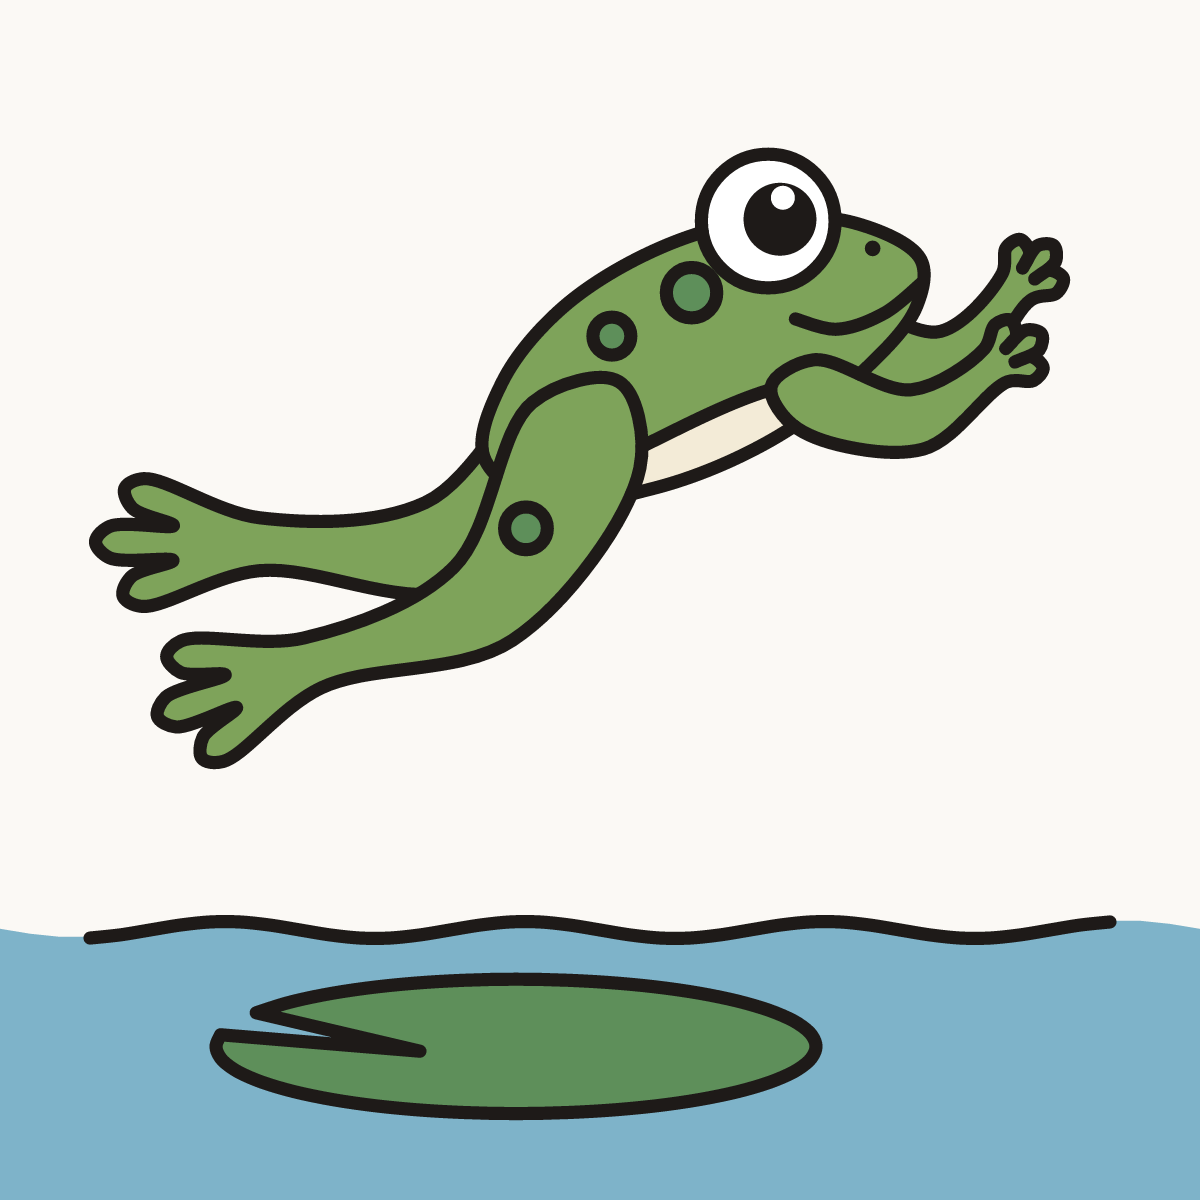
Your finished drawing
Follow the steps above and this is where you end up: a jumping frog, drawn by you.
Every step in one picture