Watch it draw itself · tap to replay
How to Draw an Illuminated Letter
Draw an illuminated letter in 12 easy steps, about 9 minutes. Free, with a printable worksheet.
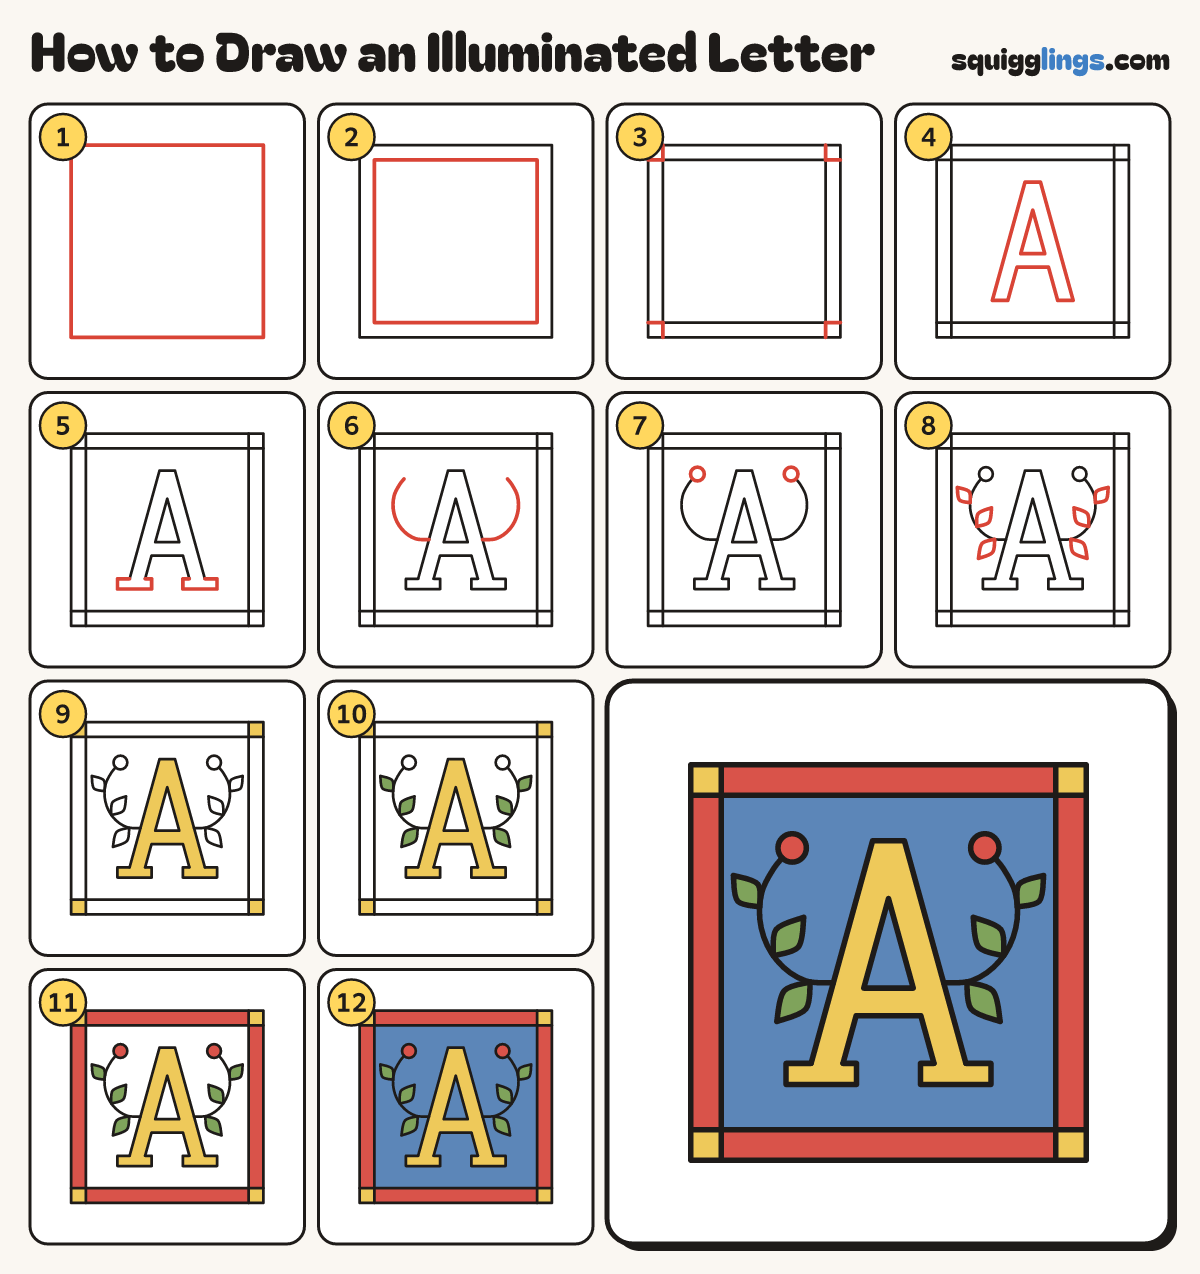
Each picture adds one red line. Draw that line, then scroll to the next picture. Rub out any dashed helper lines at the end. First up: the big square.
Step 1: The big square
Draw a big square that nearly fills your paper.
Tip Long ago, people decorated the first letter of a page like this, by hand.
Step 2: The inside square
Inside it draw a second square, a finger width in from the first.
Step 3: Four corner boxes
Start at each corner of the inside square. Draw 2 short lines out, and stop at the big square.
Step 4: The big A
In the middle draw a fat A: 2 thick slanted legs with a flat top, and a thick bar across.
Tip Draw it as an outline, like a letter cut out of card.
Step 5: The A's feet
On the bottom of each leg draw a flat foot, wider than the leg. Rub out the lines inside it.
Step 6: Two curly stems
Start on the outside of each leg. Draw a stem curling out and up. Stop near the top.
Tip Make the 2 stems match, like a mirror.
Step 7: Two round buds
On the top end of each stem draw a small round bud.
Step 8: Six pointed leaves
On each stem draw 3 pointed leaves: 2 on the outside and 1 on the inside.
Step 9: Gold letter
Go over your lines. Colour the A and the 4 corner boxes yellow, like gold.
Step 10: Green leaves
Colour the 6 leaves green.
Step 11: Red border
Colour the 4 long bars of the border red. Colour the 2 buds red too.
Step 12: Blue background
Colour the inside of the square blue, around the letter, stems, leaves and buds. Colour the A's triangle too.
Your finished drawing
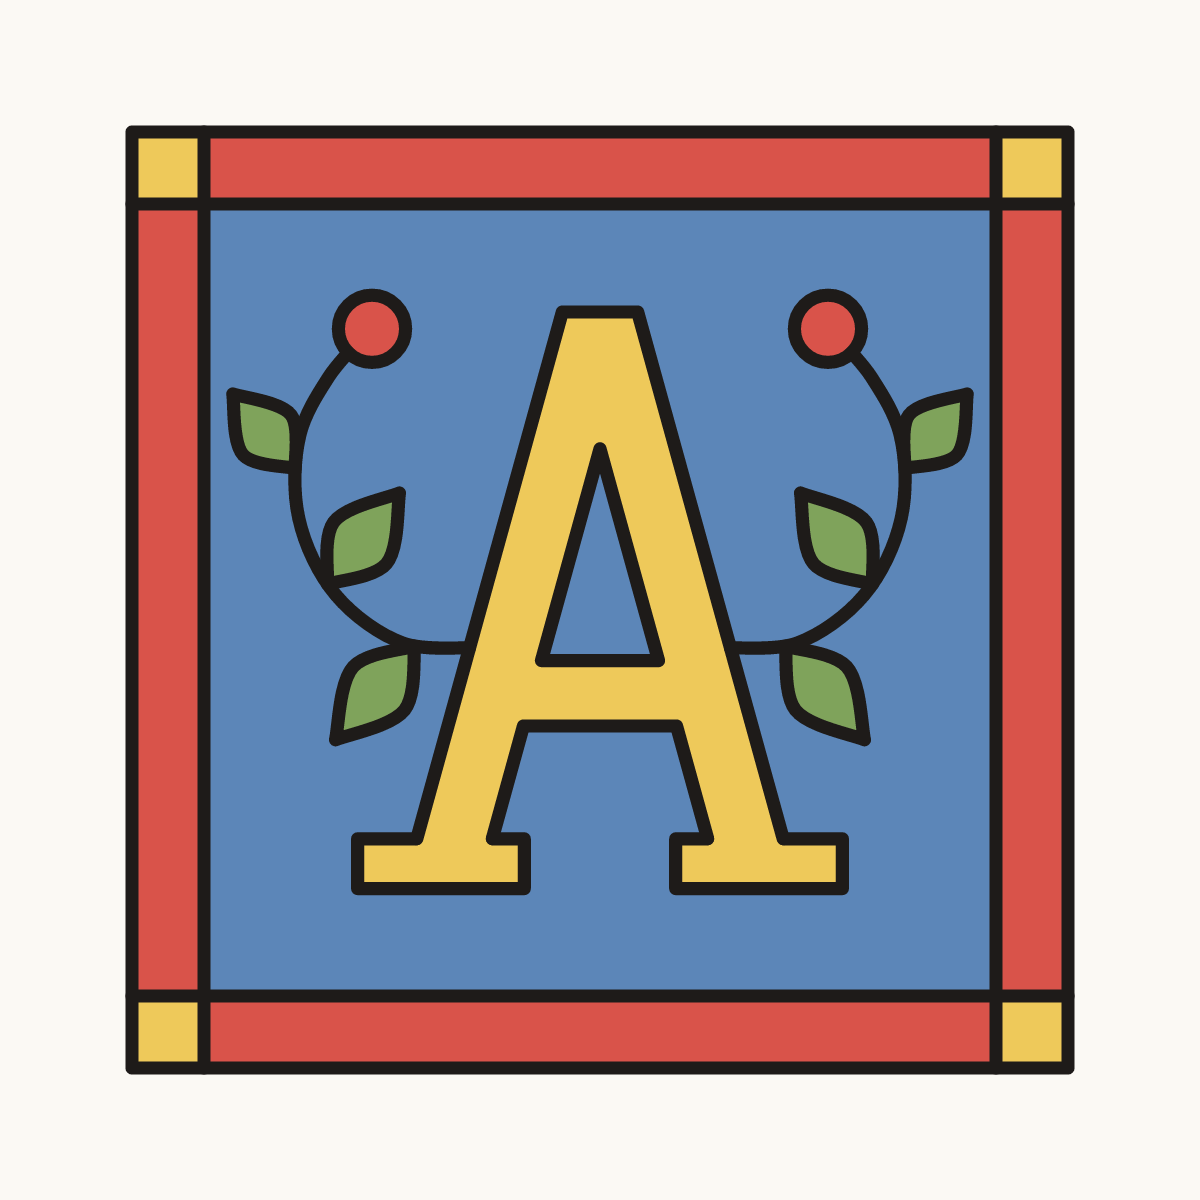
Follow the steps above and this is where you end up: an illuminated letter, drawn by you.
Every step in one picture