Watch it draw itself · tap to replay
How to Draw a Giant Isopod
Draw a giant isopod in 10 easy steps, about 8 minutes. Free, with a printable worksheet.
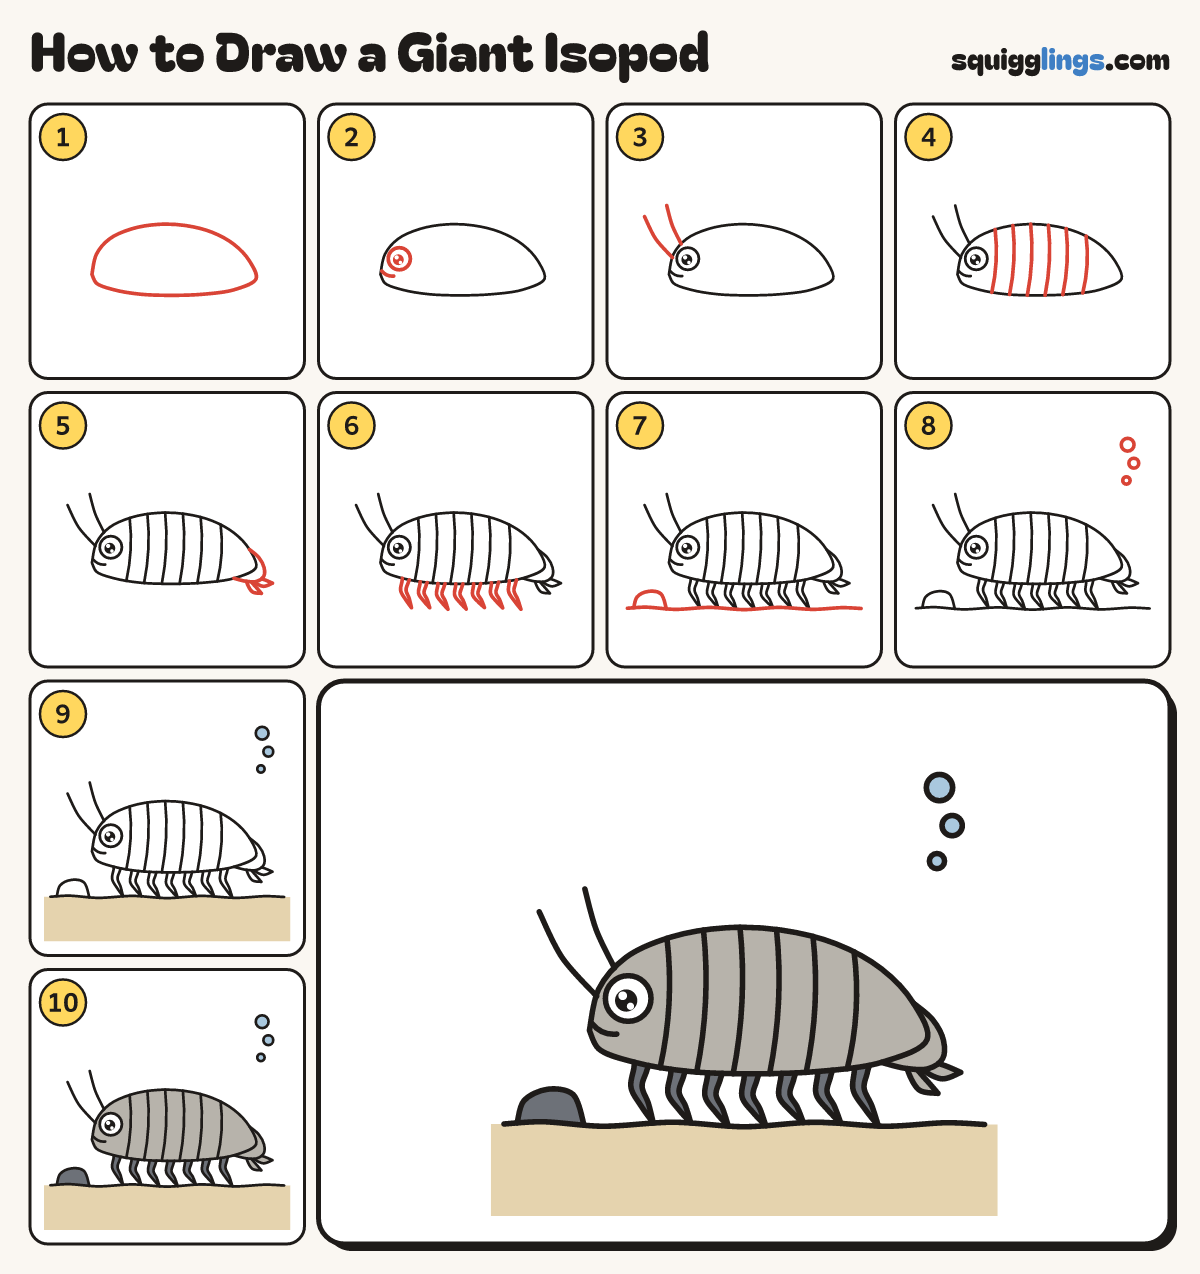
Each picture adds one red line. Draw that line, then scroll to the next picture. Rub out any dashed helper lines at the end. First up: long armoured body.
Step 1: Long armoured body
Across the middle draw one big long oval, like a loaf of bread. The head is at the left.
Tip A giant isopod is a pill bug the size of a cat.
Step 2: Eye and mouth
On the front of the head draw 1 big round eye with a dot. Add a tiny mouth below.
Step 3: Long feelers
Start on the front of the head. Draw 2 long thin feelers sweeping up and forward, one above the other.
Step 4: Armour plates
Across the back draw 6 curved lines from the top line down to the bottom line, with even gaps.
Step 5: Fan tail
From the back end draw a round tail plate out and under to the tummy. Add 2 pointed flaps below.
Step 6: Seven little legs
Under the body draw 7 short bent legs with even gaps. End them all at the same height.
Step 7: Seafloor and rock
Draw a wavy seafloor line edge to edge, touching every leg tip. Put a small rock on the left.
Step 8: Bubbles
In the top right draw 3 bubbles floating up: small, bigger, biggest.
Step 9: Sandy floor, blue bubbles
Colour the floor sandy right to the edges, and the 3 bubbles light blue.
Step 10: Grey armour, dark legs
Colour the body, tail and flaps grey, leaving the eye white. Colour the legs and rock dark grey.
Your finished drawing
Follow the steps above and this is where you end up: a giant isopod, drawn by you.
Every step in one picture