Watch it draw itself · tap to replay
How to Draw a Ghost Family
Draw a ghost family in 13 easy steps, about 10 minutes. Free, with a printable worksheet.
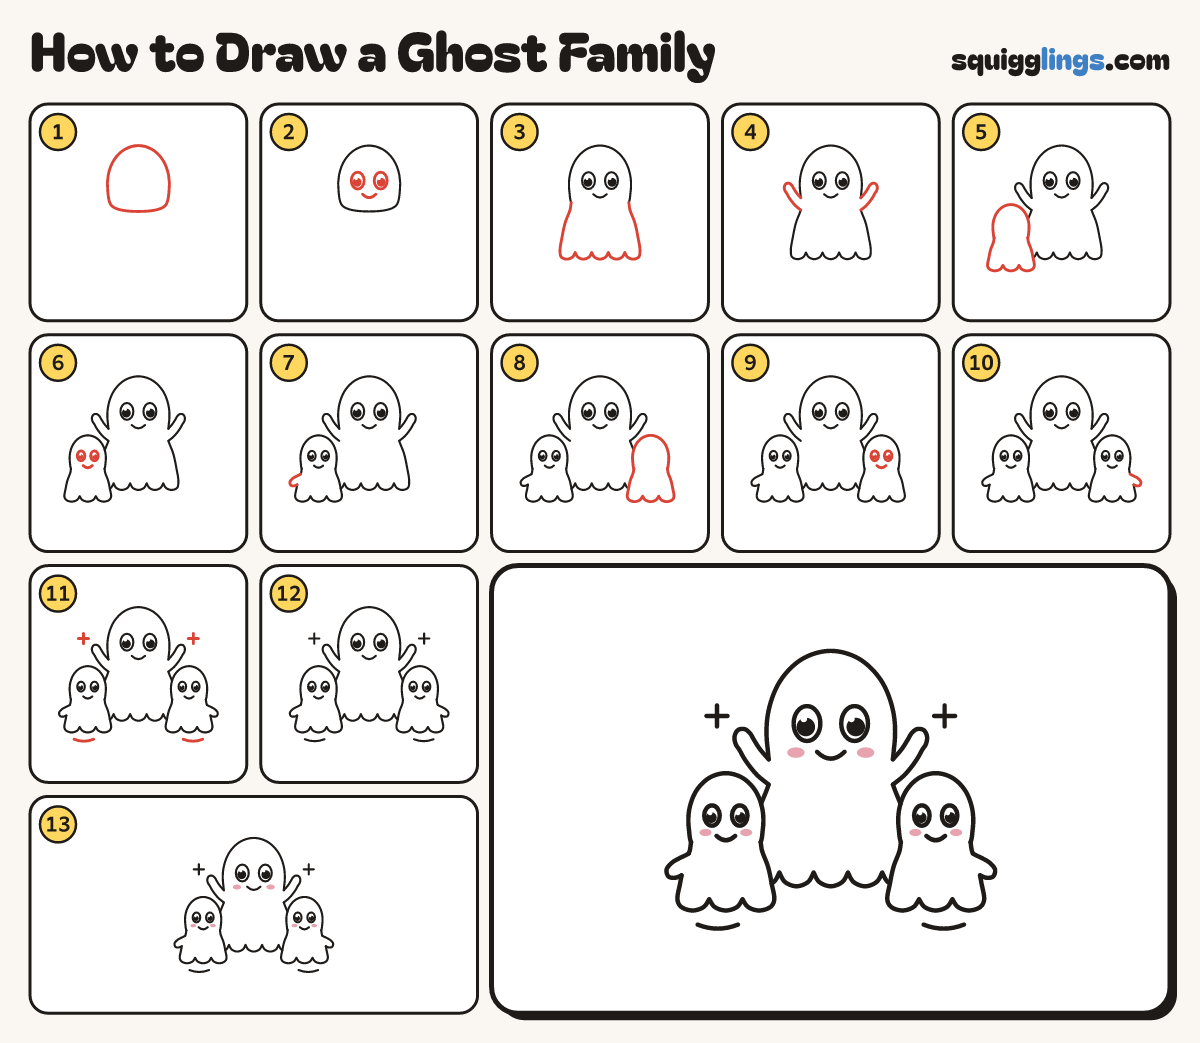
Each picture adds one red line. Draw that line, then scroll to the next picture. Rub out any dashed helper lines at the end. First up: big ghost's head.
Step 1: Big ghost's head
High in the middle, draw a tall dome for the big ghost's head, like a big egg standing up.
Step 2: Big ghost's face
On the head, draw 2 big oval eyes with black dots and shines, and a wide U smile under them.
Step 3: Big sheet
Start low on the left of the head. Draw the sheet down, 5 round bumps across, up to the right.
Step 4: Arms up
On each side, start under the shoulder. Draw a stubby mitten arm up and out, and back to the sheet.
Tip The big ghost is cheering!
Step 5: Little ghost, left
Low on the left, draw a little ghost in front: a dome head and a sheet with 3 round bumps.
Tip Half the size of the big ghost.
Step 6: Happy face
On the little ghost's head, draw 2 oval eyes with black dots and shines, and a small U smile.
Step 7: Little arm
Start on the outside of the sheet. Draw 1 short mitten arm out and down, and back to the sheet.
Tip Its other arm is tucked behind the big ghost.
Step 8: Little ghost, right
Low on the right, draw another little ghost the same size: a dome head, a sheet with 3 round bumps.
Step 9: Smiling face
Give it 2 oval eyes with black dots and shines, and a small U smile.
Step 10: One more arm
Start on the outside of its sheet. Draw 1 short mitten arm out and down, and back to the sheet.
Step 11: Lines and sparkles
Draw a short curved floating line under each little ghost. Add a plus-sign sparkle beside each big hand.
Step 12: White sheets
Colour all 3 ghosts white, going round the eyes, so they glow against the page.
Step 13: Pink cheeks
Colour 2 rosy pink cheeks on every ghost, under its eyes and beside its smile.
Your finished drawing
Follow the steps above and this is where you end up: a ghost family, drawn by you.
Every step in one picture