Watch it draw itself · tap to replay
How to Draw a Cow Print
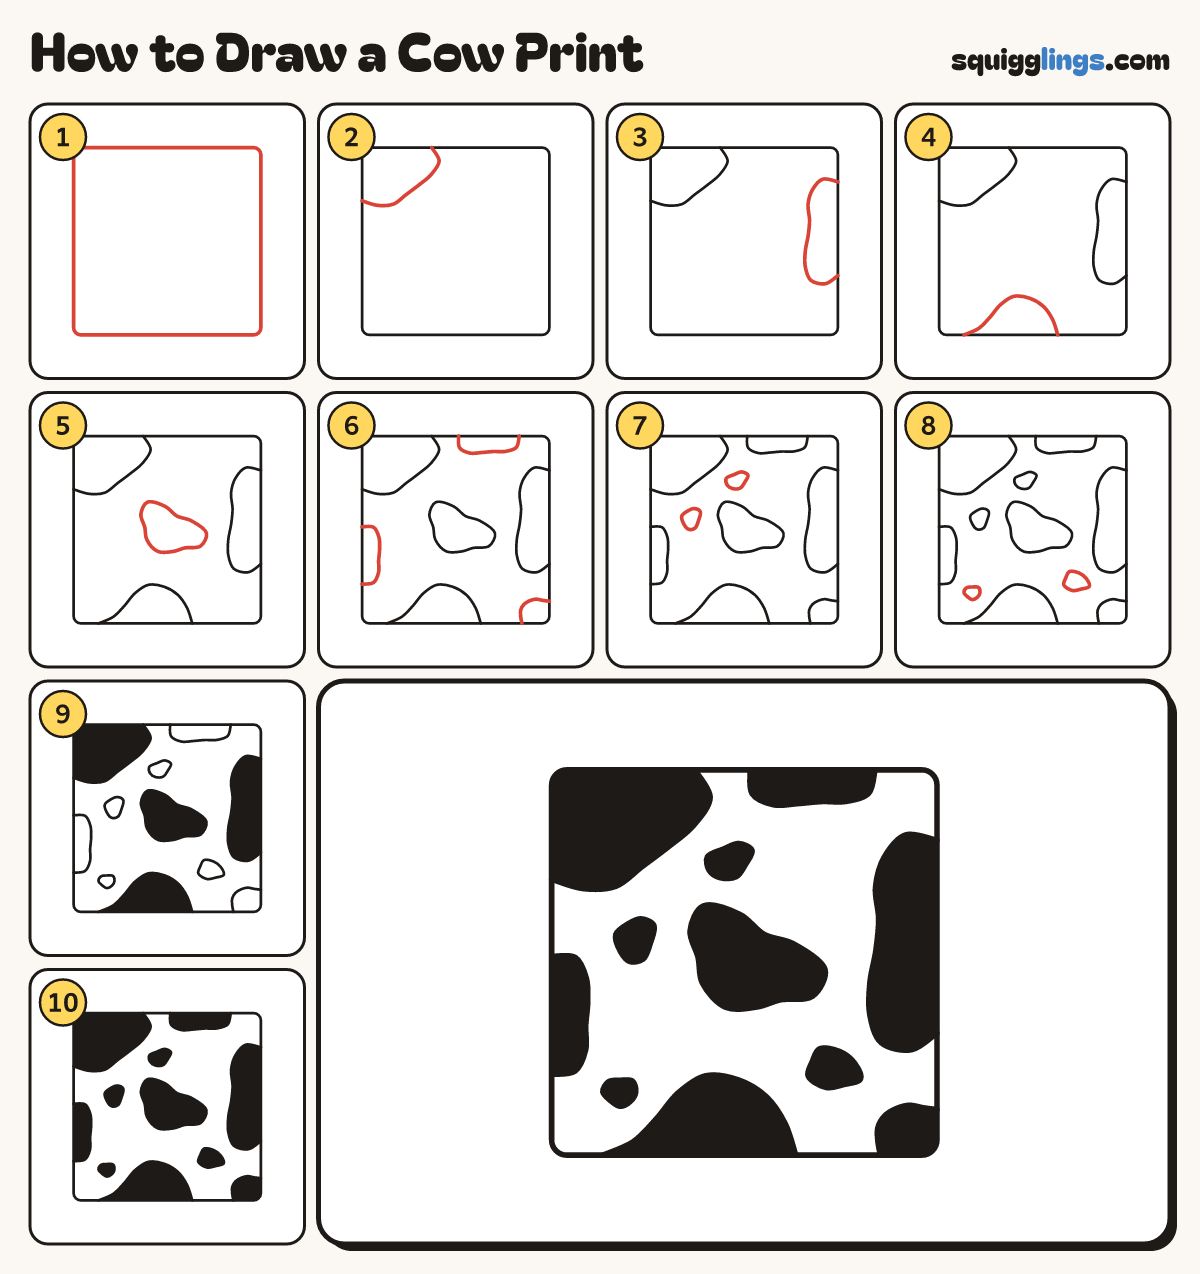
Draw a cow print in 10 easy steps, about 8 minutes. Free, with a printable worksheet.
Each picture adds one red line. Draw that line, then scroll to the next picture. Rub out any dashed helper lines at the end. First up: the square.
Step 1: The square
In the middle of your paper draw a big square with softly rounded corners, nearly as big as your page.
Step 2: Corner patch
Start on the top edge. Draw a wobbly line down and round to the left edge, cutting off the corner.
Tip Cow patches are soft and bumpy, like puddles. No straight lines!
Step 3: Side patch
Start on the right edge. Draw a big wobbly bump out into the square and back to the same edge.
Step 4: Bottom patch
Start on the bottom edge. Draw a wide wobbly hill that comes back down to the bottom edge.
Tip Leave wide white gaps between the patches.
Step 5: Middle patch
In the middle gap draw a bumpy bean patch that touches nothing.
Step 6: Three edge patches
Draw a bump hanging from the top edge, one on the left edge and one in the bottom right corner.
Step 7: Two small spots
Draw a small bumpy spot above the middle patch and another one to its left.
Step 8: Two more spots
Draw 2 more small spots low down, a bigger one on the right and a tiny one on the left.
Step 9: Black big patches
Go over your lines. Colour the first 4 big patches black, right up to their edges.
Step 10: Black all over
Colour every other patch and spot black. Leave the gaps white. Your cow print is done!
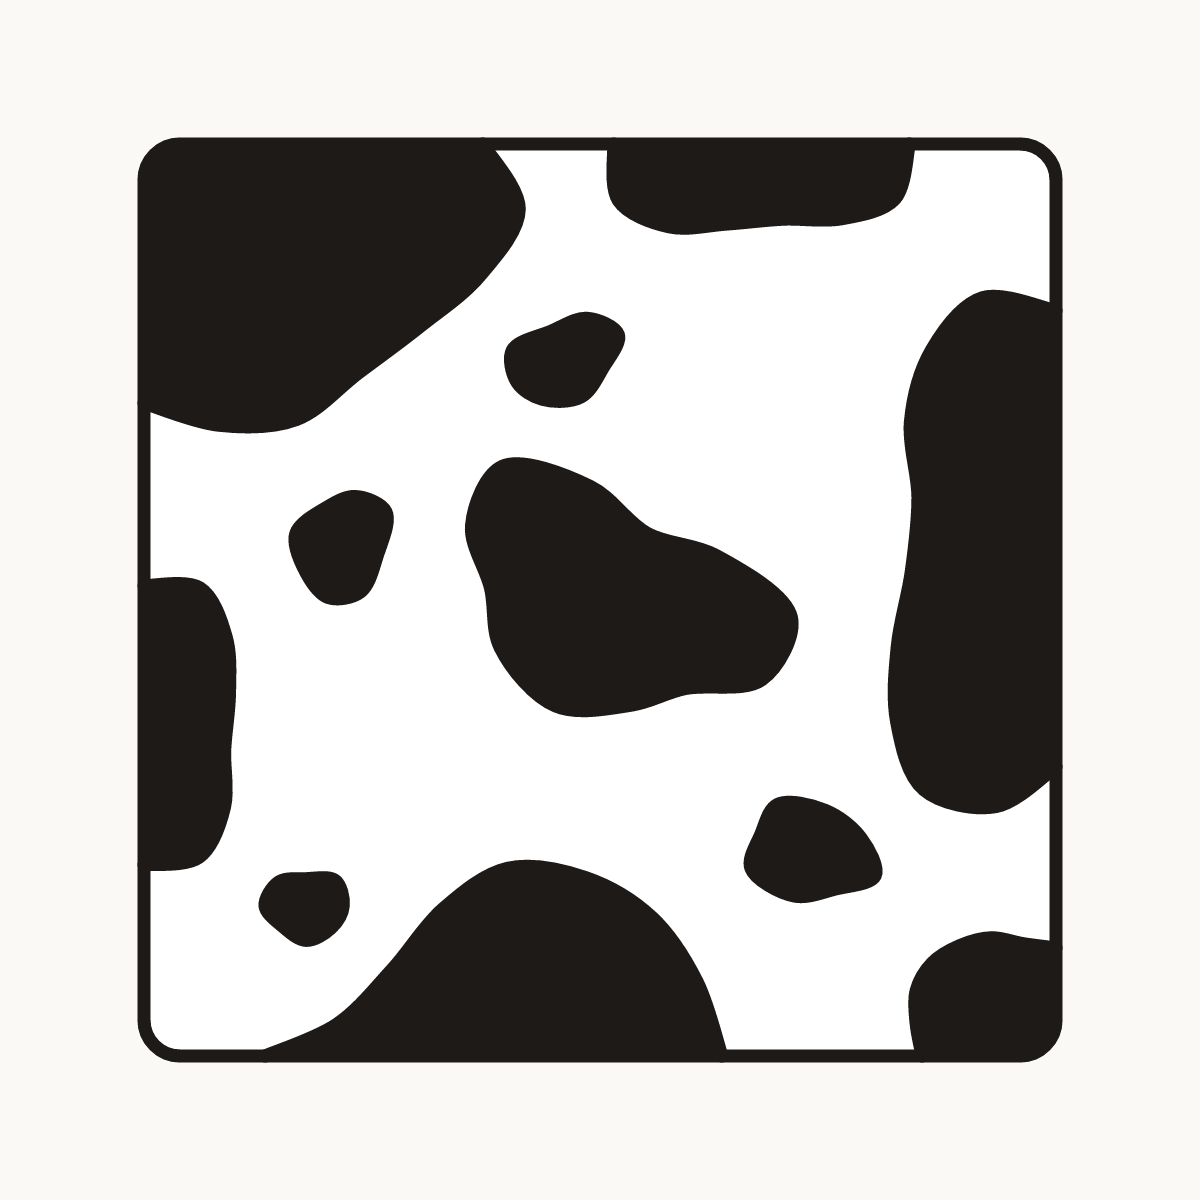
Your finished drawing
Follow the steps above and this is where you end up: a cow print, drawn by you.
Every step in one picture