Watch it draw itself · tap to replay
How to Draw a Funicular
Draw a funicular in 11 easy steps, about 8 minutes. Free, with a printable worksheet.
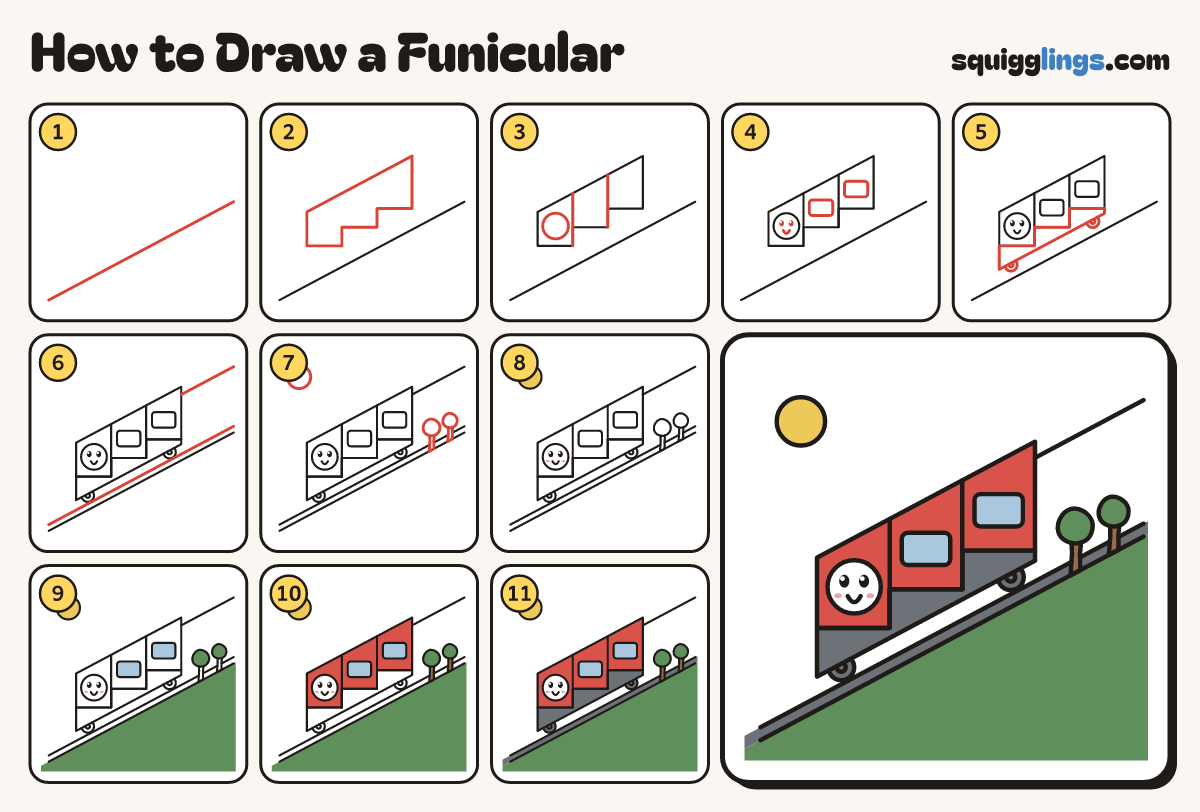
Each picture adds one red line. Draw that line, then scroll to the next picture. Rub out any dashed helper lines at the end. First up: the slope.
Step 1: The slope
Draw a long slanted hill line from low on the left edge up to high on the right edge.
Tip A funicular climbs a steep hill, so make this line steep.
Step 2: Stepped car
Above the slope draw the car: a tall front wall, a slanting roof, a back wall, and 3 floor steps.
Tip The floors step down like stairs so people can stand level.
Step 3: Walls and round face
Start on each floor step and draw a wall up to the roof. Add a BIG round face in front.
Step 4: Eyes, smile, windows
Draw 2 dark eyes with a shine and a smile in the circle. Add a window in each other room.
Step 5: Frame and wheels
Under the floors draw a slab along the slope. Under it draw 2 small round wheels, just above the slope.
Step 6: Cable and rail
Draw the rail under both wheels, edge to edge. Run a cable from the back wall to the right edge.
Tip The cable pulls the car straight up the hill.
Step 7: Trees and sun
Right of the car draw 2 little trees, trunks down to the hill. Add a sun high on the left.
Step 8: Yellow sun, rosy cheeks
Go over your lines, then colour the sun yellow and give the face 2 rosy pink cheeks.
Step 9: Blue windows, green hill
Colour the windows sky blue, and the hill and the tree tops green.
Step 10: Red car, brown trunks
Colour the car red, around the windows and the face, and the tree trunks brown. Leave the face white.
Step 11: Grey frame and rail
Colour the frame, wheels and rail grey, around the tree trunks. Your funicular is done!
Your finished drawing
Follow the steps above and this is where you end up: a funicular, drawn by you.
Every step in one picture