Watch it draw itself · tap to replay
How to Draw a Flannel
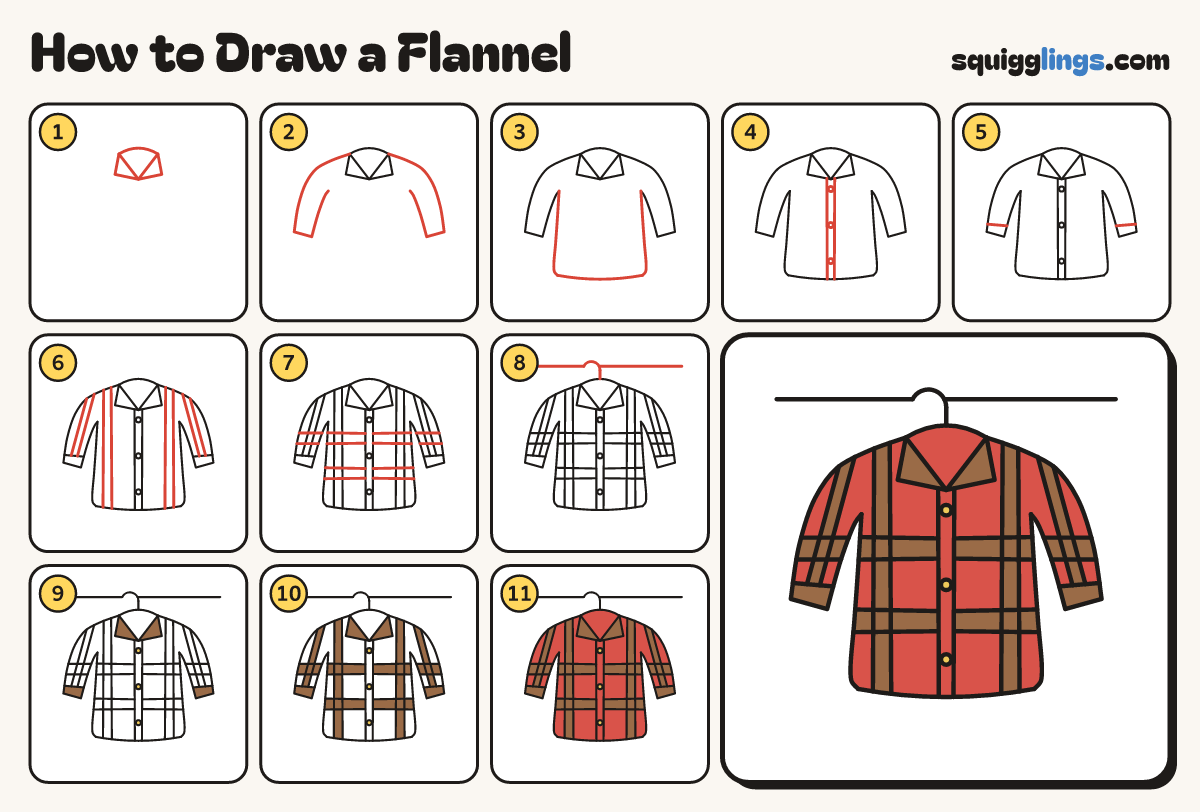
Draw a flannel in 11 easy steps, about 8 minutes. Free, with a printable worksheet.
Each picture adds one red line. Draw that line, then scroll to the next picture. Rub out any dashed helper lines at the end. First up: the collar.
Step 1: The collar
Near the top draw a rainbow collar. From each end draw a pointy flap hanging down, back to the end.
Tip The flaps meet in a point well below the rainbow.
Step 2: Long sleeves
From each rainbow end draw a long sleeve: over the shoulder, down, across the cuff, back up to the armpit.
Step 3: The body
From each armpit draw a side leaning out to a round corner. Join the corners with a gently curved hem.
Step 4: Buttons down the front
From each collar point draw a line straight down to the hem. Add 3 round buttons between the lines.
Step 5: The cuffs
On each sleeve, just above the bottom, draw a cuff line from the outside edge across to the inside edge.
Step 6: Up-and-down stripes
On each side draw 2 lines a finger apart, shoulder to hem. Add 2 down each sleeve, shoulder to cuff.
Tip Keep each pair a finger apart all the way down, like the sides of a road.
Step 7: Across stripes
On each side draw 2 across lines below the armpit and 2 near the hem. Add 2 across each sleeve.
Tip Body stripes run from the side to the button strip. Sleeve stripes run edge to edge.
Step 8: The hanger
From the collar top draw a line up, ending in a hook curling left. Draw a long rail through it.
Step 9: Buttons, flaps and cuffs
Go over your lines. Colour the buttons yellow, and the 2 collar flaps and the cuffs brown.
Step 10: Brown plaid stripes
Colour the up-and-down stripes and the across stripes brown, on the sleeves too, so the shirt is plaid.
Step 11: Red shirt
Colour the rest of the shirt red, inside the collar too, around the stripes, flaps, cuffs and buttons. Done!
Your finished drawing
Follow the steps above and this is where you end up: a flannel, drawn by you.
Every step in one picture