Watch it draw itself · tap to replay
How to Draw a Fire Hose
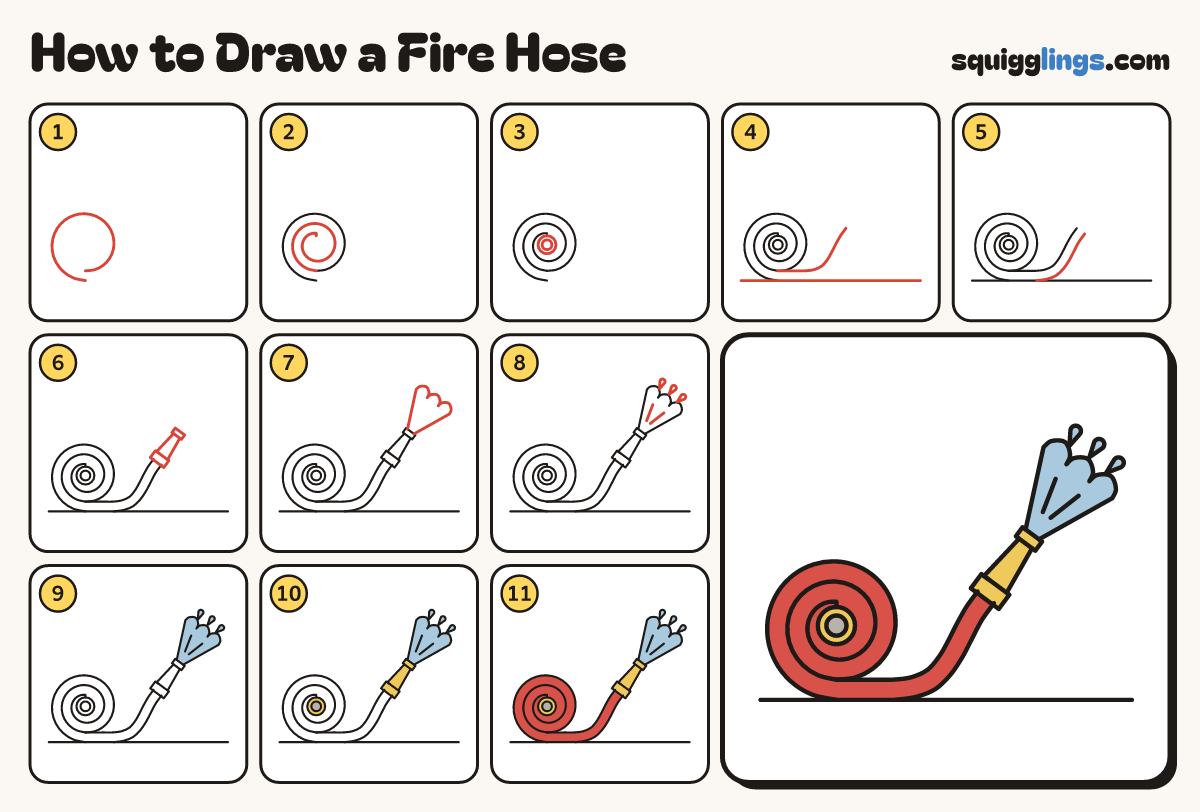
Draw a fire hose in 11 easy steps, about 8 minutes. Free, with a printable worksheet.
Each picture adds one red line. Draw that line, then scroll to the next picture. Rub out any dashed helper lines at the end. First up: rolled hose.
Step 1: Rolled hose
Start low on the left. Draw a big circle, but finish just inside the place where you started.
Tip Go round slowly. The gap at the end is as wide as the hose.
Step 2: Swirl inside
Start where your circle ended. Keep going round inside, like a snail shell. Stop near the middle, at the top.
Tip Keep the same gap between the lines all the way round.
Step 3: Brass ring
In the middle, draw a small circle that touches the end of your line. Draw a smaller circle inside it.
Tip This brass ring is the coupling. It joins one hose to the next.
Step 4: Hose on the ground
Draw a ground line under the roll. Start where your circle ended, draw along the ground, curve up and stop.
Step 5: Other side
Start on the ground line. Draw a second line beside the first, curving up too. Stop beside its end.
Tip A fire hose is flat and wide, so keep the 2 lines well apart.
Step 6: Nozzle
Draw a wide band across the hose end. Add a long nozzle that gets thinner, then a tip band.
Step 7: Water spray
From the tip, draw 2 straight lines spreading far apart. Join their ends with 3 bumps.
Tip Make the spray wide, like a fan.
Step 8: Streaks and drops
Draw 2 lines inside the spray. Add 3 drops flying off the end.
Step 9: Blue water
Colour the spray and the 3 drops light blue.
Tip Colour the lightest colour first.
Step 10: Brass yellow
Colour the nozzle and the ring in the roll yellow, like brass. Colour the little hole grey.
Step 11: Red hose
Colour the rolled hose and the long hose red. Your fire hose is ready to spray!
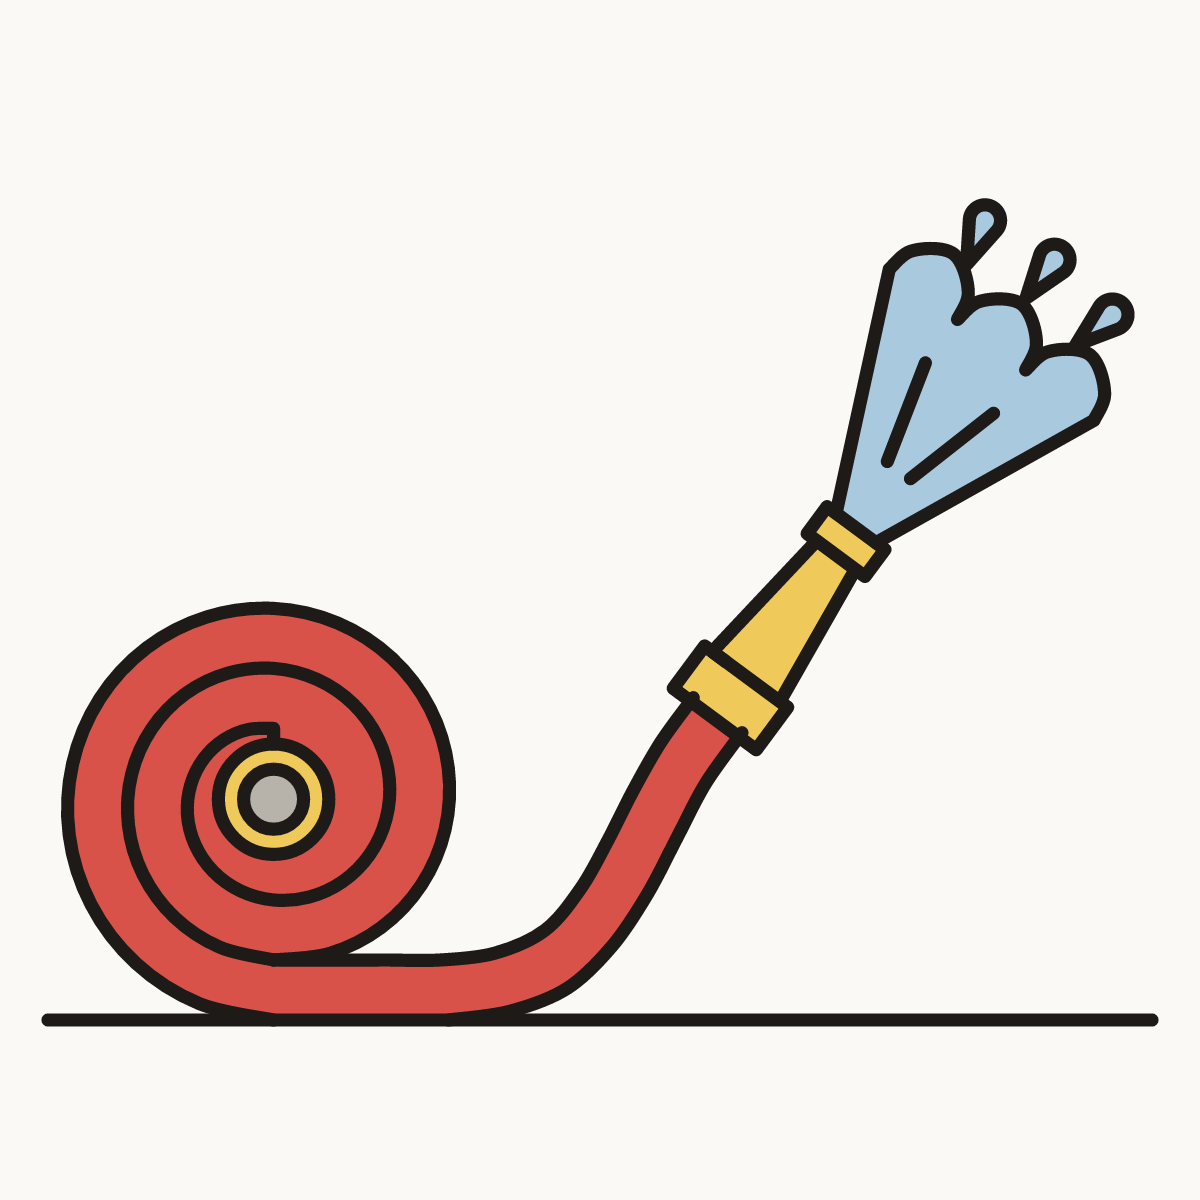
Your finished drawing
Follow the steps above and this is where you end up: a fire hose, drawn by you.
Every step in one picture