Watch it draw itself · tap to replay
How to Draw an Electric Eel
Draw an electric eel in 11 easy steps, about 8 minutes. Free, with a printable worksheet.
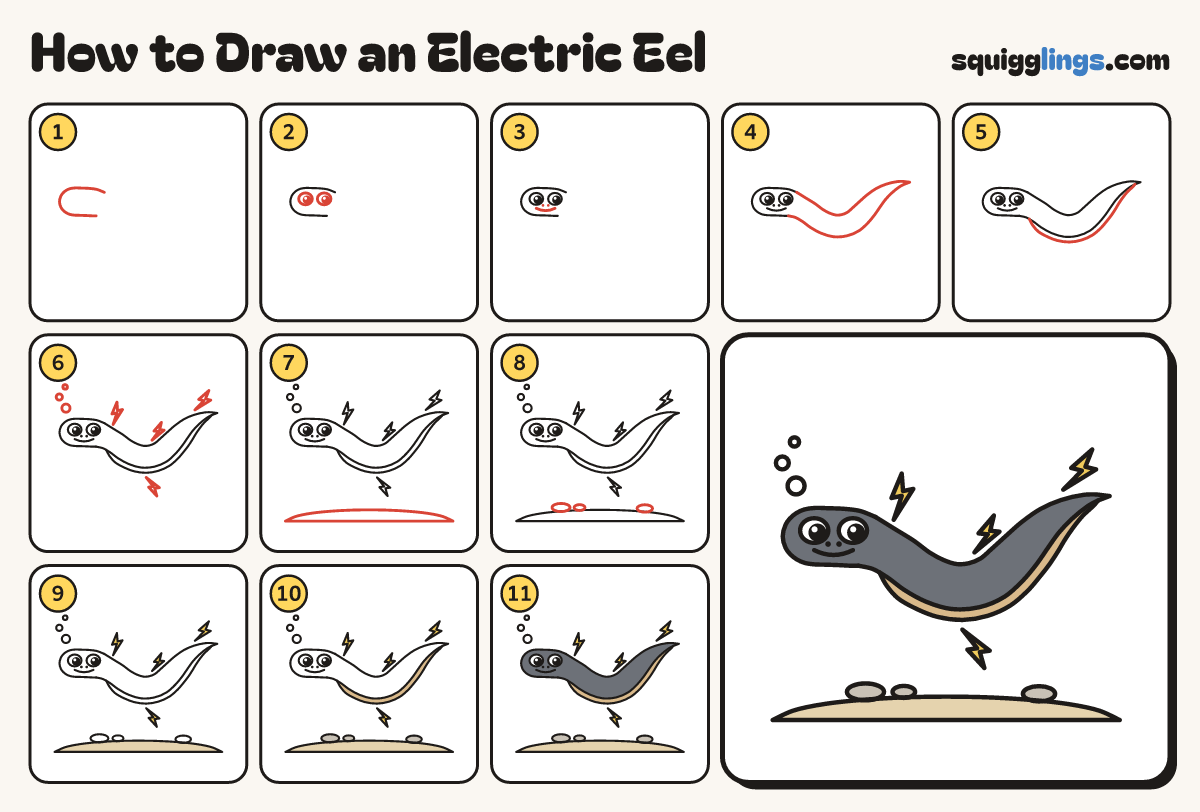
Each picture adds one red line. Draw that line, then scroll to the next picture. Rub out any dashed helper lines at the end. First up: flat wide head.
Step 1: Flat wide head
On the left, draw a flat egg head: start top right, go round the front, stop bottom right.
Tip Electric eels have a flat head, like a squashed egg.
Step 2: Two big eyes
In the middle of the head, draw 2 big egg eyes side by side. Add black dots with shines.
Step 3: Nostrils and smile
Under the eyes, dot 2 nostrils. Start under the left eye and draw a smile, stopping under the right eye.
Step 4: Long body
Start at the head's open end. Draw a long thick wavy body to a point, and back.
Tip As fat as the head most of the way, only thin near the tail.
Step 5: Long belly fin
Start on the belly behind the head. Draw one smooth line under the belly, stopping near the tail tip.
Tip No fin on the back: one long ribbon runs under the belly.
Step 6: Sparks and bubbles
Draw 4 little lightning bolts around the eel, 3 above and 1 below. Add 3 bubbles above the head.
Tip An electric eel makes its own electricity.
Step 7: The river bed
Under the eel, draw a long low hill of sand with a flat bottom, stopping near each edge.
Step 8: Pebbles
On top of the river bed, draw 3 smooth pebbles, 2 on the left and 1 on the right.
Step 9: Yellow sparks, sandy bed
Go over your lines. Colour every spark yellow and the river bed sand.
Step 10: Tan fin, grey pebbles
Colour the belly fin tan and the pebbles stone grey.
Step 11: Dark grey eel
Colour the head and body dark grey, around the fin, leaving the eyes white. Your electric eel is done!
Your finished drawing
Follow the steps above and this is where you end up: an electric eel, drawn by you.
Every step in one picture