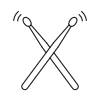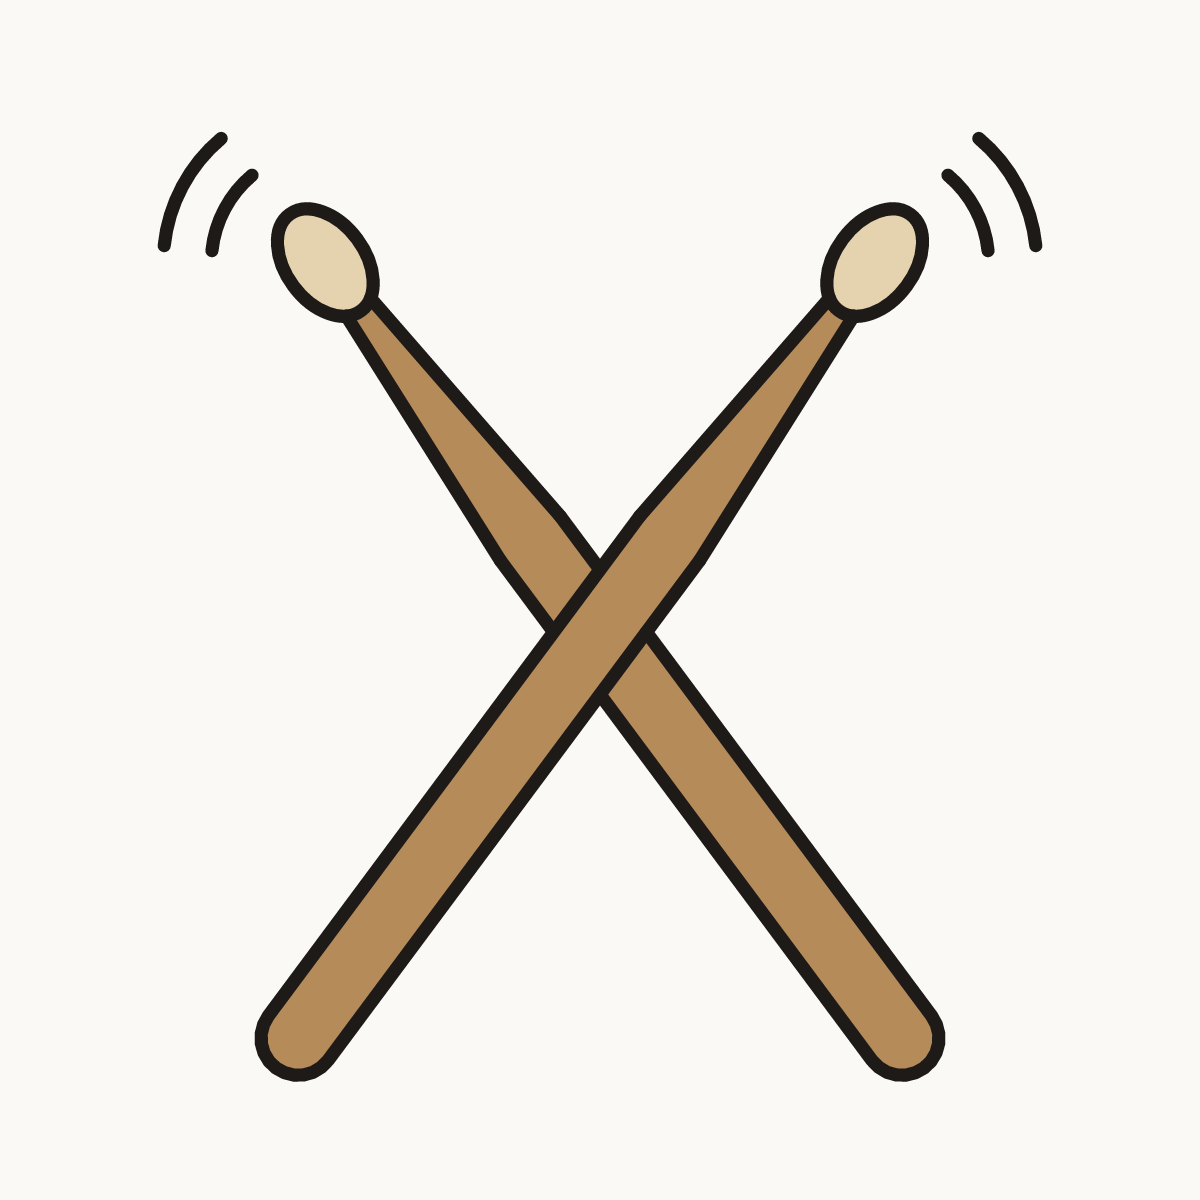
Watch it draw itself · tap to replay
How to Draw Drumsticks
Draw drumsticks in 10 easy steps, about 8 minutes. Free, with a printable worksheet.
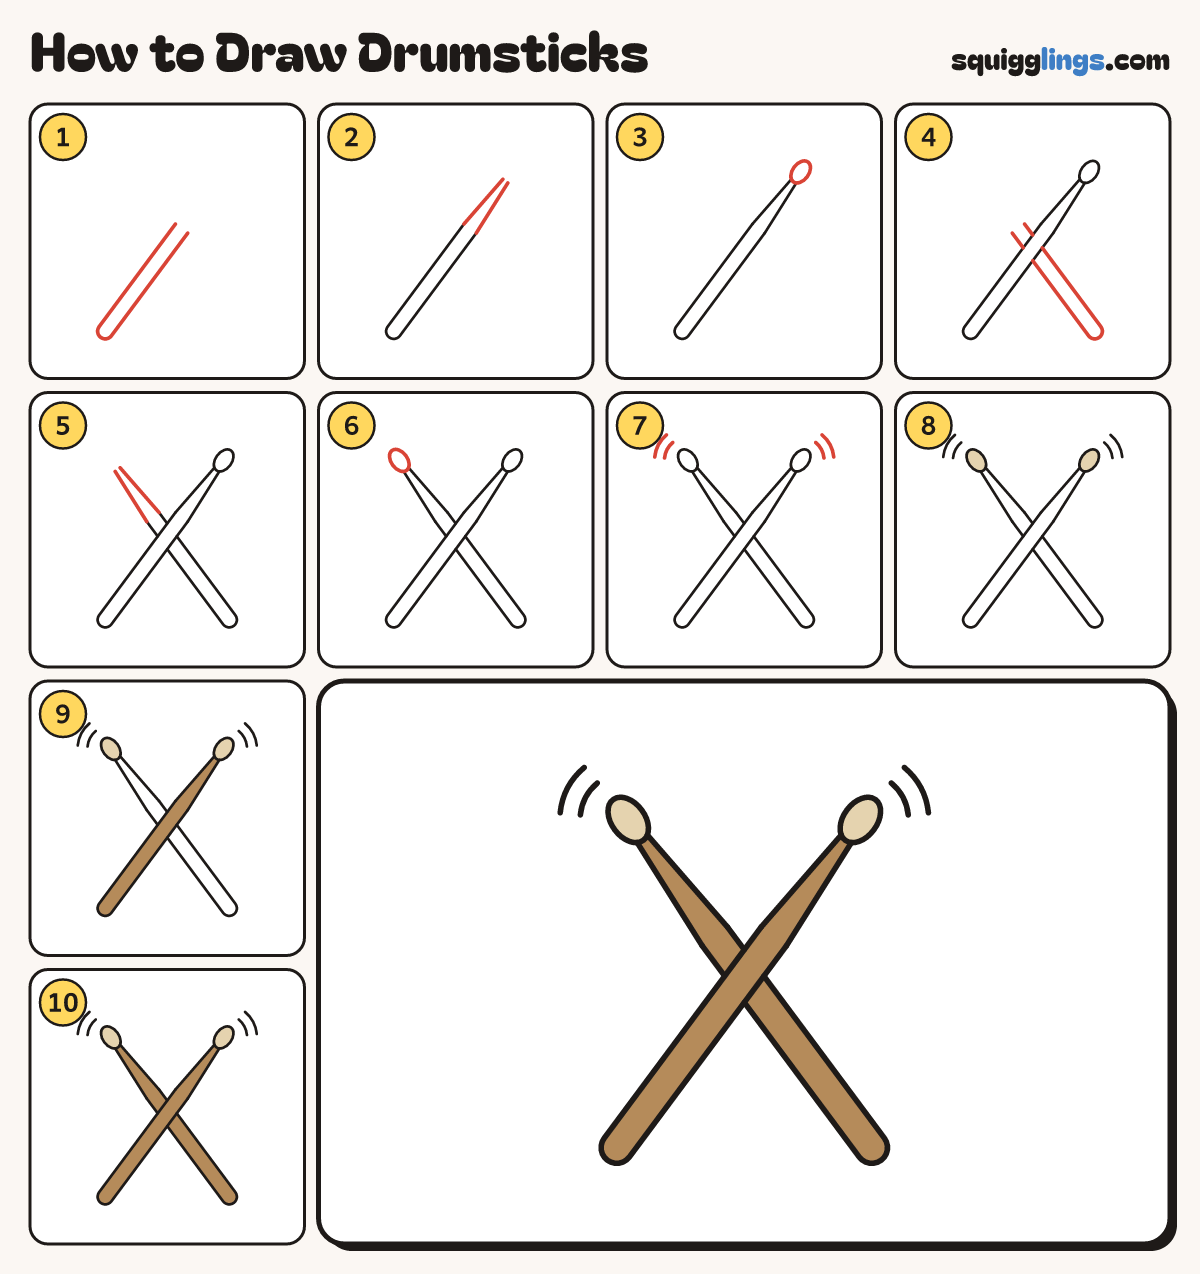
Each picture adds one red line. Draw that line, then scroll to the next picture. Rub out any dashed helper lines at the end. First up: first stick.
Step 1: First stick
Start low on the left. Draw 2 long lines close together, leaning up right. Stop past the middle.
Tip Join the 2 lines with a round end at the bottom. Keep them the same distance apart, like train tracks.
Step 2: Thin neck
Start at the top of both lines. Draw them on, leaning closer together. Stop when they nearly touch.
Tip A drumstick gets thinner near its tip.
Step 3: Round tip
On the end of the thin neck draw a small oval bead. This is the tip that taps the drum.
Step 4: Second stick
Start low on the right. Draw 2 long lines leaning up left, behind the first stick. Stop past the middle.
Tip The sticks cross like a big letter X.
Step 5: Second neck
Start at the top of the new lines. Draw them on, leaning closer together. Stop when they nearly touch.
Step 6: Second tip
Draw a small oval bead on the end of this neck too, the same size as the first.
Step 7: Tapping marks
Beside each tip draw 2 short curved lines, like little brackets, to show the sticks tapping.
Step 8: Sandy tips
Colour the 2 oval tips a pale sandy colour.
Step 9: Front stick
Colour the stick in front wood brown, from the round handle up to the thin neck.
Step 10: Back stick
Colour the stick behind wood brown too, on both sides of the cross. Go over your lines.
Your finished drawing
Follow the steps above and this is where you end up: drumsticks, drawn by you.
Every step in one picture