Watch it draw itself · tap to replay
How to Draw a Cupcake
Draw a cupcake in 12 easy steps, about 9 minutes. Free, with a printable worksheet.
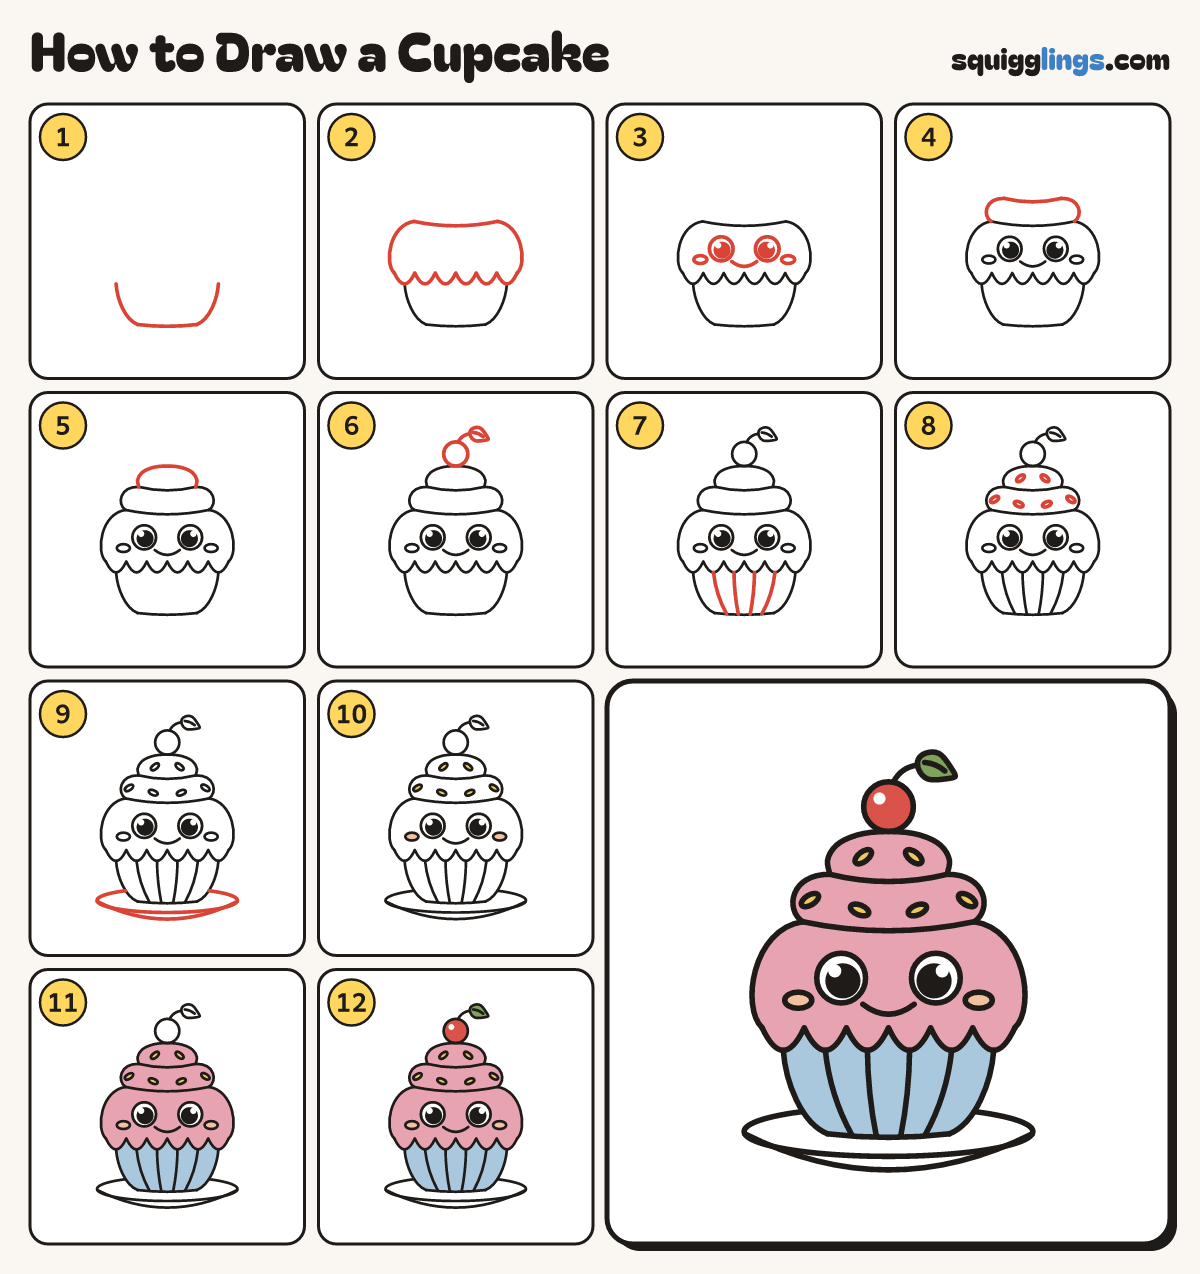
Each picture adds one red line. Draw that line, then scroll to the next picture. Rub out any dashed helper lines at the end. First up: the paper cup.
Step 1: The paper cup
Start below the middle, on the left. Draw a wide U and stop on the right, level with the start.
Tip Narrower at the bottom than the top, like a real paper case.
Step 2: Big frosting
Start left of the cup's top corner. Draw 6 drips to the other corner. Add a big C each end.
Tip Curl each C up and in, then join the 2 tops with a gentle sag.
Step 3: Happy face
In the frosting draw 2 big round eyes with black dots. Draw a U smile below, from eye to eye.
Tip Add a small oval cheek beside each end of the smile, above the drips.
Step 4: Middle swirl
From each end of the sag, draw a smaller C up and in. Join their tops with a smaller sag.
Tip A smaller copy of the big frosting: the next twist of the swirl.
Step 5: Round top
Start at the left end of the small top sag. Draw a plump round hill over to its right end.
Tip Round and plump, like the last curl of soft-serve.
Step 6: Cherry on top
Draw a round cherry on the hill. Draw a curved stem up from it, ending in a fat leaf.
Tip Draw a curved line down the middle of the leaf.
Step 7: Paper cup folds
From the bottom of each of the 4 middle drips draw a gentle line down to the cup's bottom.
Tip Each fold line leans in like the cup's sides.
Step 8: Sprinkles
Draw 6 little ovals on the frosting, tilted different ways: 4 on the swirl and 2 on the top.
Tip Keep them off the face and away from the edges.
Step 9: A plate
Draw a flat oval plate behind the cup's bottom. Under it draw a shallow U from end to end.
Tip The back of the plate hides behind the cup.
Step 10: Yellow sprinkles, peach cheeks
Colour the 6 sprinkles yellow and the 2 cheeks peach. Leave the eyes white.
Step 11: Pink frosting, sky cup
Colour the frosting pink, around the eyes, cheeks and sprinkles. Colour the paper cup sky blue.
Step 12: Red cherry, green leaf
Colour the cherry red, leaving a little white shine, and the leaf green. Leave the plate white.
Your finished drawing
Follow the steps above and this is where you end up: a cupcake, drawn by you.
Every step in one picture