Watch it draw itself · tap to replay
How to Draw a Covered Bridge
Draw a covered bridge in 13 easy steps, about 10 minutes. Free, with a printable worksheet.
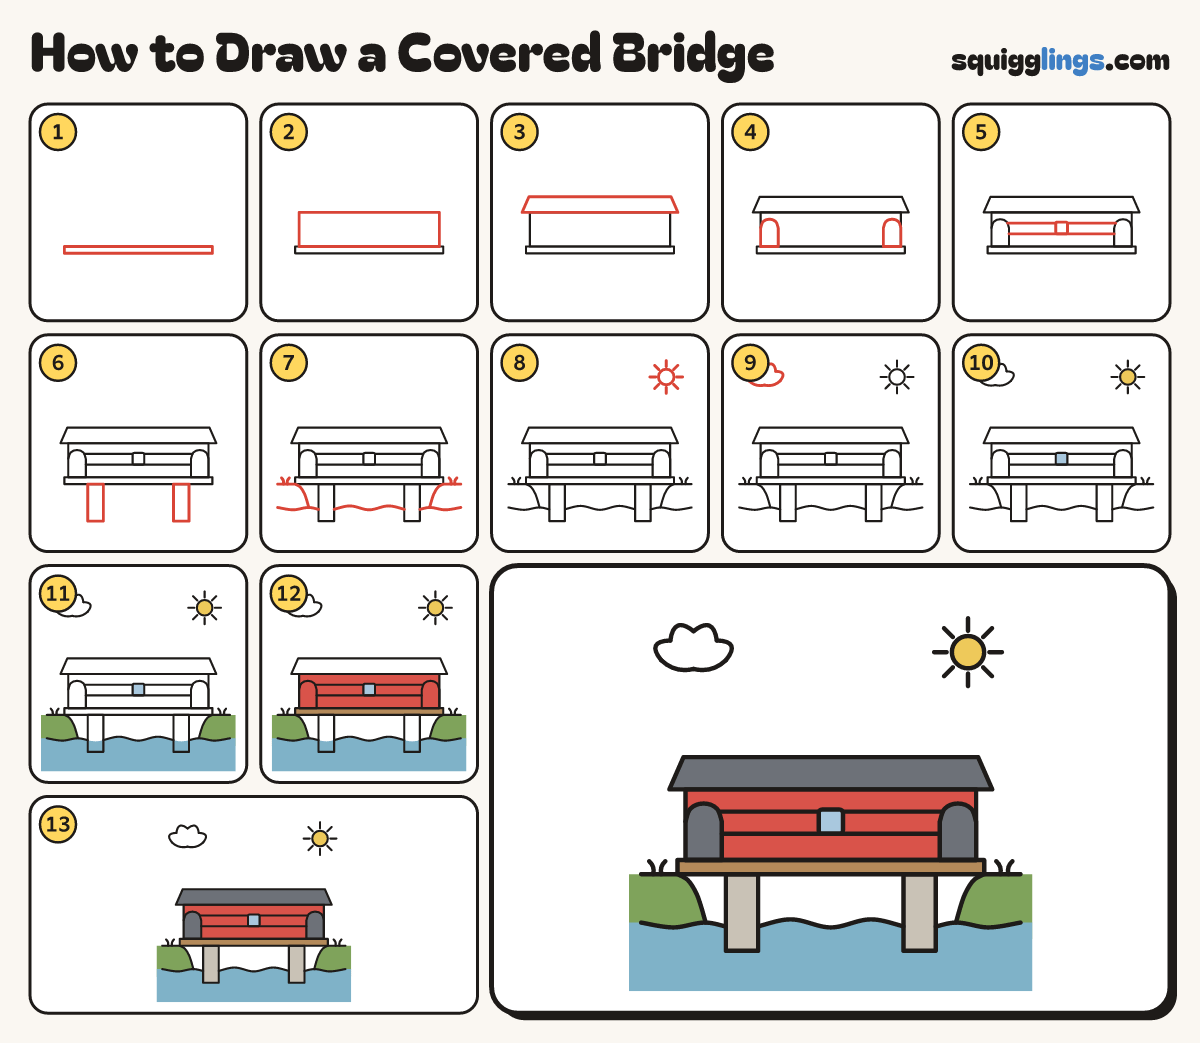
Each picture adds one red line. Draw that line, then scroll to the next picture. Rub out any dashed helper lines at the end. First up: the deck.
Step 1: The deck
A little below the middle, draw a long flat box nearly as wide as the paper.
Step 2: Long walls
On top of the deck, draw a long low box for the walls, a little shorter than the deck.
Step 3: The roof
On top of the walls, draw a long roof strip, sloping out past each end of the walls.
Step 4: Open ends
At each end of the walls, draw a tall arched opening standing on the deck, like a rainbow door.
Step 5: Window and boards
In the middle of the wall, draw a small square window. Draw 2 long lines along the wall for boards.
Step 6: Two stone piers
Under the deck, draw 2 tall boxes going straight down into the water to hold it up.
Step 7: River and banks
Draw a wavy water line across. Add a grassy bank from each edge to the deck, sloping to the water.
Step 8: The sun
Draw a round sun with 8 short rays in the top right.
Step 9: A cloud
Draw a puffy cloud in the top left: a row of bumps on top and 2 flatter bumps underneath.
Step 10: Yellow sun, sky window
Colour the sun yellow and the little window sky blue.
Step 11: Blue river, green banks
Colour the river blue, down to the bottom and around the piers. Colour both banks green.
Step 12: Red walls, wood deck
Colour the walls red, around the window and openings, and the deck wood brown.
Step 13: Grey piers and roof
Colour the piers light grey, then the roof and both openings dark grey. Your covered bridge is done!
Your finished drawing
Follow the steps above and this is where you end up: a covered bridge, drawn by you.
Every step in one picture