Watch it draw itself · tap to replay
How to Draw a Clydesdale
Draw a Clydesdale in 16 steps, about 12 minutes. Free, with a printable worksheet.
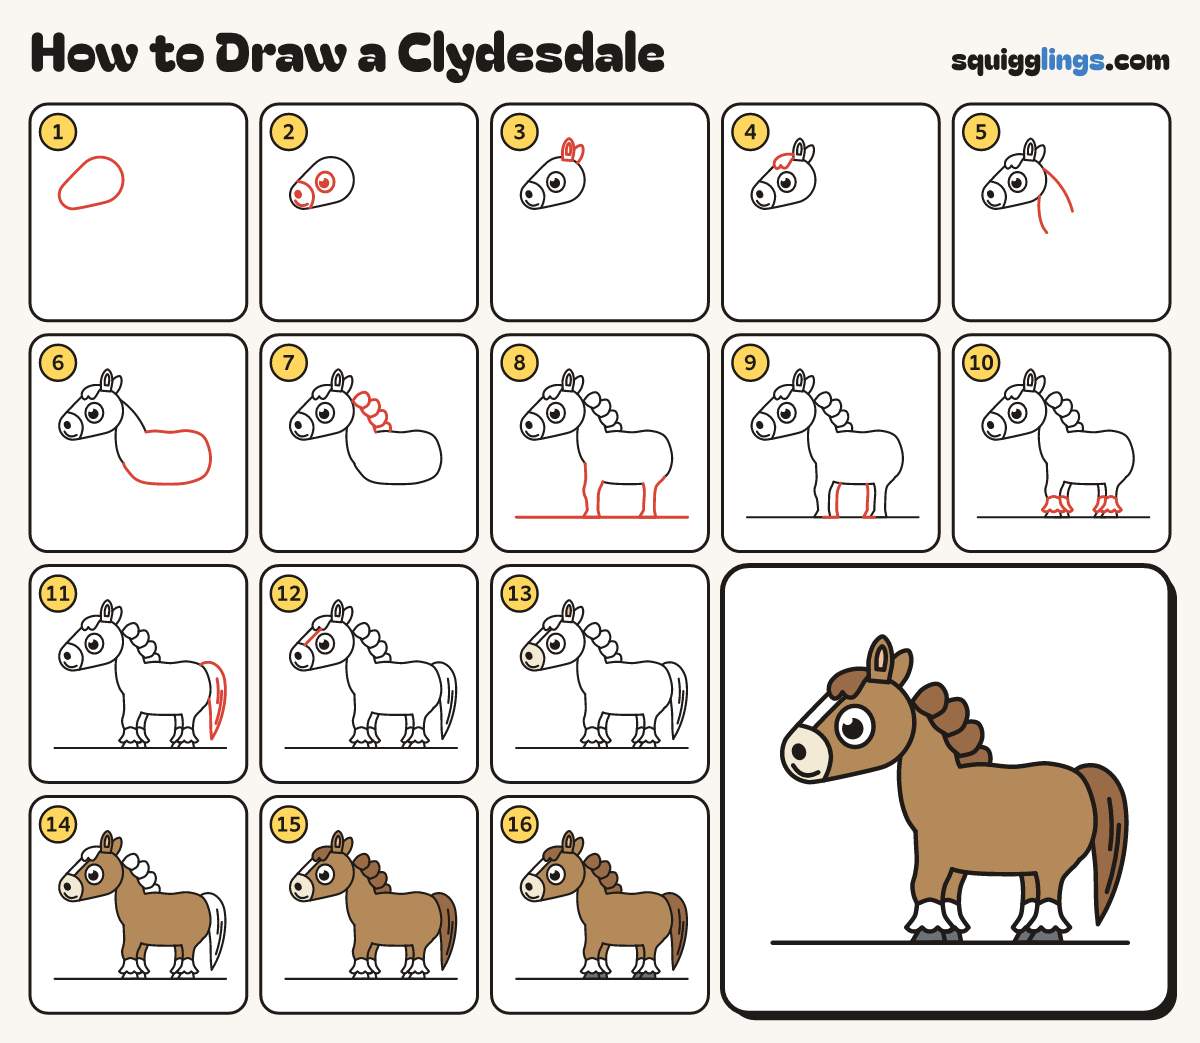
Each picture adds one red line. Draw that line, then scroll to the next picture. Rub out any dashed helper lines at the end. First up: the head.
Step 1: The head
Near the top left, draw a big sideways head like a fat peanut: a round cheek and a smaller nose.
Tip The nose end points down to the left. Leave lots of room on the right.
Step 2: Eye and nose
Draw 1 big eye. From the nose top, curve a line down to the chin. Add a nostril and smile.
Tip Give the eye a black dot and a white shine. We see the side, so only 1 eye.
Step 3: The ears
On top of the head, draw 2 pointy ears standing up, with a small leaf inside the front one.
Tip The back ear peeks out from behind the front ear.
Step 4: The forelock
In front of the ears, draw a fat lock of hair flopping over the forehead, with 2 soft bumps.
Step 5: Thick neck
Behind the ears, draw the neck's back halfway down. From under the cheek, draw the front down to the chest.
Tip A Clydesdale's neck is thick and strong. Make it wide at the bottom.
Step 6: Heavy body
From the neck, draw a big heavy bean body: a long back, a round bottom and a deep tummy.
Tip Clydesdales are big, strong horses, so make the body deep.
Step 7: The mane
Start behind the ears. Draw a row of 4 fat, round hair locks along the neck to the back.
Tip Each lock tucks behind the one above, like roof tiles.
Step 8: Two strong legs
Draw a low ground line. Add a thick front leg under the chest and a back leg under the bottom.
Tip The front leg has a knee and the back leg bends backwards. Hooves sit flat on the ground.
Step 9: The far legs
Draw 2 thinner legs peeking out from behind: one by the front leg and one by the back leg.
Tip Only draw the parts you can see.
Step 10: Feathered feet
Over the bottom of each leg, draw a bell of long hair with 3 soft bumps hanging over the hoof.
Tip Rub out the leg lines inside the hair. Fluffy feet are a Clydesdale's big clue.
Step 11: Flowing tail
Where the back curves down, draw a long flowing tail to a point. Add 2 hair lines.
Tip Thick where it grows, pointed at the tip.
Step 12: The blaze
Start under the forelock. Draw a line down the face, beside its front edge, to the nose line.
Tip The blaze is a white stripe down the front of the face. Keep it away from the eye.
Step 13: Nose and ears
Go over your lines. Colour the nose cream and the ear's inside peach. Leave the eye, blaze and feet white.
Step 14: Colour it wood
Colour the horse wood brown, going around the nose, ear inside, white parts, hair and hooves.
Step 15: Brown hair
Colour the forelock, the mane and the tail brown.
Step 16: Slate hooves
Colour the 4 hooves slate grey.
Your finished drawing
Follow the steps above and this is where you end up: a Clydesdale, drawn by you.
Every step in one picture