Watch it draw itself · tap to replay
How to Draw a Christmas Wreath
Draw a Christmas wreath in 10 easy steps, about 8 minutes. Free, with a printable worksheet.
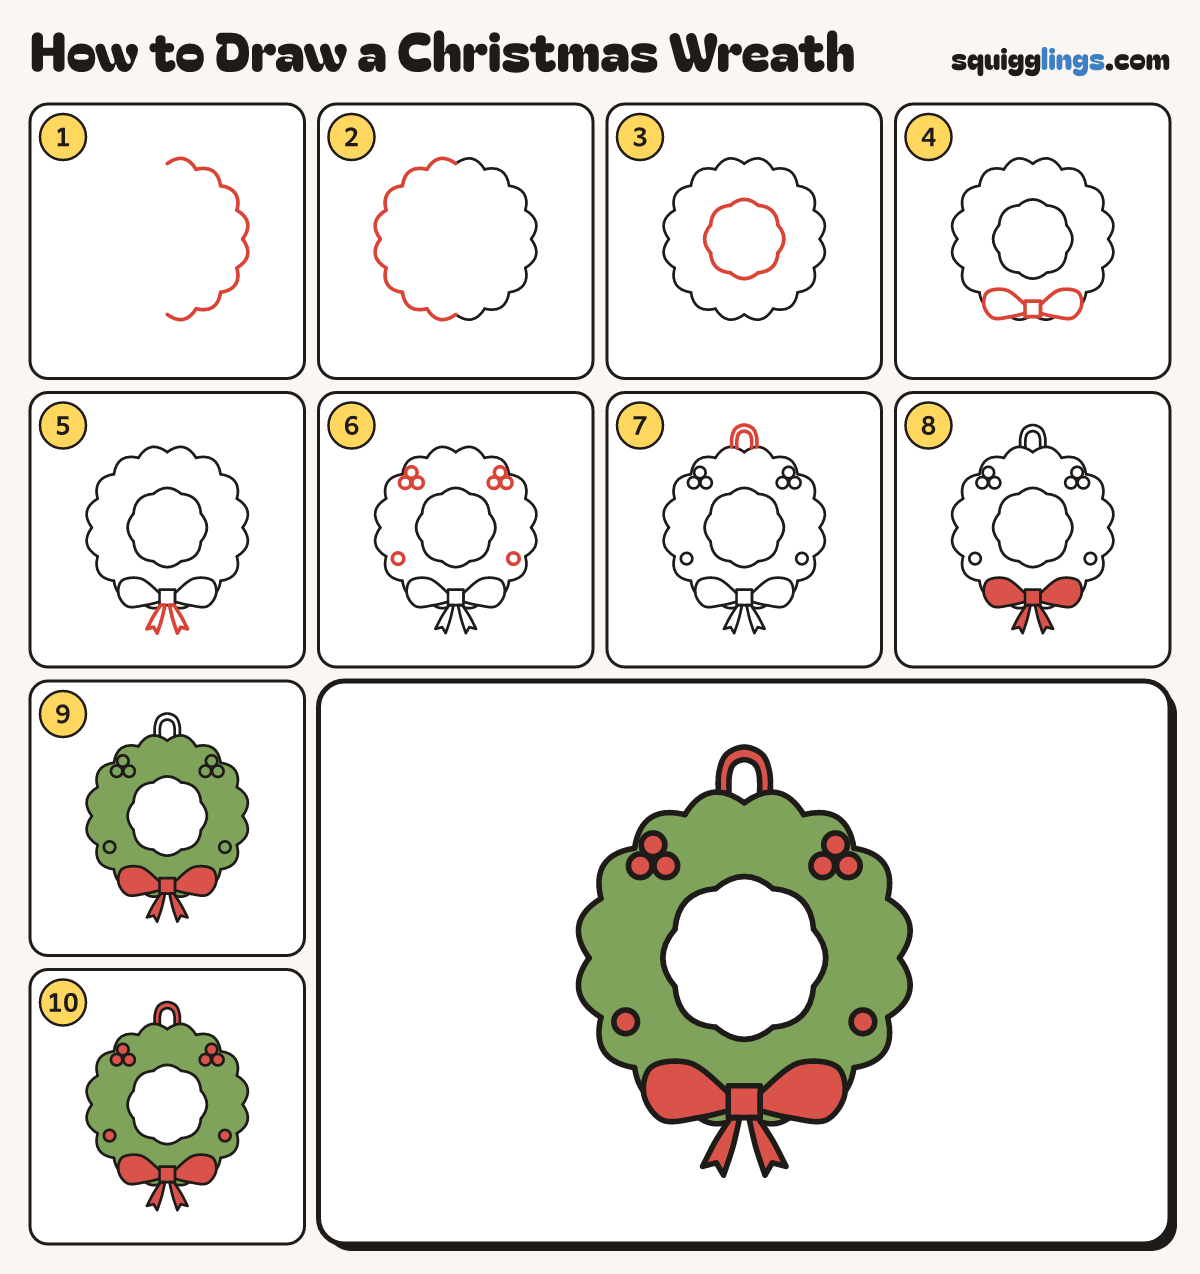
Each picture adds one red line. Draw that line, then scroll to the next picture. Rub out any dashed helper lines at the end. First up: the outside ring.
Step 1: The outside ring
Start at the top. Draw a huge half ring of round bumps down the right side. Stop at the bottom.
Step 2: Round the other side
Start at the bottom. Draw more bumps up the left side and stop back at the top.
Step 3: The inside ring
Inside, start at the top. Draw a smaller ring of bumps round and stop where you started.
Tip Leave a hole in the middle as big as your fist.
Step 4: The bow
At the bottom of the ring, draw a small box for the knot. Add a big loop on each side.
Step 5: Ribbon tails
Draw 2 ribbon tails hanging from the knot, one leaning left and one right. Add a notch in each end.
Step 6: Berries
Draw a bunch of 3 round berries high on the left and right. Add 1 berry low on each side.
Step 7: A hanger
On top, draw a tall arch from the ring and back down. Draw a smaller arch inside it.
Step 8: Red bow
Colour the bow red: the knot, both loops and both tails.
Step 9: Green wreath
Colour the fat ring green, between the two bumpy lines. Go around the bow and berries.
Step 10: Red berries
Colour every berry red, and the hanger too. Go over your lines and your wreath is done!
Your finished drawing
Follow the steps above and this is where you end up: a Christmas wreath, drawn by you.
Every step in one picture