Watch it draw itself · tap to replay
How to Draw a Christmas Ham
Draw a Christmas ham in 13 easy steps, about 10 minutes. Free, with a printable worksheet.
Each picture adds one red line. Draw that line, then scroll to the next picture. Rub out any dashed helper lines at the end. First up: big ham shape.
Step 1: Big ham shape
Draw a big egg lying on its side for the ham: narrow on the left, tall on the right.
Tip Leave room underneath for the platter.
Step 2: The cut end
Inside the right end draw a tall oval. It touches the top, the side and the bottom of the ham.
Tip This is the flat end where the ham was cut.
Step 3: The bone
In the middle of the cut end, draw a small circle for the bone.
Step 4: Score lines
Across the top of the ham draw 3 slanted lines, side by side. Start and stop on the edges.
Tip Keep the 3 lines the same distance apart.
Step 5: Crossing lines
Now draw 3 lines leaning the other way. Start and stop on the edges, to make diamonds.
Step 6: Nine cloves
Draw a small round clove on each place where 2 lines cross. Count them: 9 cloves.
Tip Rub out the bits of line inside each clove.
Step 7: Holly berries
Beside the narrow end of the ham, draw 3 small round berries with gaps between them.
Step 8: Holly leaves
From the left berry draw 2 spiky holly leaves pointing away from the ham. Add a line down each.
Tip Each leaf has 2 points on each side and 1 at the tip.
Step 9: Platter and table
Behind it all draw a big flat oval platter. Draw a table line touching its bottom, left to right.
Tip The platter is wider than the ham on both sides.
Step 10: Pink cut end
Colour the cut end pink, around the bone. Leave the bone white.
Step 11: Orange glaze
Colour the rest of the ham orange, going around the 9 cloves.
Step 12: Green and red holly
Colour the 2 holly leaves green and the 3 berries red.
Step 13: Brown and grey
Colour the 9 cloves brown. Colour the platter grey, around the ham and holly. Your Christmas ham is done!
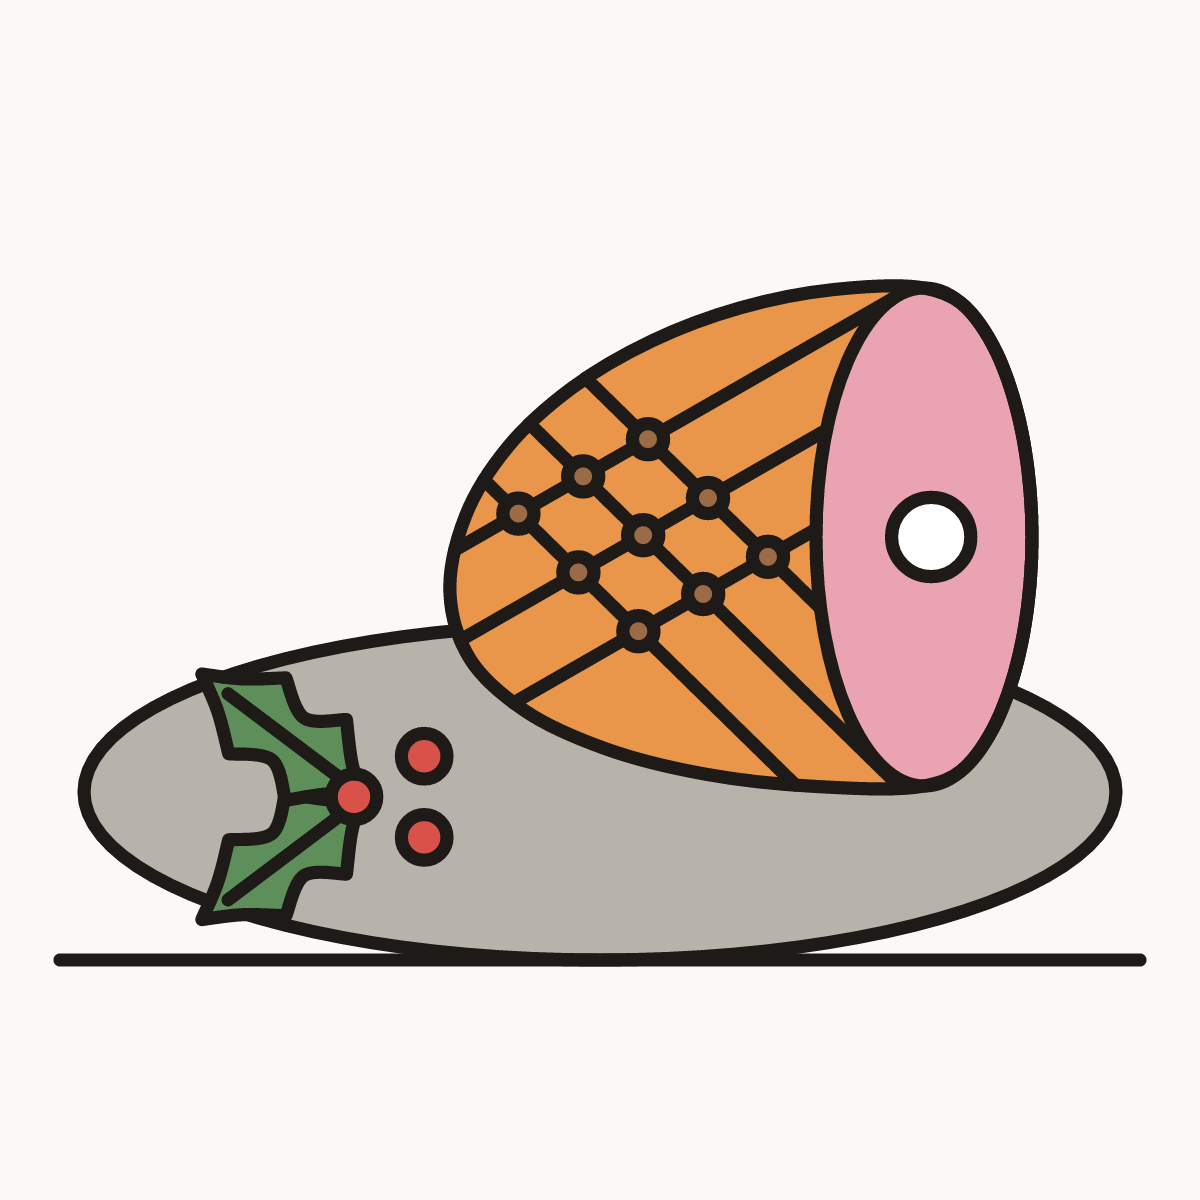
Your finished drawing
Follow the steps above and this is where you end up: a Christmas ham, drawn by you.
Every step in one picture