Watch it draw itself · tap to replay
How to Draw a Christmas Donut
Draw a Christmas donut in 11 easy steps, about 8 minutes. Free, with a printable worksheet.
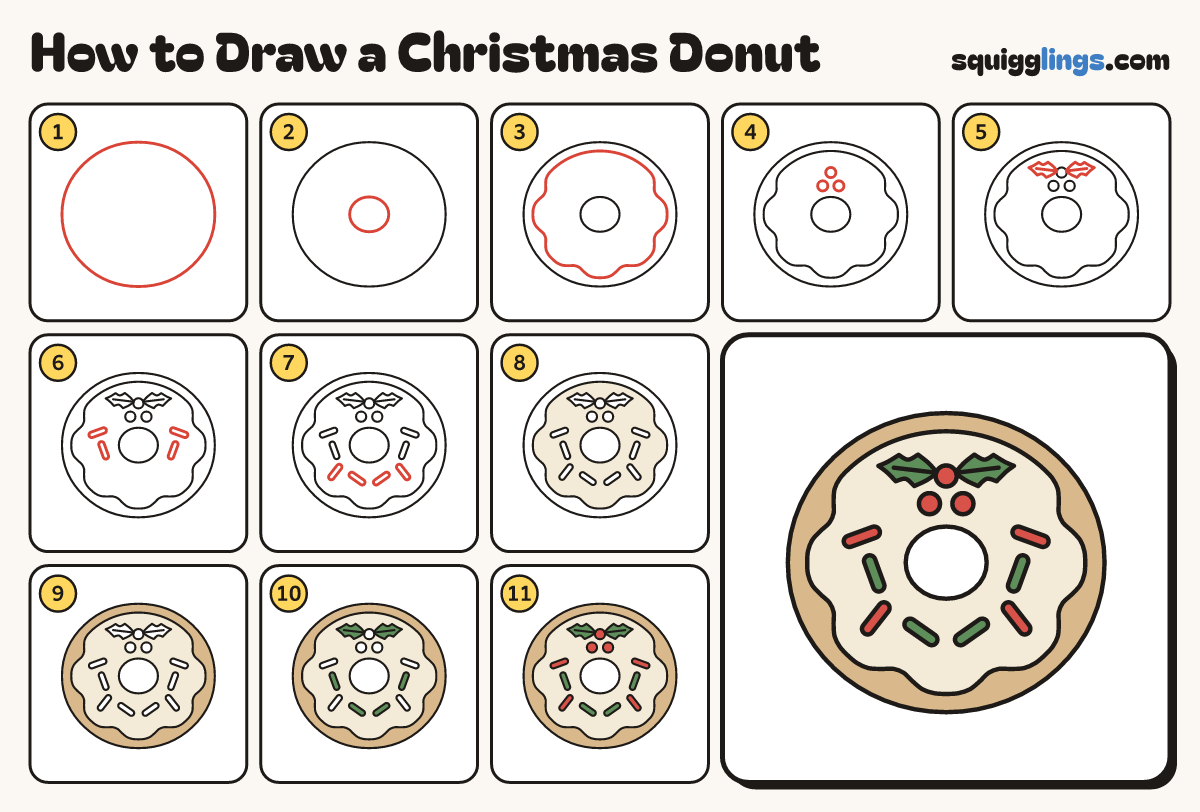
Each picture adds one red line. Draw that line, then scroll to the next picture. Rub out any dashed helper lines at the end. First up: round donut.
Step 1: Round donut
In the middle of your paper, draw a big round donut shape, a little wider than tall.
Tip Draw it lightly first, then go round again until it looks smooth.
Step 2: The hole
Right in the middle of the donut, draw a small oval for the hole.
Tip The hole is about a quarter as wide as the donut.
Step 3: Drippy icing
Inside the donut's edge, draw an icing line all the way round: smooth at the top, wavy round the rest.
Tip Keep the wavy line a finger away from the edge of the donut.
Step 4: Holly berries
On the icing above the hole, draw 3 small round berries: 1 on top and 2 below it.
Step 5: Holly leaves
From each side of the top berry, draw a spiky holly leaf pointing outwards. Draw a line along each leaf.
Tip Each leaf has 2 spikes on top, 2 underneath and a pointed tip.
Step 6: Four sprinkles
On the icing beside the hole, draw 4 short fat sprinkles with round ends, 2 on each side.
Tip Tilt the sprinkles different ways.
Step 7: Four more sprinkles
Draw 4 more sprinkles on the icing below the hole. Keep them apart, away from the hole and the edge.
Step 8: Cream icing
Colour the icing cream, around the holly and the 8 sprinkles. Leave the hole empty.
Step 9: Tan donut edge
Colour the edge of the donut tan, outside the wavy icing line.
Step 10: Green leaves
Colour the 2 holly leaves green. Colour 4 of the sprinkles green too.
Step 11: Red berries
Colour the 3 berries red. Colour the last 4 sprinkles red.
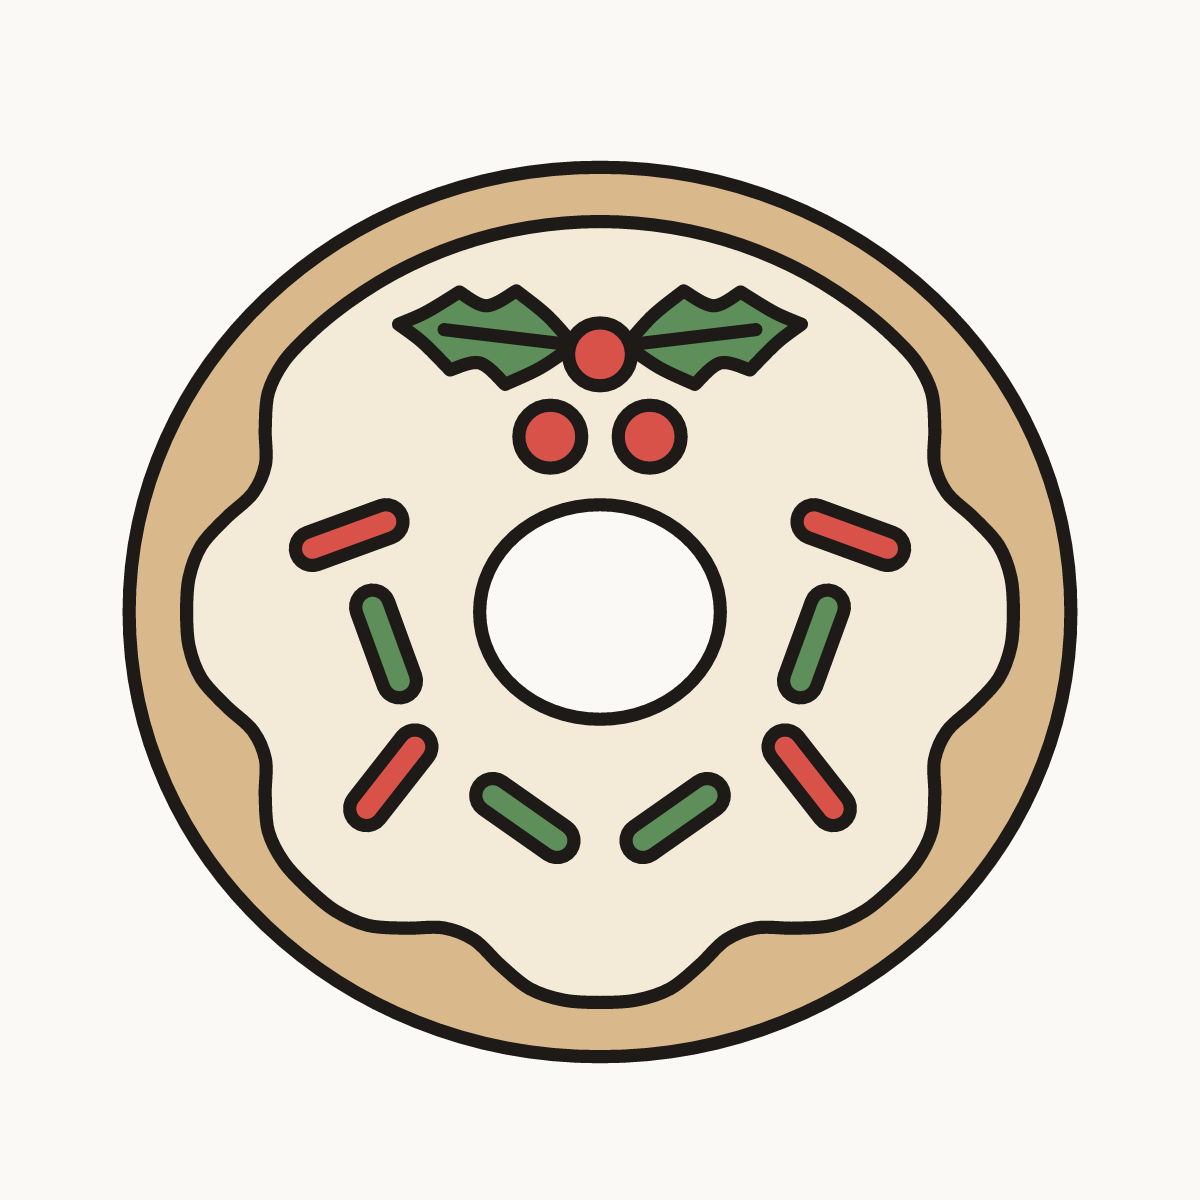
Your finished drawing
Follow the steps above and this is where you end up: a Christmas donut, drawn by you.
Every step in one picture