Watch it draw itself · tap to replay
How to Draw Christmas Boots
Draw Christmas boots in 11 easy steps, about 8 minutes. Free, with a printable worksheet.
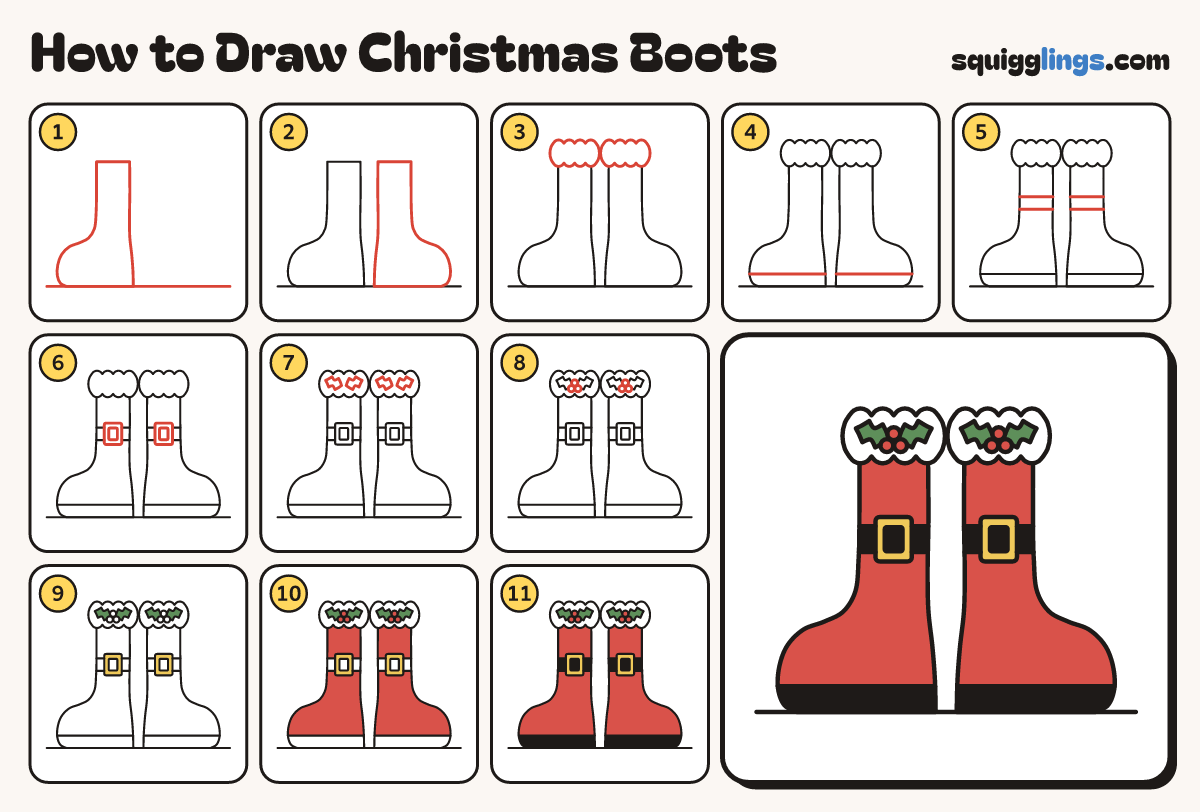
Each picture adds one red line. Draw that line, then scroll to the next picture. Rub out any dashed helper lines at the end. First up: left boot.
Step 1: Left boot
Draw a ground line. On it draw a tall boot facing left: a straight leg and a round toe.
Tip The leg is about as tall as the foot is long.
Step 2: Right boot
Draw the same boot facing right, a small gap away, so the 2 heels are back to back.
Tip Both boots are the same size, like a mirror.
Step 3: Fluffy cuffs
Over the top of each boot draw a fluffy cuff with round bumps, wider than the boot.
Tip Rub out the boot line inside each cuff.
Step 4: Thick soles
Start at the toe of each boot. Draw a straight line along the bottom and stop at the heel.
Step 5: Ankle straps
Draw 2 strap lines across each boot leg. Start at the front edge and stop at the back edge.
Step 6: Gold buckles
On the middle of each strap draw a square buckle with a smaller square inside.
Tip The buckle is a little taller than the strap.
Step 7: Holly leaves
On each cuff draw 2 pointy holly leaves, with their tips pointing away from each other.
Tip Each leaf has 2 little points on each side.
Step 8: Red berries
Where the 2 leaves meet on each cuff, draw 3 small round berries.
Tip Rub out the leaf lines inside the berries.
Step 9: Green and gold
Go over your lines. Colour the 4 holly leaves green and the 2 buckle frames yellow.
Step 10: Red boots
Colour both boots and the 6 berries red. Leave the fluffy cuffs white.
Step 11: Black soles
Colour the soles, the straps and the little squares in the buckles black. Your Christmas boots are done!
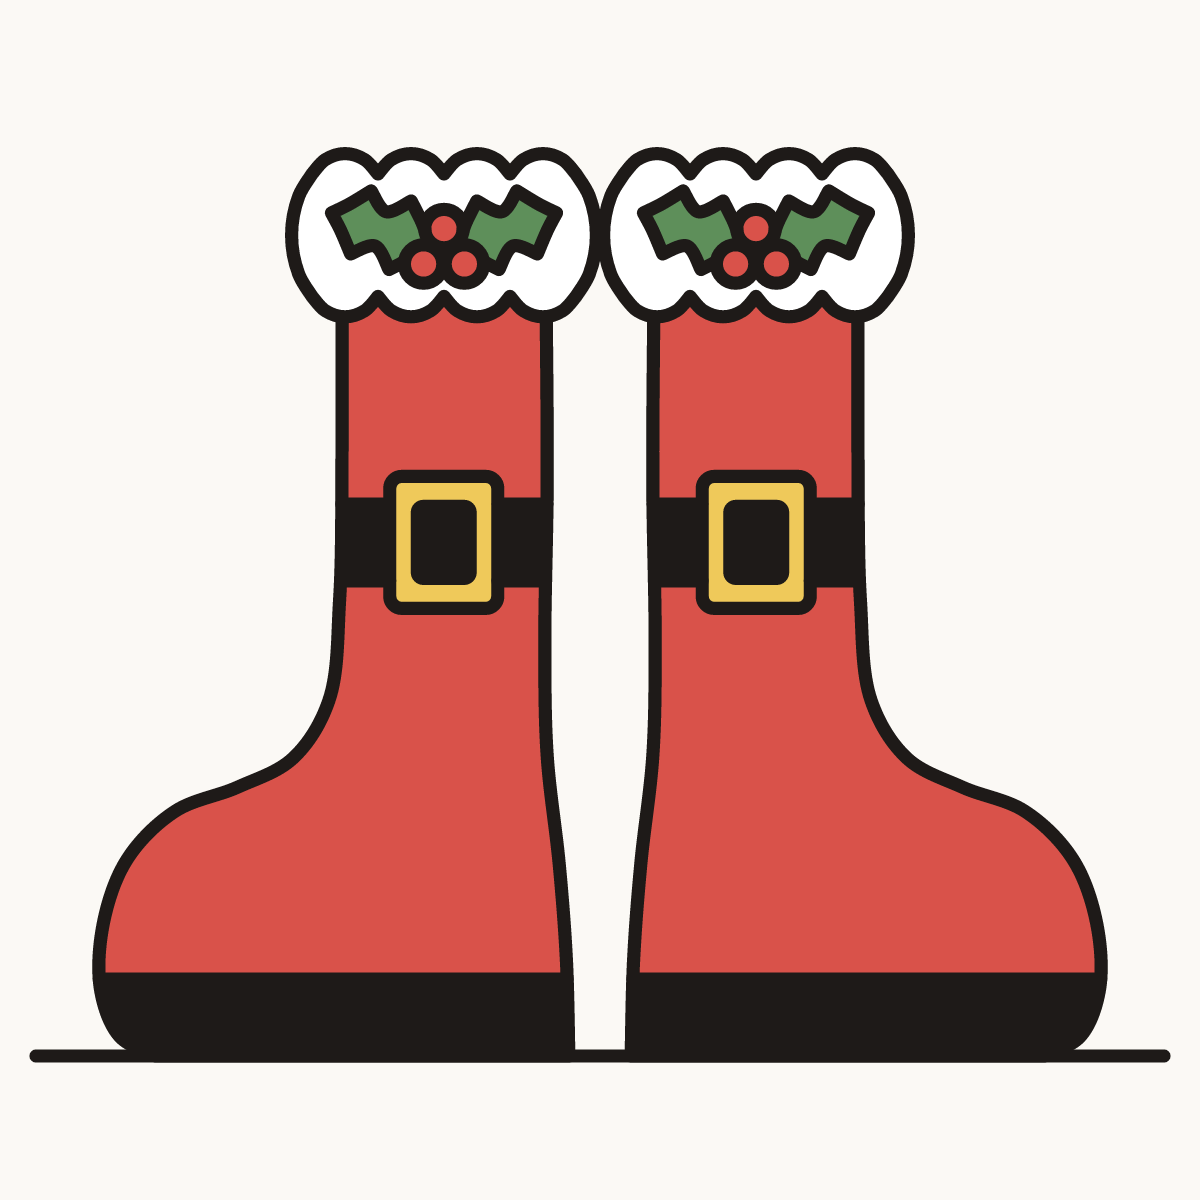
Your finished drawing
Follow the steps above and this is where you end up: Christmas boots, drawn by you.
Every step in one picture