Watch it draw itself · tap to replay
How to Draw a Calzone
Draw a calzone in 10 easy steps, about 8 minutes. Free, with a printable worksheet.
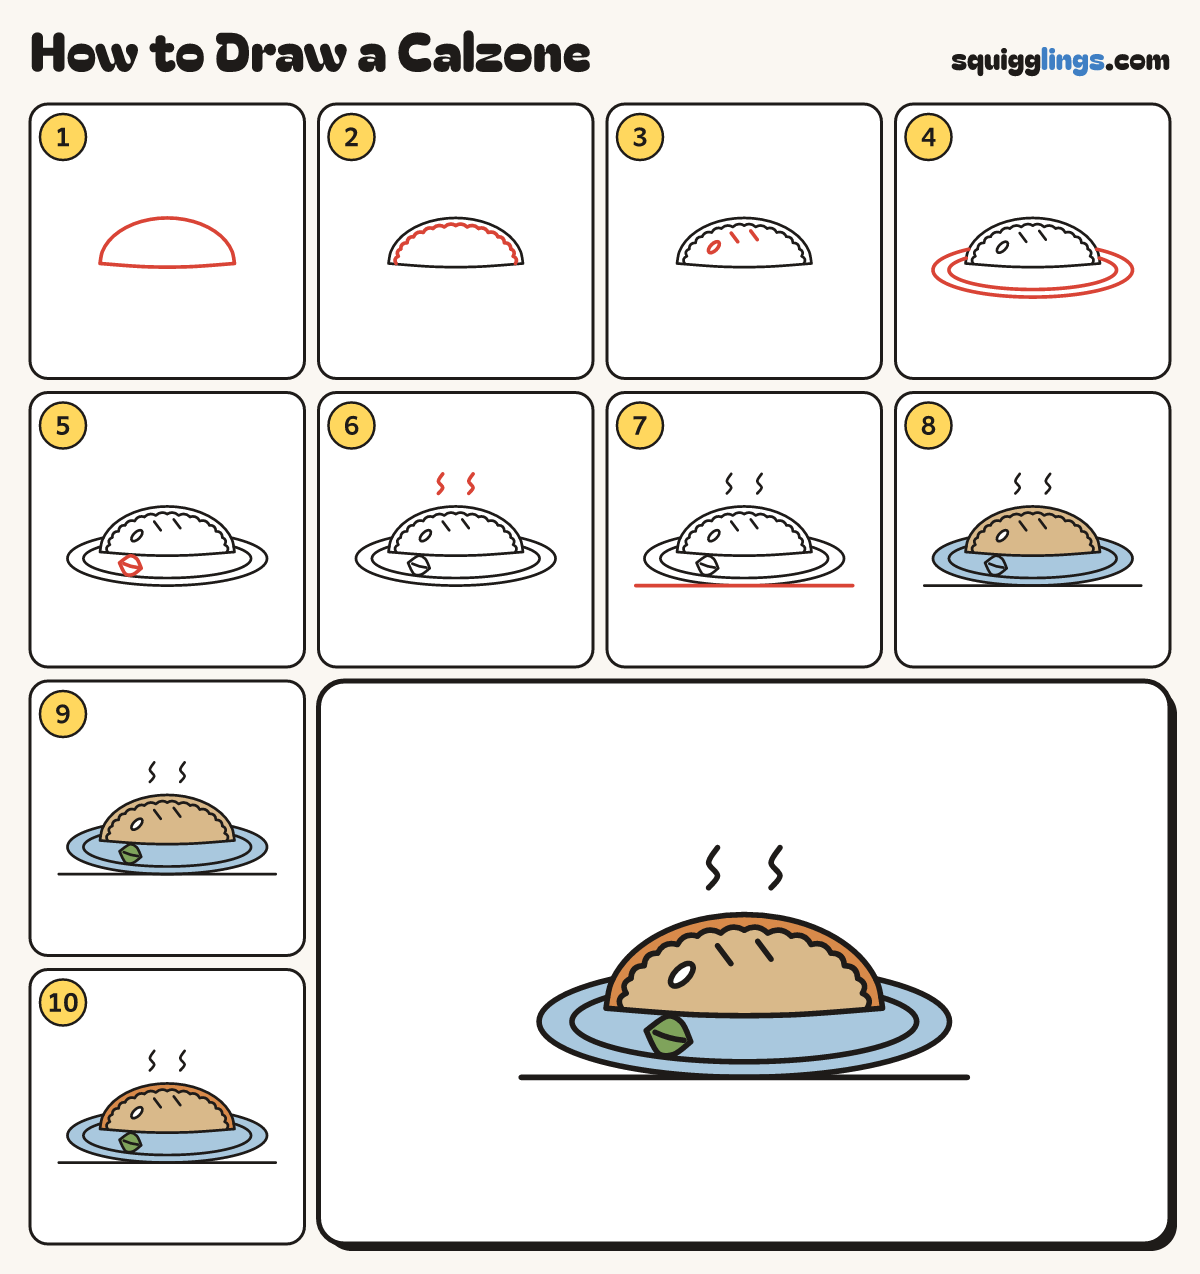
Each picture adds one red line. Draw that line, then scroll to the next picture. Rub out any dashed helper lines at the end. First up: the calzone.
Step 1: The calzone
In the middle of your paper draw a big fat half moon lying flat, as wide as your hand.
Tip Puffy, like a folded pizza pillow.
Step 2: The crust rope
Just inside the arch draw a rope of little bumps, from the left end round to the right end.
Tip Keep the rope thin: it only runs along the curved edge.
Step 3: Slits and a shine
Draw 2 short slanted slits for steam. Below the bumps on the left, add a tiny tilted oval shine.
Step 4: A plate
Behind the calzone draw a big flat oval plate, wider than everything. Draw a second oval inside for the rim.
Step 5: A basil leaf
In front of the calzone, at the left, draw a fat pointed leaf with a line down its middle.
Step 6: Steam
Above the calzone draw 2 wiggly steam lines going up.
Step 7: The table
Draw a line under the plate from well left to well right, just touching its bottom.
Step 8: Tan calzone, sky plate
Go over your lines, then colour the calzone tan, leaving the shine white, and the plate sky blue around it.
Step 9: Green basil
Colour the basil leaf green.
Step 10: Ginger crust
Colour the thin rope of crust between the bumps and the edge ginger, and your calzone is done!
Your finished drawing
Follow the steps above and this is where you end up: a calzone, drawn by you.
Every step in one picture