Watch it draw itself · tap to replay
How to Draw Bulgogi
Draw bulgogi in 12 easy steps, about 9 minutes. Free, with a printable worksheet.
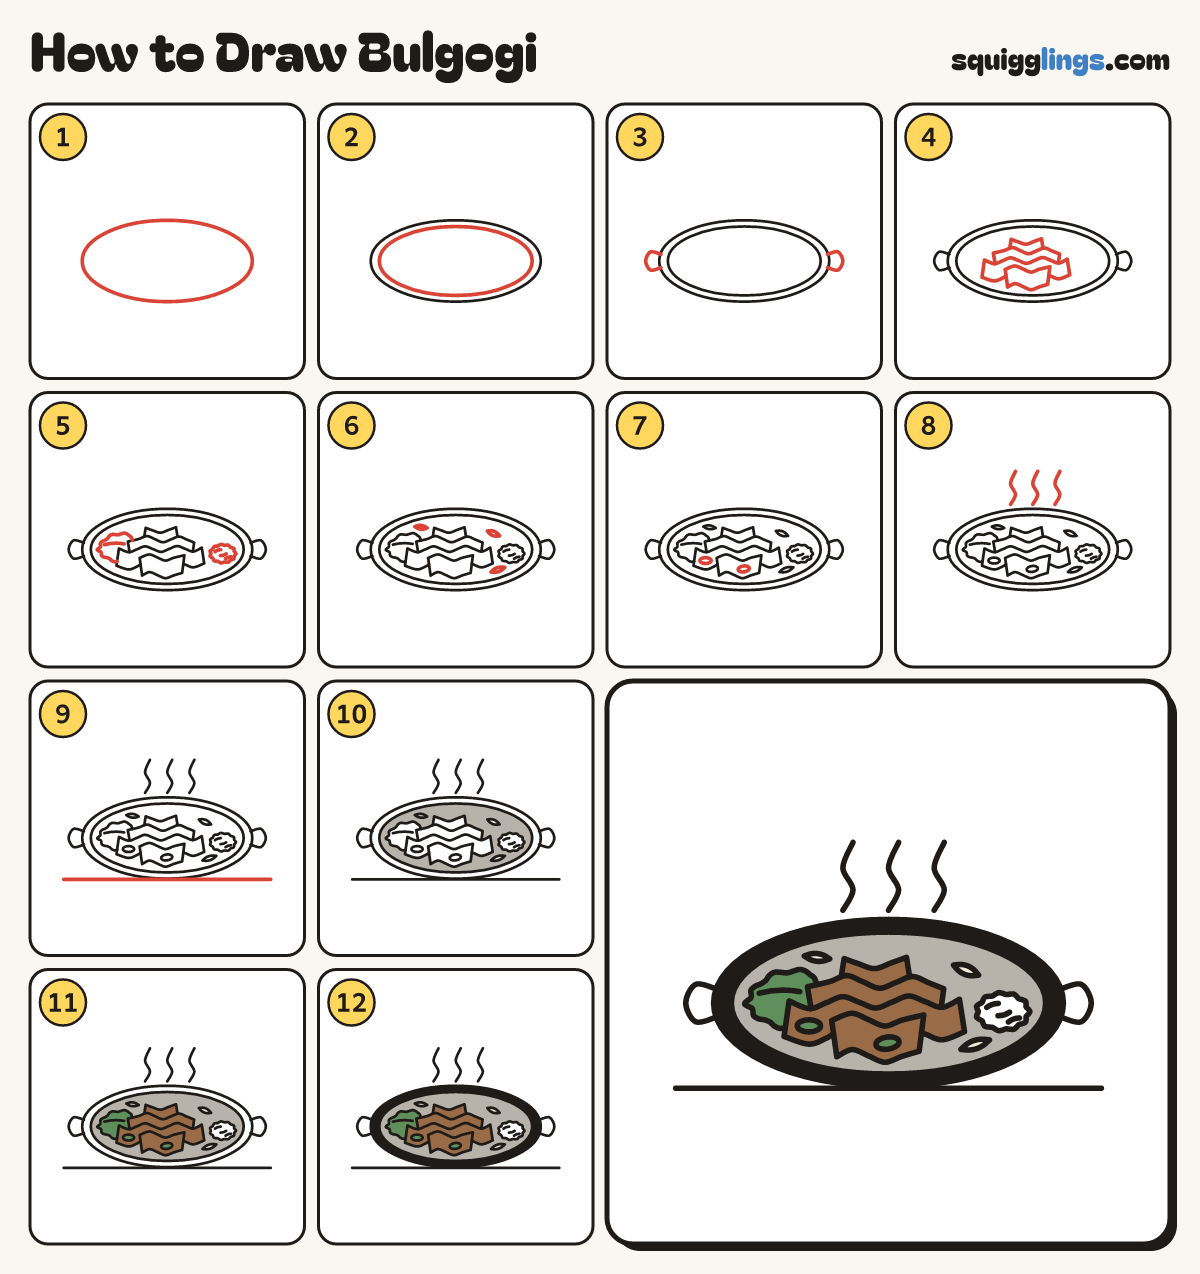
Each picture adds one red line. Draw that line, then scroll to the next picture. Rub out any dashed helper lines at the end. First up: the iron plate.
Step 1: The iron plate
Below the middle of your paper draw a long flat oval, as wide as your hand, for an iron plate.
Tip Bulgogi is sweet grilled beef served sizzling.
Step 2: The inside edge
Draw a second oval a finger inside it, all the way round, for the inside edge.
Step 3: 2 handles
At each end of the plate, start on the edge and draw a small ear handle, back to the edge.
Step 4: Beef strips
Across the middle draw a wavy beef strip with flat ends, then 3 more, each peeking out behind the last.
Tip Keep the ends flat, like sliced meat, so the strips do not look like sausages.
Step 5: Lettuce and rice
At the left draw a lettuce leaf with a vein. At the right draw a rice mound with 3 grains.
Step 6: Onion slivers
Draw 3 thin pointed slivers of onion like little almonds: top left, top right, and front right.
Step 7: Spring onion
On the beef draw 2 spring onion pieces, each inside one strip.
Step 8: Sizzle
Above the plate draw 3 wiggly steam lines going up.
Step 9: The table
Draw a line under the plate from well left to well right, just touching its bottom.
Step 10: Cream and grey
Go over your lines. Colour the onion slivers cream, then the inside of the plate grey, around the food.
Step 11: Green and brown
Colour the lettuce and spring onion green, then the beef brown, around the green.
Step 12: Black iron plate
Colour the rim of the plate black, around the grey. Leave the rice white. Your bulgogi is done!
Your finished drawing
Follow the steps above and this is where you end up: bulgogi, drawn by you.
Every step in one picture