Watch it draw itself · tap to replay
How to Draw Boots
Draw boots in 10 easy steps, about 8 minutes. Free, with a printable worksheet.
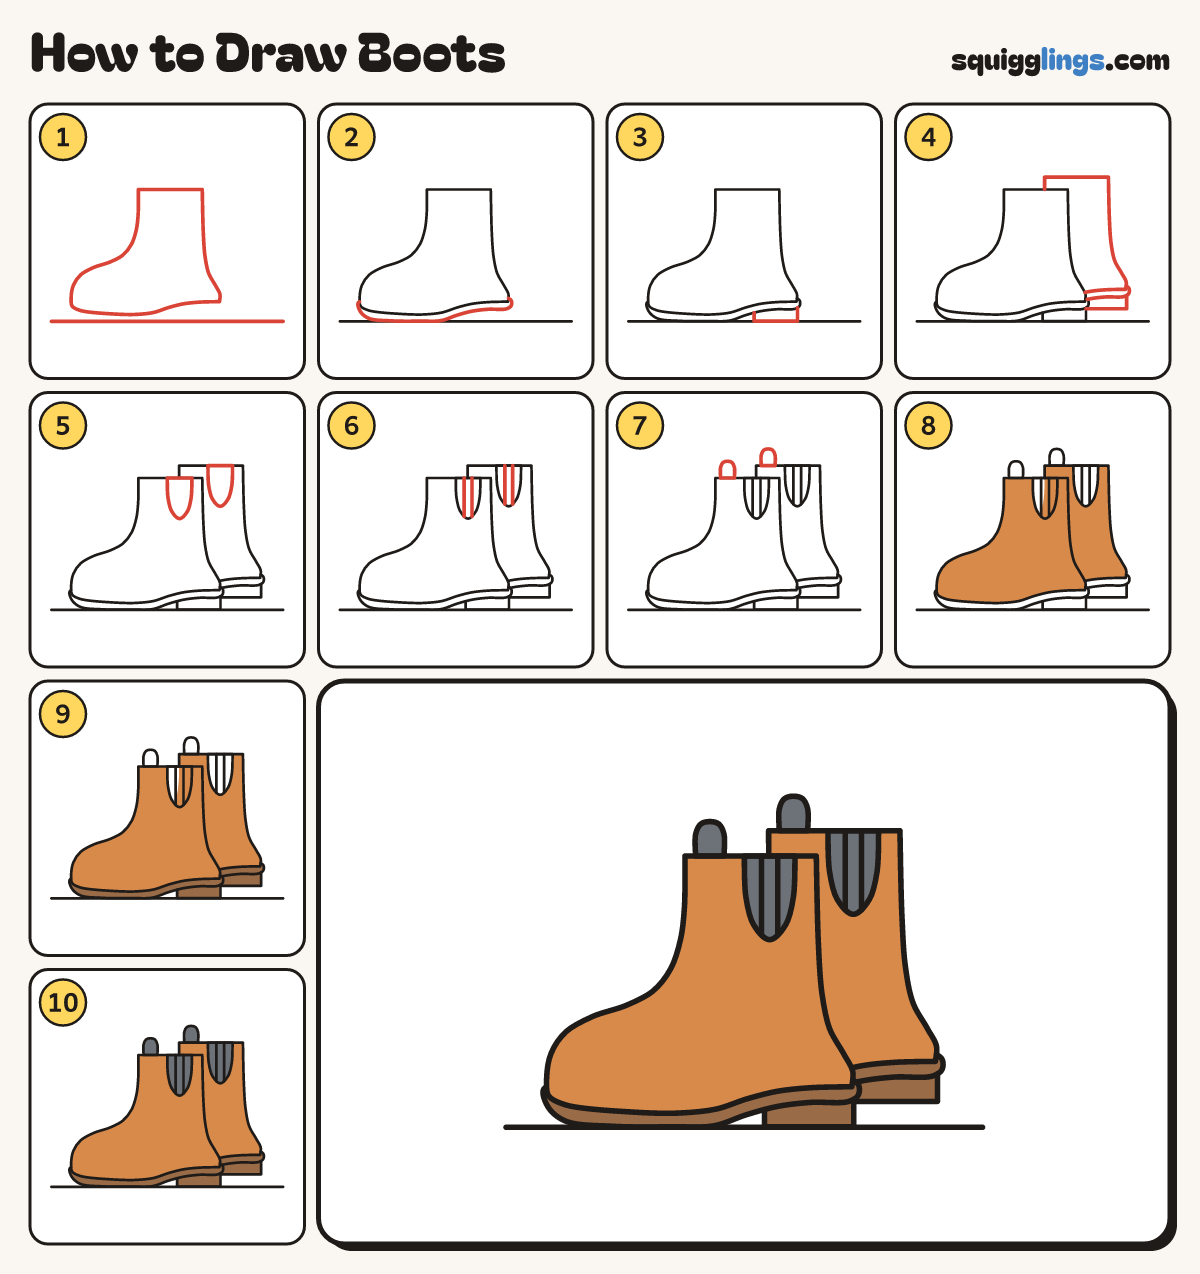
Each picture adds one red line. Draw that line, then scroll to the next picture. Rub out any dashed helper lines at the end. First up: ground and front boot.
Step 1: Ground and front boot
Draw a low ground line. Just above it draw a tall boot facing left: round toe, sloping top, tall leg.
Tip Lift the heel end of the bottom a little higher than the toe end.
Step 2: Thick sole
Under the boot draw a thick sole from the toe to the heel, curving up under the heel.
Step 3: Chunky heel
Under the back of the sole draw a chunky block for the heel, standing on the ground.
Step 4: The back boot
Behind the first boot, to the right and a little higher, draw the second boot. Only draw what peeks out.
Tip Its top, its back and its heel peek out. The rest hides.
Step 5: Stretchy panels
On each boot's side draw a deep U hanging down from the top edge.
Tip The stretchy panel lets your foot slide in.
Step 6: Stretch lines
Inside each U draw 2 lines straight down, from the top edge to the curve.
Step 7: Pull tabs
On the front of each boot's top edge draw a small round tab sticking up.
Step 8: Ginger boots
Go over your lines. Colour both boots ginger, around the stretchy panels.
Step 9: Brown soles and heels
Colour the 2 soles and the 2 heels brown.
Step 10: Grey panels and tabs
Colour the stretchy panels and the pull tabs slate grey. Your boots are done!
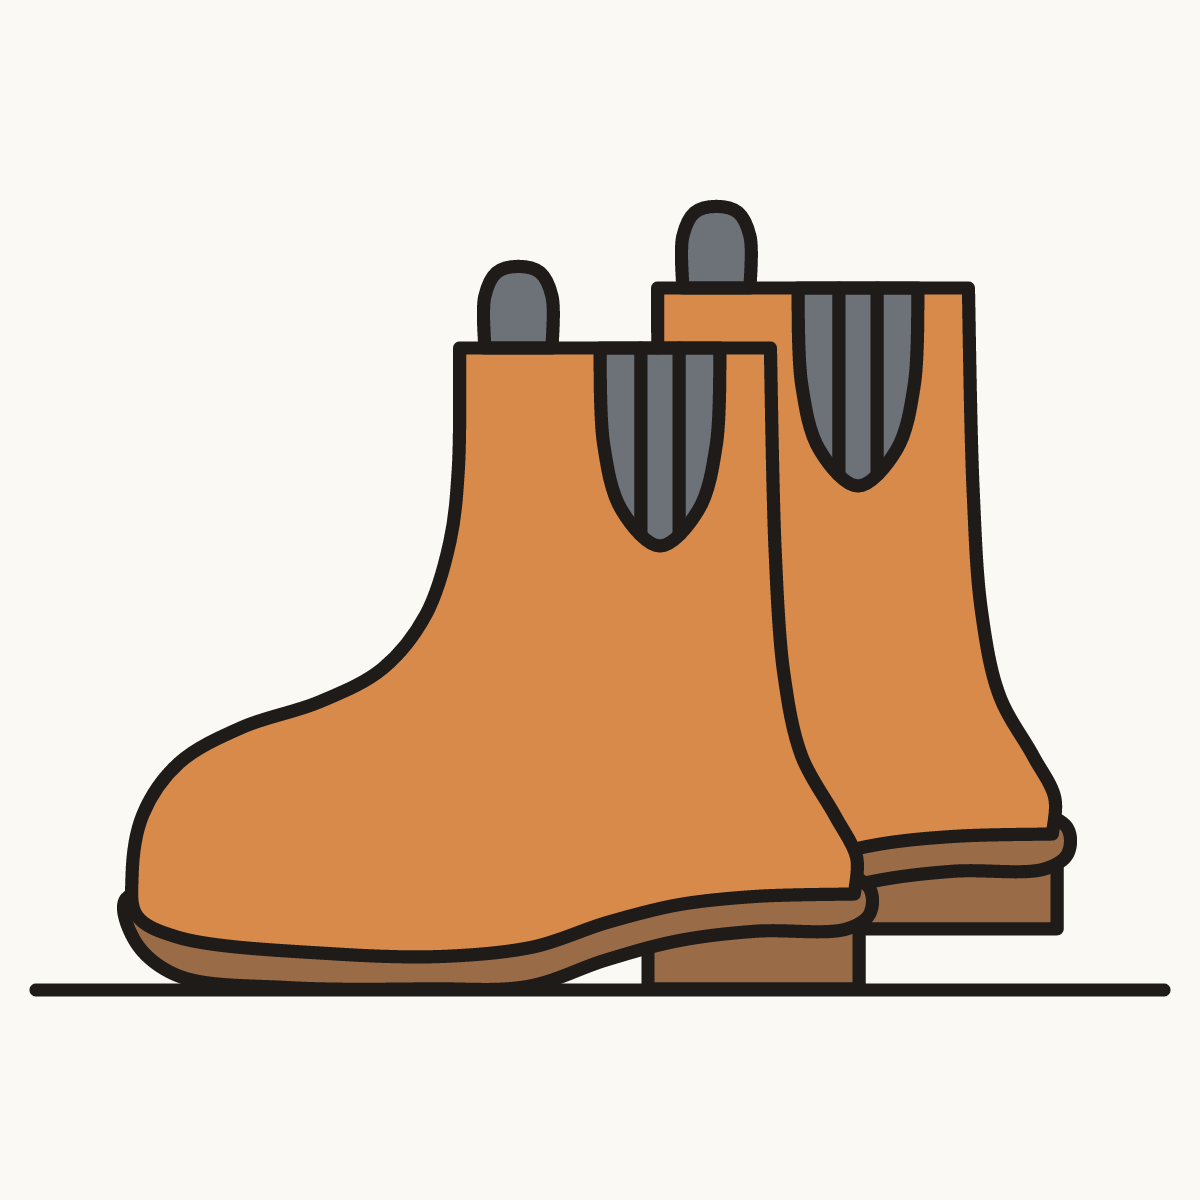
Your finished drawing
Follow the steps above and this is where you end up: boots, drawn by you.
Every step in one picture