Watch it draw itself · tap to replay
How to Draw a Blindfold
Draw a blindfold in 11 easy steps, about 8 minutes. Free, with a printable worksheet.
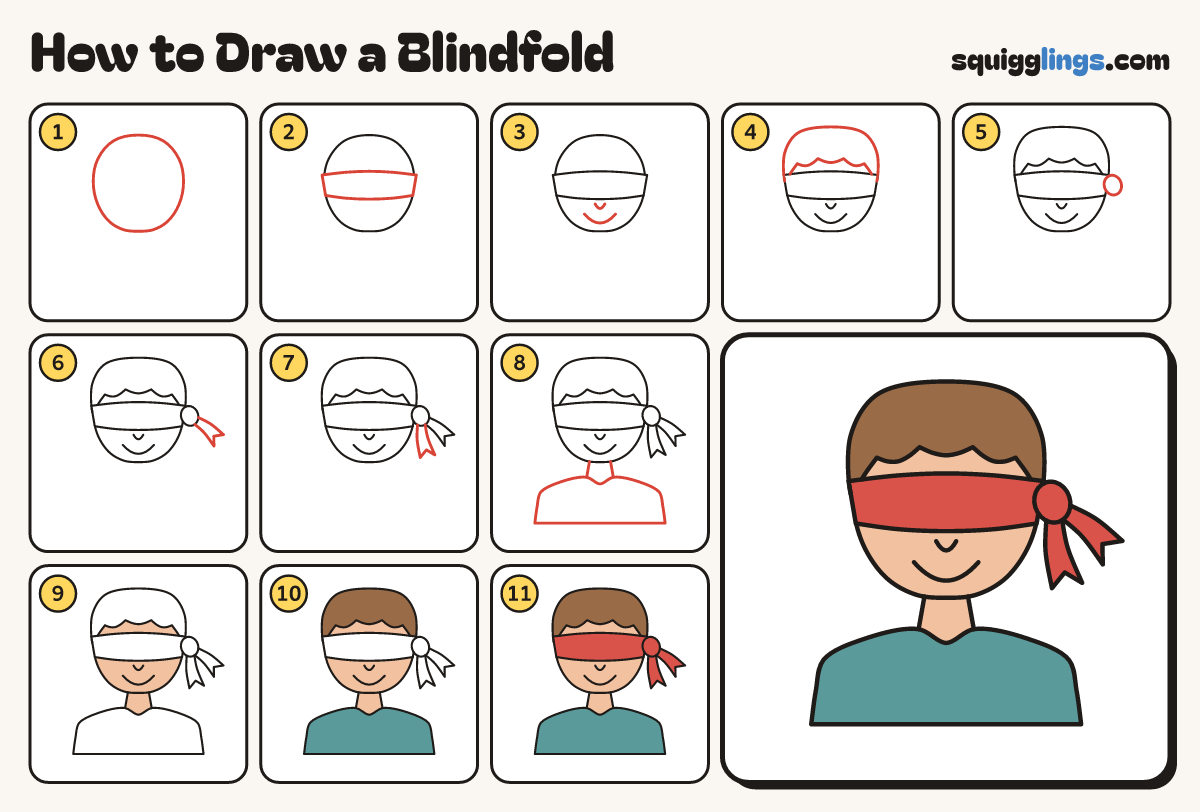
Each picture adds one red line. Draw that line, then scroll to the next picture. Rub out any dashed helper lines at the end. First up: the head.
Step 1: The head
In the upper middle of your paper draw a big egg for the head, a little narrower at the chin.
Tip Make it big: the blindfold needs room across the middle.
Step 2: The blindfold
Across the middle of the head draw a wide band from side to side, covering the eyes.
Tip 2 long lines that bow a little, joined at each side of the head.
Step 3: Nose and smile
Under the band draw a tiny U nose. Add a wide smile under it.
Step 4: Hair and fringe
Start on the head's left side. Draw hair over the top, then 3 soft bumps back for the fringe.
Tip The fringe stops above the band, so a strip of forehead shows.
Step 5: The knot
Over the right end of the band, draw a small round knot like a bean.
Tip It sits half on the band and half off the head.
Step 6: First tail
From the knot draw a tail of cloth pointing down and out. Cut a little V into its end.
Tip A tail gets wider towards its end, like a ribbon.
Step 7: Second tail
Draw another tail from the knot hanging straight down, with a V cut in its end.
Step 8: Neck and top
Draw 2 neck lines under the chin. Slope shoulders out from them, then down to a flat bottom.
Step 9: Peach skin
Colour the face and neck peach, above and below the band.
Step 10: Brown hair, teal top
Colour the hair brown and the top teal.
Step 11: Red blindfold
Colour the band, the knot and both tails red. Go over your lines.
Your finished drawing
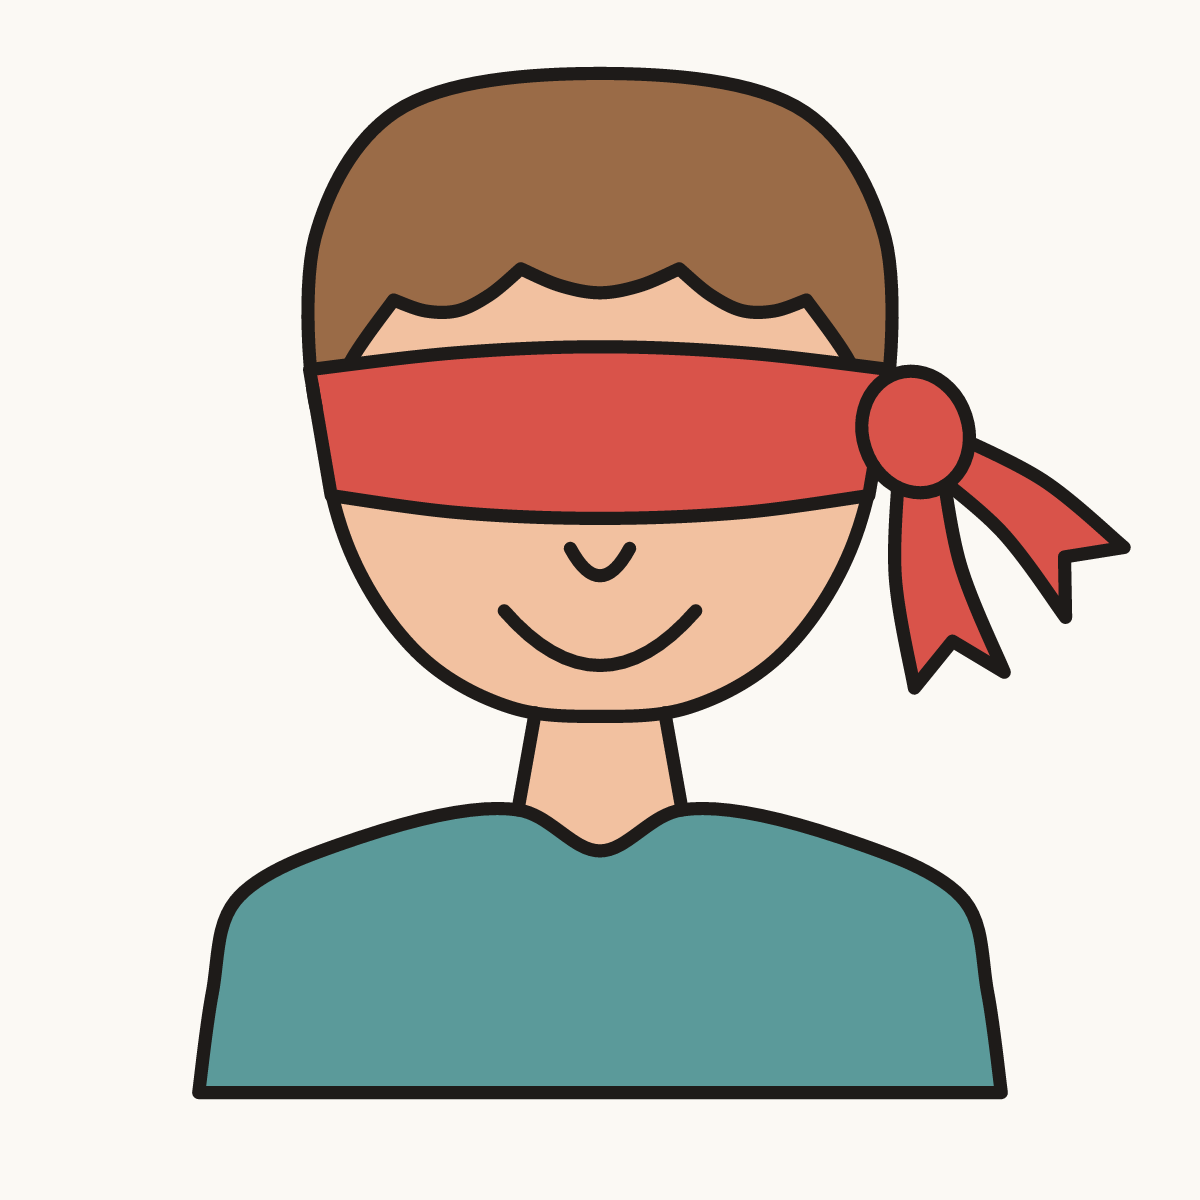
Follow the steps above and this is where you end up: a blindfold, drawn by you.
Every step in one picture