Watch it draw itself · tap to replay
How to Draw a Lantern
Draw a lantern in 10 easy steps, about 8 minutes. Free, with a printable worksheet.
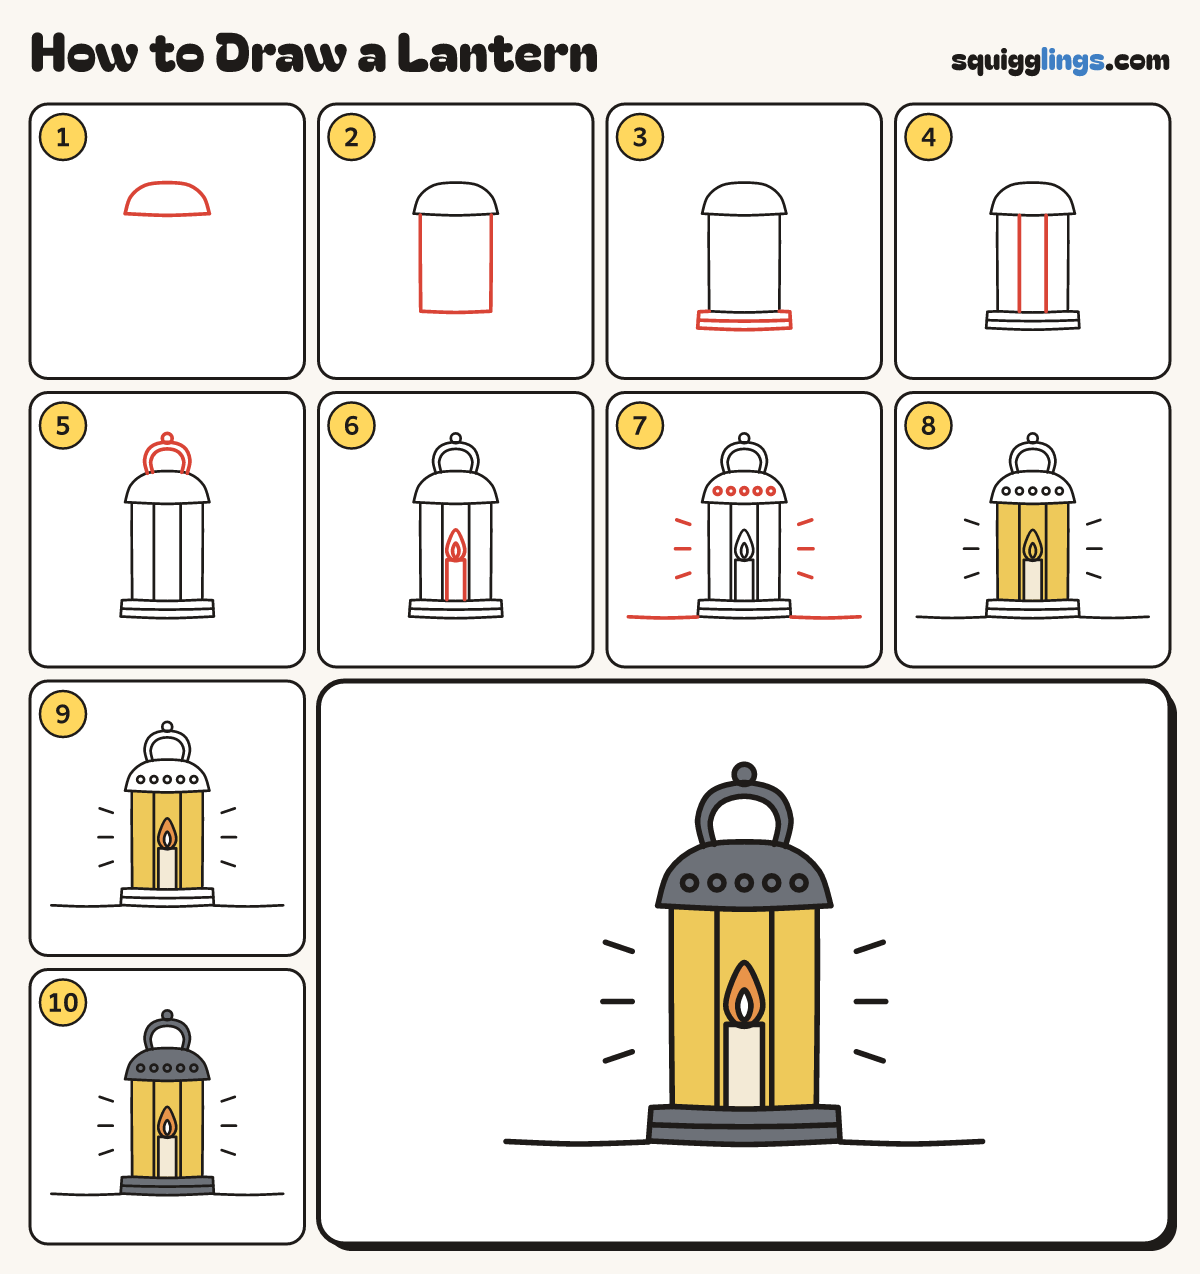
Each picture adds one red line. Draw that line, then scroll to the next picture. Rub out any dashed helper lines at the end. First up: the cap.
Step 1: The cap
Above the middle draw the cap: a round dome like a hat, with a slightly sagging bottom line.
Step 2: The glass box
Start under the cap, left end. Draw a tall glass box down, across, and back up to the cap.
Step 3: The base
Start at the box's bottom-left corner. Draw a wider base out, down, across and up, ending at the right corner.
Step 4: Two bars
Draw 2 lines straight down the glass, starting under the cap and stopping on the bottom, making 3 panes.
Step 5: The handle
From the cap's left draw a big rainbow handle over to the cap's right. Add a second rainbow inside it.
Tip Now the handle is thick. Put a small ring on the very top.
Step 6: The candle
In the middle pane draw a fat candle up from the bottom, back down to it. Add a teardrop flame.
Tip Draw a smaller teardrop inside the flame.
Step 7: Vents and ground
Draw 5 small vent holes across the cap. Draw a ground line from the base out to each side.
Tip Add 3 short glow lines out from each side of the glass.
Step 8: Cream and yellow
Colour the candle cream, then the glass panes yellow around the candle and flame.
Step 9: Orange flame
Colour the flame orange, leaving its small middle white.
Step 10: Slate cap and handle
Colour the cap, handle, ring and base slate grey. Go over all your lines and your lantern is done!
Your finished drawing
Follow the steps above and this is where you end up: a lantern, drawn by you.
Every step in one picture