Watch it draw itself · tap to replay
How to Draw a Basketball Court
Draw a basketball court in 11 easy steps, about 8 minutes. Free, with a printable worksheet.
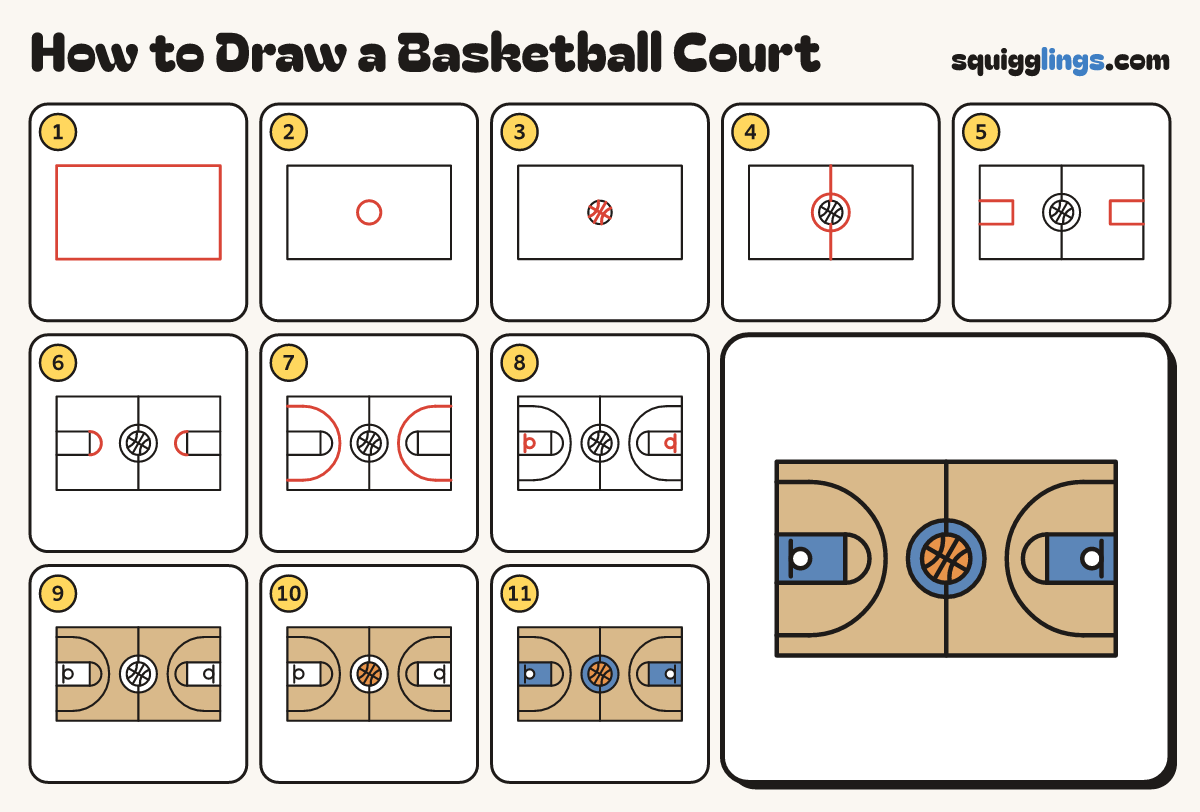
Each picture adds one red line. Draw that line, then scroll to the next picture. Rub out any dashed helper lines at the end. First up: the court.
Step 1: The court
Draw a big rectangle across your paper, nearly twice as wide as it is tall.
Tip You are looking down on the court from above. Use a ruler if you like.
Step 2: The ball
Right in the middle of the court draw a small round ball.
Tip The ball sits on the centre spot, ready for the jump ball.
Step 3: Ball seams
Start on the ball's edge. Draw a tilted line across to the other edge. Cross it, then add 2 curves.
Tip The 2 curves sit in opposite gaps and bow towards the middle of the ball.
Step 4: Halfway line and circle
Draw a line from the top edge down to the bottom, jumping over the ball. Add a circle round it.
Step 5: The keys
At each end draw a long box sticking in from the middle of the end line. This is the key.
Tip Start and stop on the end line. Make both keys the same size.
Step 6: Free-throw half circles
On the inner end of each key draw a half circle bulging towards the middle, from corner to corner.
Step 7: Three-point lines
Round each key draw a big sideways U. Start on the end line above the key, stop below it.
Tip Keep the U a little inside the long edges of the court.
Step 8: Two hoops
Inside each key, near the end line, draw a short upright backboard line. Add a small ring touching it.
Step 9: Light brown floor
Colour the floor light brown, around the 2 keys and the centre circle. Leave those white for now.
Step 10: Orange ball
Colour the ball orange.
Step 11: Blue keys
Colour the 2 keys and the ring round the ball blue. Leave the hoops white. Your basketball court is done!
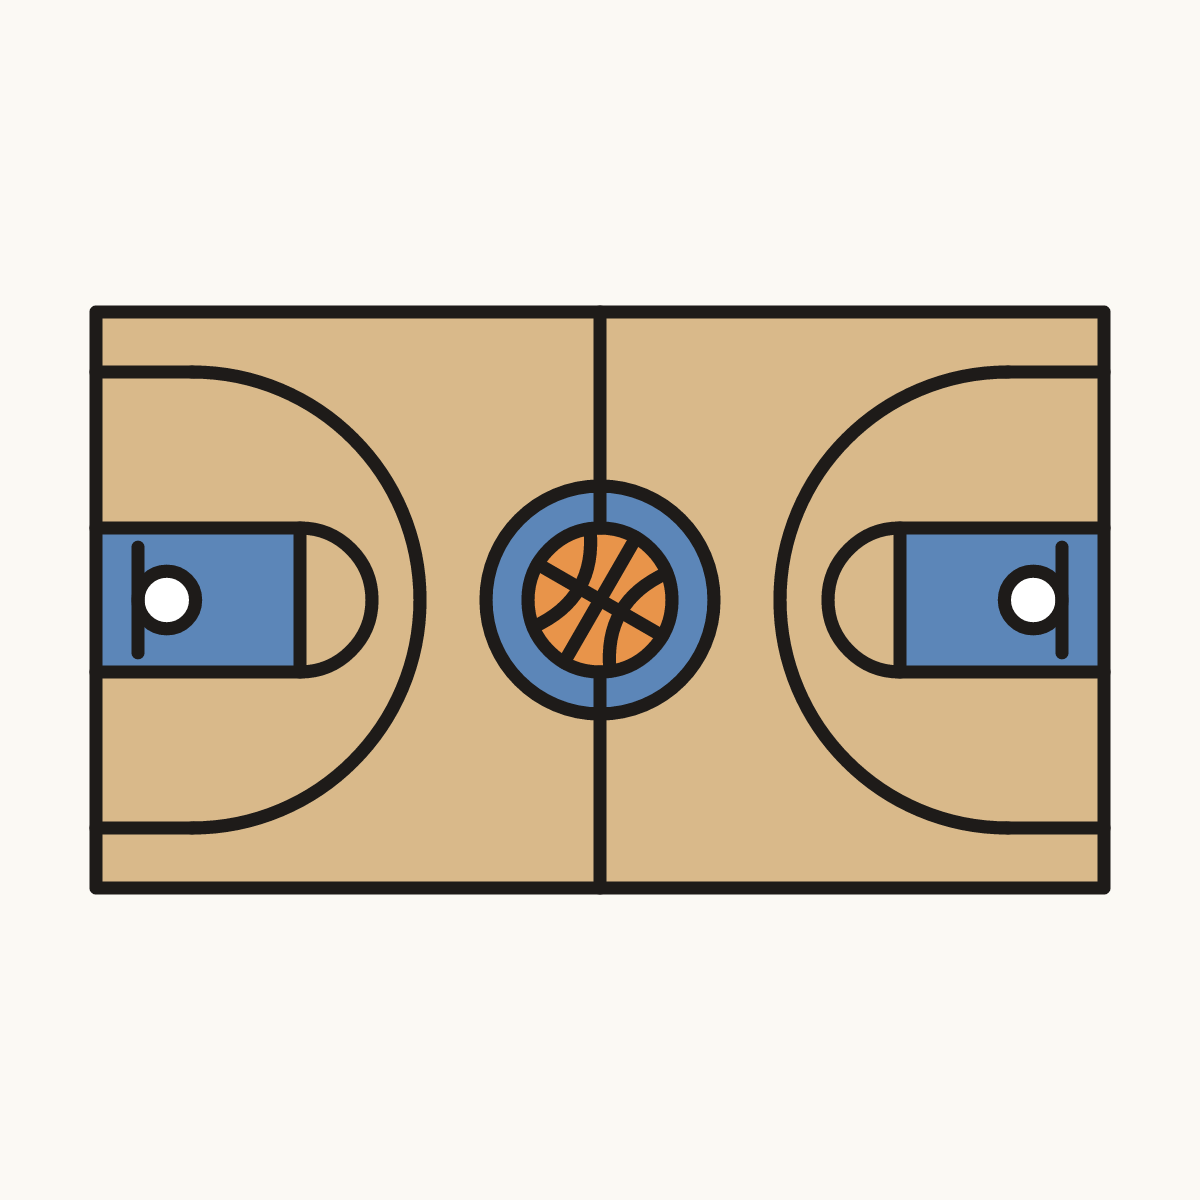
Your finished drawing
Follow the steps above and this is where you end up: a basketball court, drawn by you.
Every step in one picture