Watch it draw itself · tap to replay
How to Draw an Air Conditioner
Draw an air conditioner in 11 easy steps, about 8 minutes. Free, with a printable worksheet.
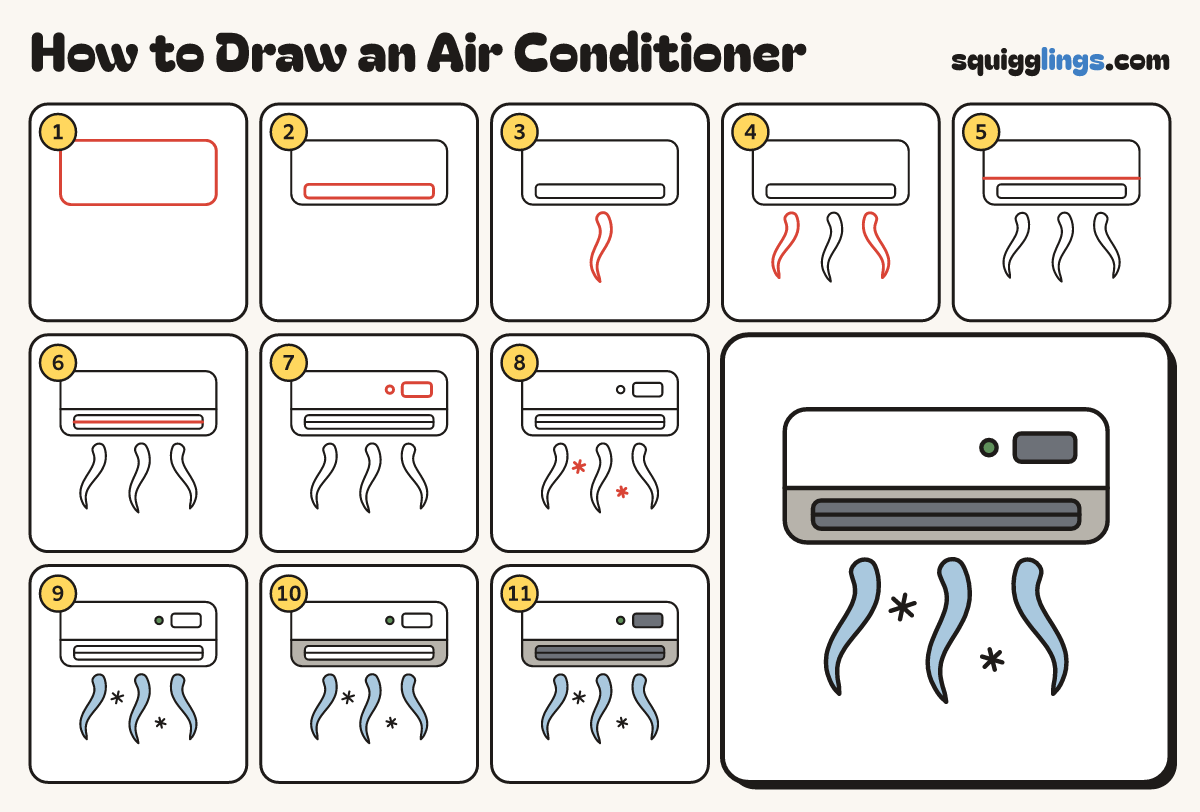
Each picture adds one red line. Draw that line, then scroll to the next picture. Rub out any dashed helper lines at the end. First up: the long box.
Step 1: The long box
High on your paper draw a long box with rounded corners, much wider than it is tall.
Tip An air conditioner hangs high up on a wall.
Step 2: The air vent
Low inside the box draw a long thin box with rounded ends, nearly as wide as the big one.
Tip The cool air blows out of here.
Step 3: Middle breeze
Under the middle of the box draw a fat wavy ribbon going down, ending in a point.
Tip Round at the top, thinner and thinner as it goes down.
Step 4: Side breezes
Draw one more wavy ribbon on each side, drifting a little outwards as it goes down.
Step 5: Panel line
Start on the left edge, just above the vent. Draw a straight line across. Stop on the right edge.
Step 6: Vent flap
Start at the left end of the vent. Draw a line along its middle. Stop at the right end.
Step 7: Screen and light
Up on the right draw a small screen box. Beside it, on its left, add a small round light.
Tip The light glows green when it is switched on.
Step 8: Snowflakes
Between the breezes draw 2 snowflakes: 3 short lines crossing in the middle, like a star.
Tip Snowflakes show the air is nice and cold.
Step 9: Blue and green
Go over your lines. Colour the 3 breezes light blue and the round light green.
Step 10: Grey bottom strip
Colour the strip under the line light grey, around the vent. Leave the top of the box white.
Step 11: Dark vent and screen
Colour the vent and the little screen dark grey. Your air conditioner is done!
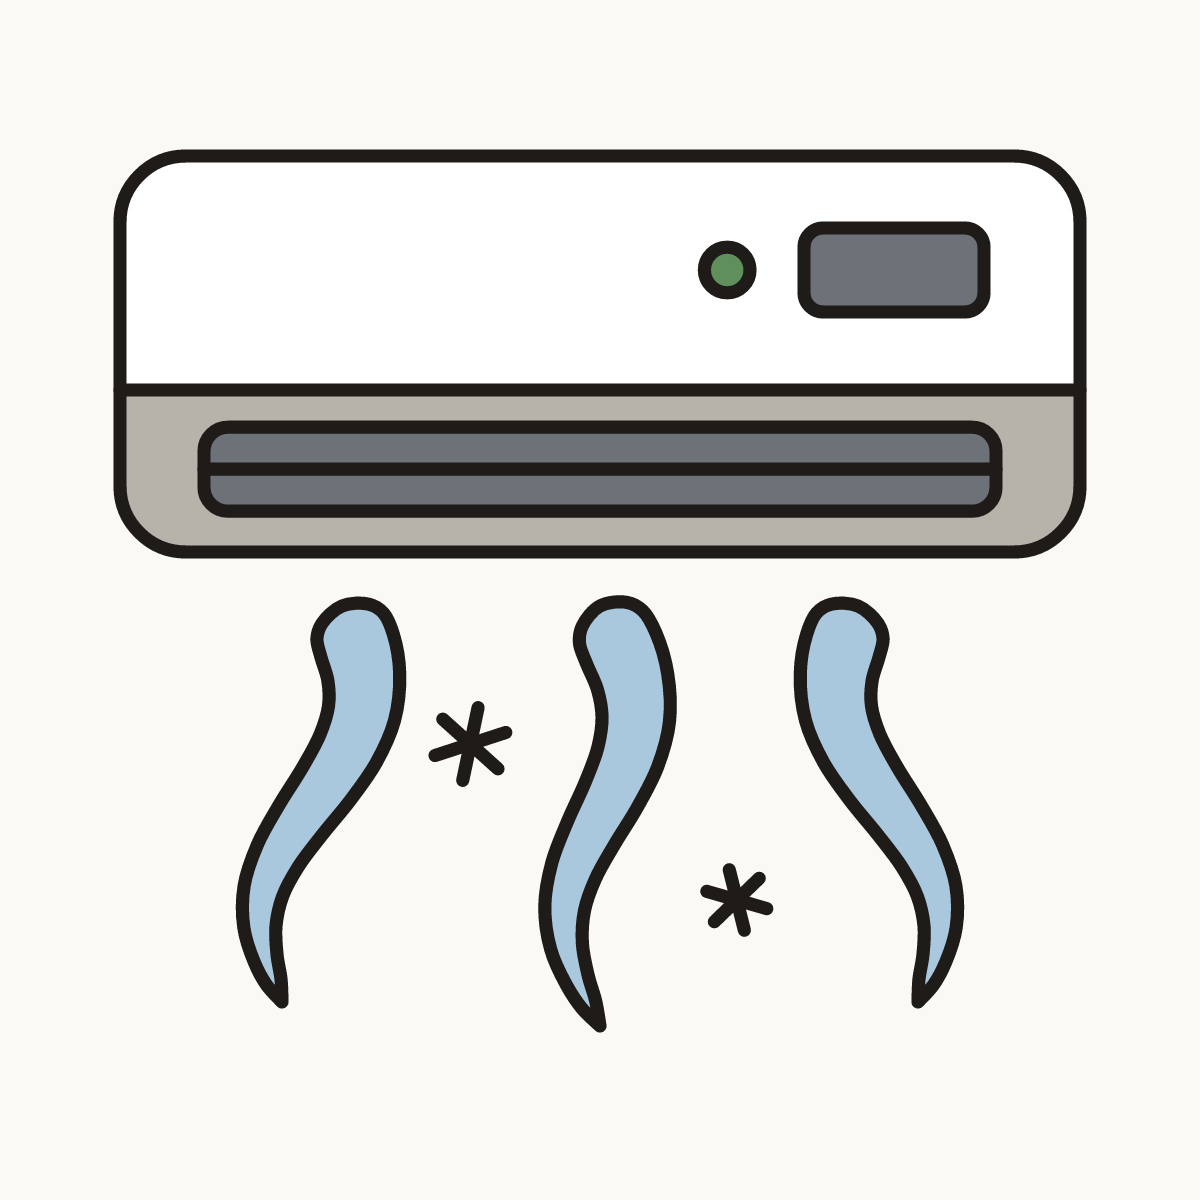
Your finished drawing
Follow the steps above and this is where you end up: an air conditioner, drawn by you.
Every step in one picture